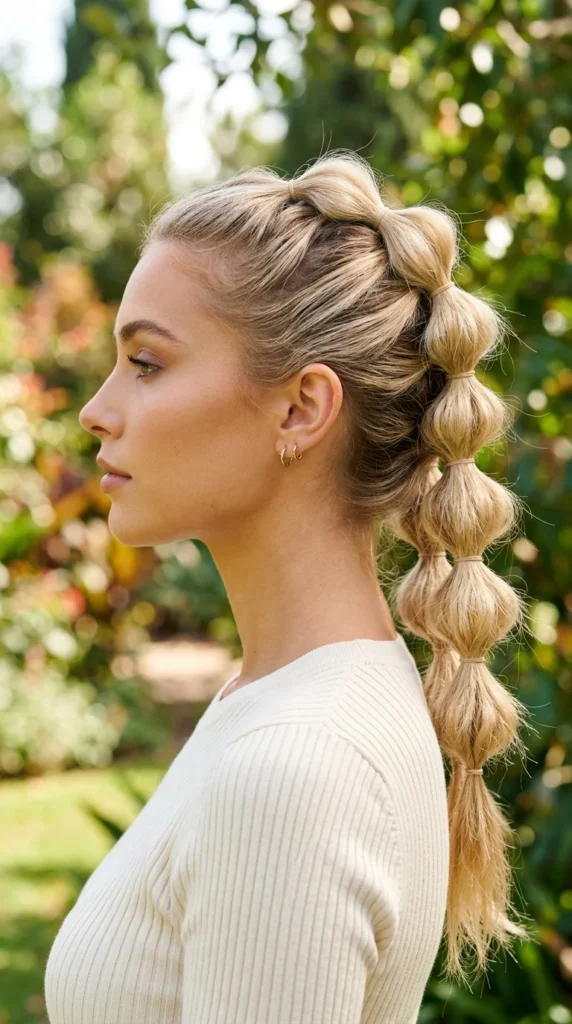

The bubble braid has officially taken the beauty world by storm, evolving from a nostalgic Y2K throwback into a sophisticated staple for festivals, gym sessions, and casual brunches. Unlike the traditional three-strand braid which requires nimble finger work and consistent tension, the bubble braid relies on “sections” and elastics, making it accessible even for those who claim they are “hair-challenged.”
When you double the look into pigtails, you get an instantly youthful, voluminous, and secure style that stays put all day. Below, we explore 18 stunning variations of pigtail bubble braids, followed by the ultimate guide to keeping your hair snag-free.
1. Classic Low

The classic low pigtail bubble braid is the perfect entry point. It starts at the nape of the neck, keeping the look grounded and sophisticated. This style works exceptionally well for office settings or professional environments where you want a bit of flair without looking too over-the-top. To achieve this, ensure your hair is brushed smooth before securing the base of each pigtail.
2. High Volume
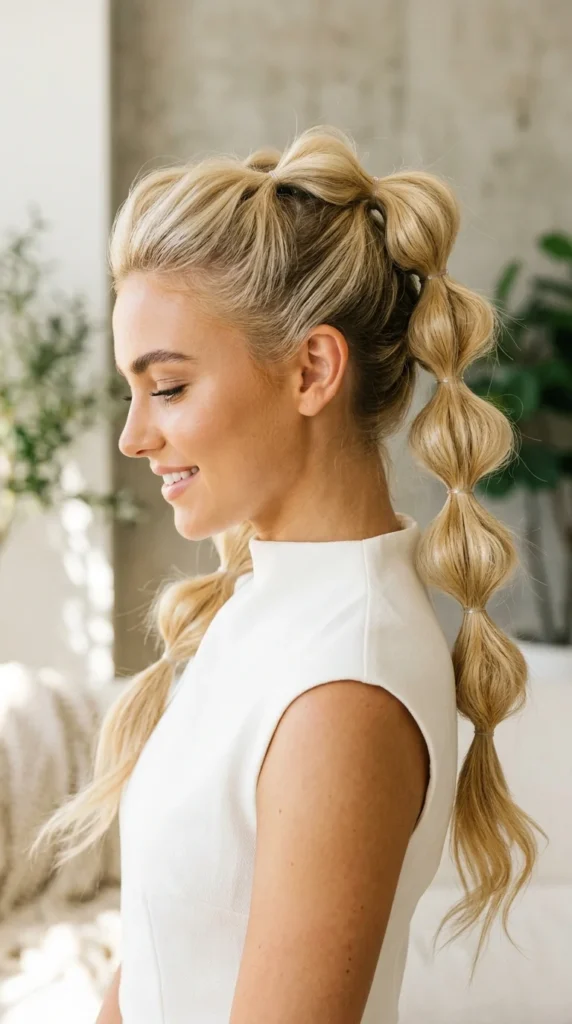
If you want drama, high-volume pigtails are the way to go. By starting the braids at the crown of the head, you create height and a “snatched” look that lifts the face. The key here is “pancaking”—the technique of gently pulling the edges of each bubble outward to double its size. This creates the illusion of much thicker hair than you actually have.
3. Boho Chic

For a more relaxed, ethereal vibe, the boho chic style focuses on texture. Instead of a sleek finish, use a salt spray or dry shampoo to create “grit.” Leave several soft strands out around the face to frame your features. The bubbles should be uneven and slightly messy, giving off an effortless “just woke up like this” aesthetic.
4. Rainbow Elastics
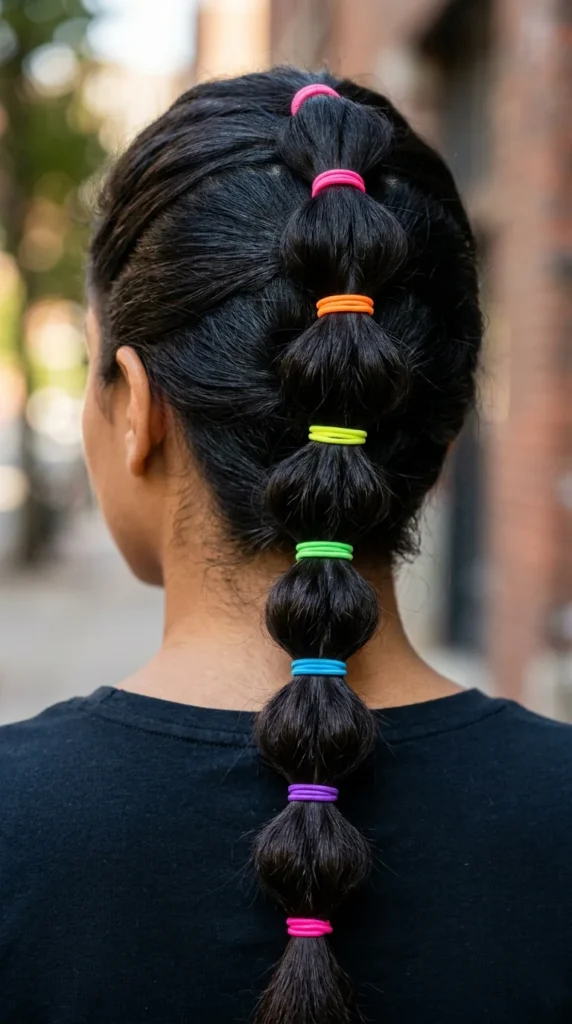
This style is a favorite for summer festivals and pride events. By using a spectrum of neon or primary-colored elastics, you turn your hair into a vibrant accessory. You can follow a specific color pattern or go completely random for a playful, eclectic look that pops against any hair color.
5. Dutch Base
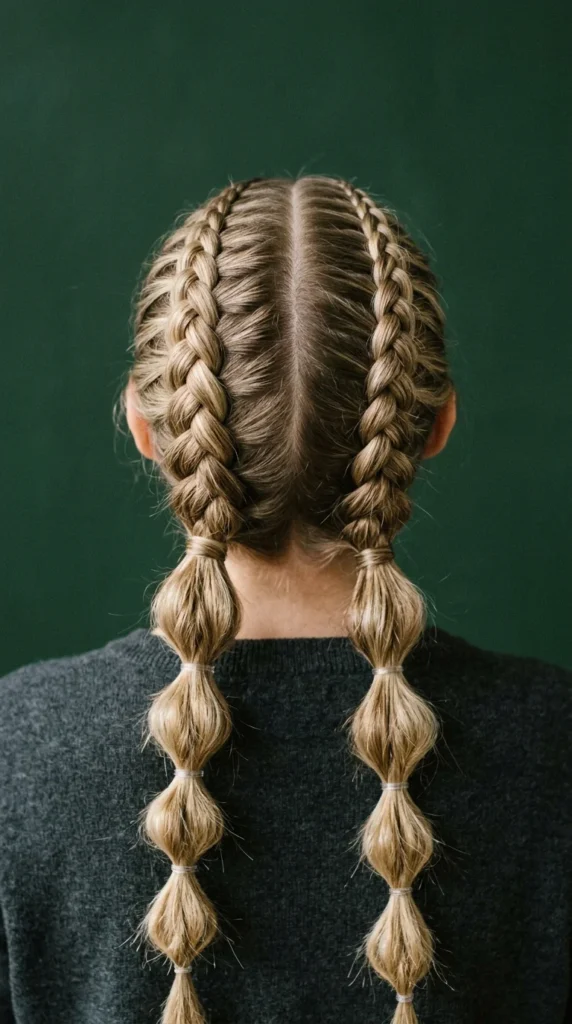
Combining techniques creates a high-fashion finish. By Dutch braiding the hair against the scalp first, you add texture and security to the top of the head. Once the braid reaches the nape or the ears, transition into the bubble technique for the remainder of the length. This is particularly effective for those with layers that might otherwise slip out of a standard ponytail.
6. Side Swept
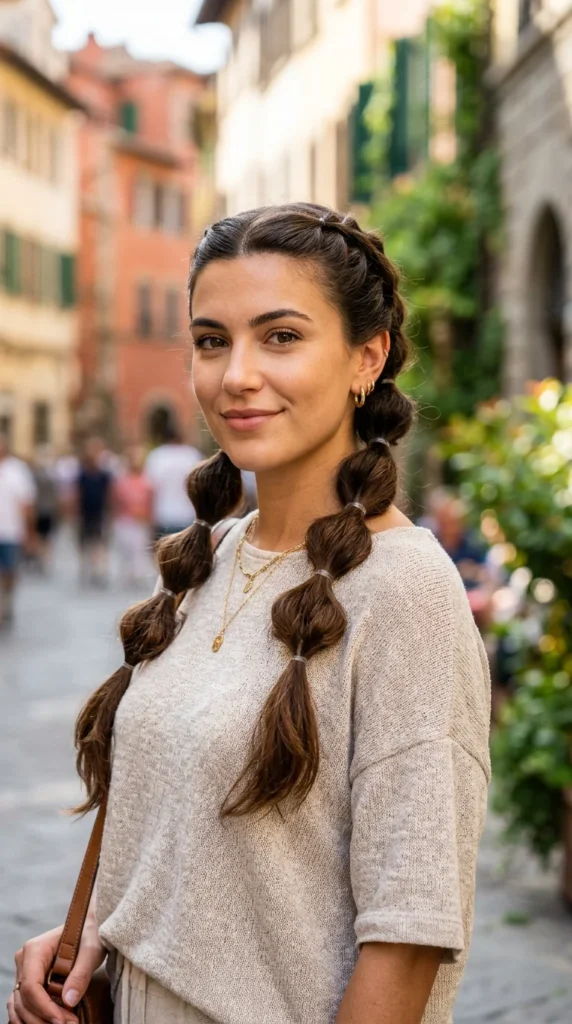
For a romantic, asymmetrical look, try the side-swept version. While technically pigtails, they are positioned closer together behind one ear. This style looks beautiful with off-the-shoulder tops or dresses, allowing the intricate bubbles to take center stage on your chest rather than your back.
7. Micro Bubbles
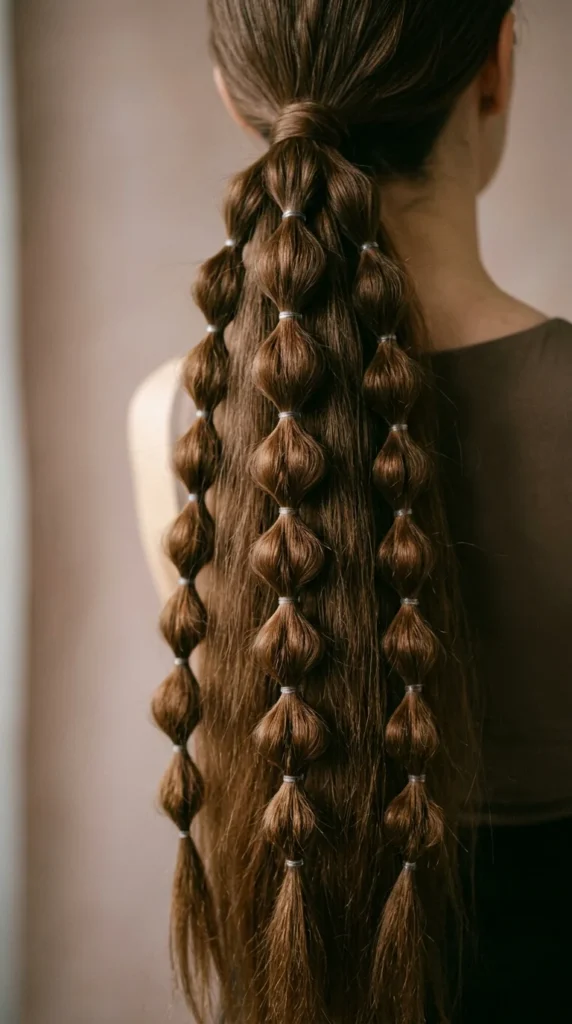
Micro bubbles are for those with serious patience and a lot of elastics. Instead of large, airy sections, you create tiny, tight bubbles every inch or so. This results in a highly textured, almost beaded appearance. It is a fantastic choice for those with very long hair who want to showcase the length in a unique way.
8. Double Dutch
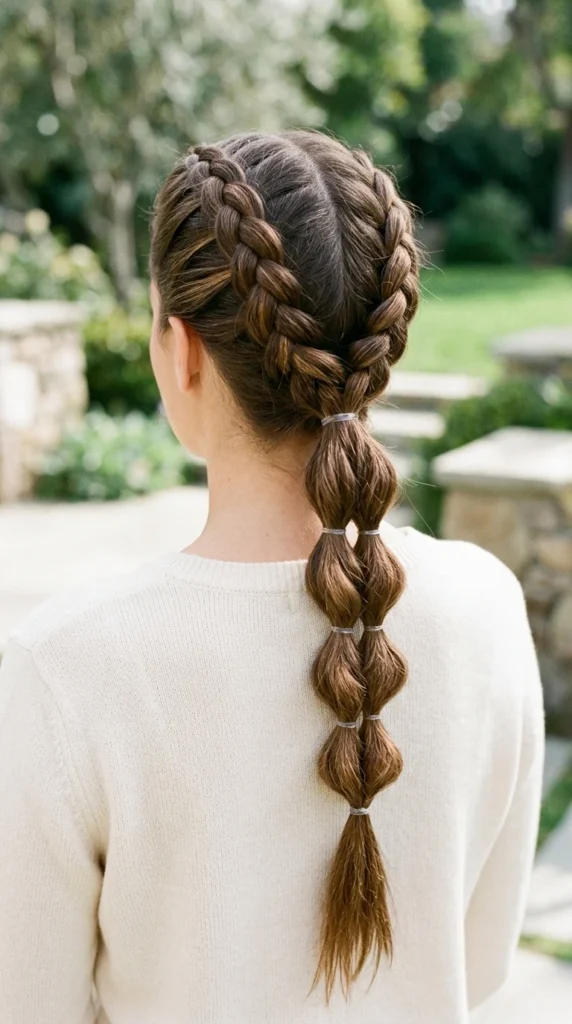
The “Double Dutch” involves two full Dutch braids that run from the forehead to the nape. However, instead of finishing with a traditional three-strand braid, you switch to bubbles. This provides maximum security for athletes or dancers, as the hair is tightly pinned against the head before flowing into the playful bubbles.
9. Glitter Accents
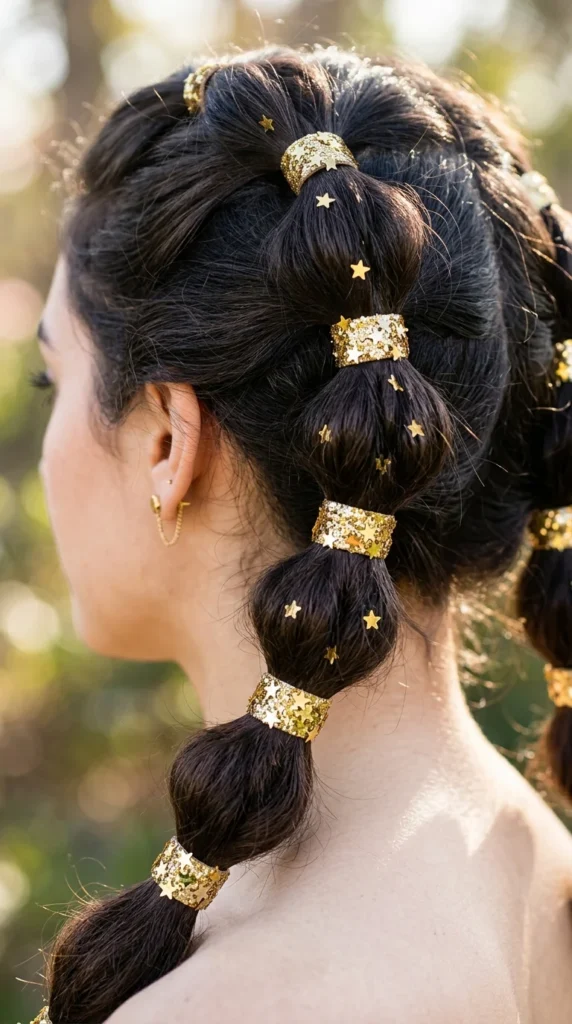
Perfect for New Year’s Eve or a night out, glitter accents elevate the bubble braid into evening wear. You can use hair-safe glitter gel on the roots or wrap sparkling decorative wire around each elastic. The light reflects off the bubbles, making your hair the focal point of your entire outfit.
10. Half-Up

If you can’t decide between wearing your hair up or down, the half-up pigtail bubble braid is the solution. Only the top section of the hair is used to create the pigtails, leaving the rest of your tresses free to flow in waves or curls. This offers the playfulness of bubbles with the elegance of long, flowing hair.
11. Space Buns Start
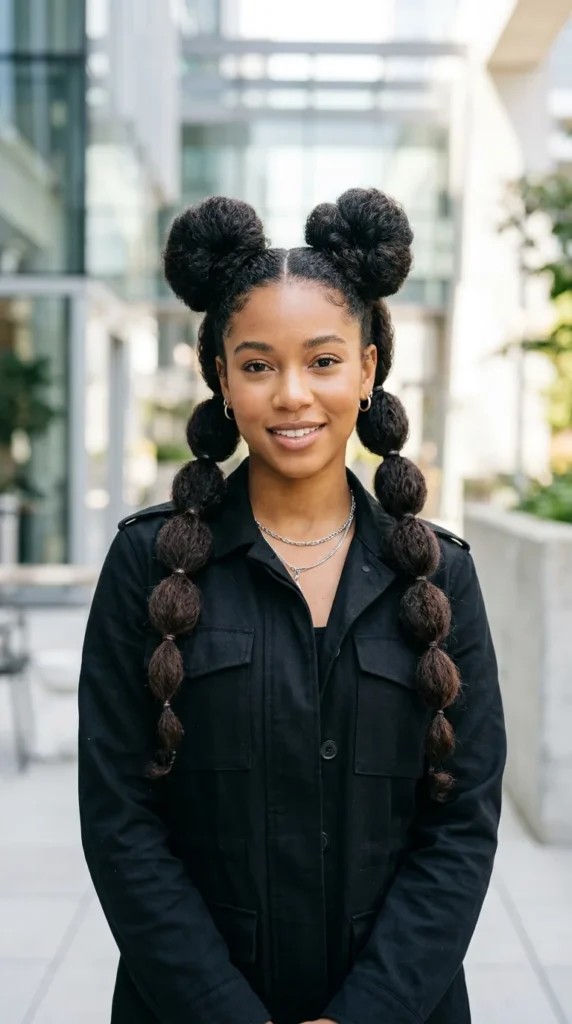
This is a “maximalist” hairstyle. Start by creating two large space buns at the top of your head, but leave the ends of the ponytails long. Transform those ends into bubble braids. It’s a hybrid style that is trendy, youthful, and incredibly photogenic.
12. Topsy Tail Bubbles
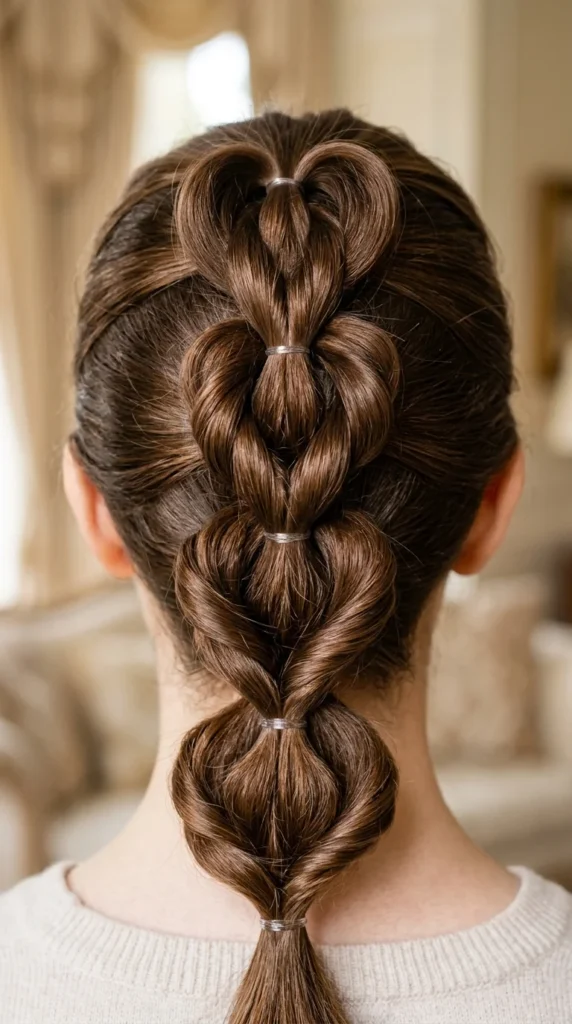
The Topsy Tail method adds a sophisticated twist to the standard bubble. After securing an elastic, create a small hole above it and flip the ponytail through the gap. This creates a twisted, rope-like texture for each “bubble.” It looks much more complex than it actually is and hides the elastics perfectly.
13. Ribbon Wrapped
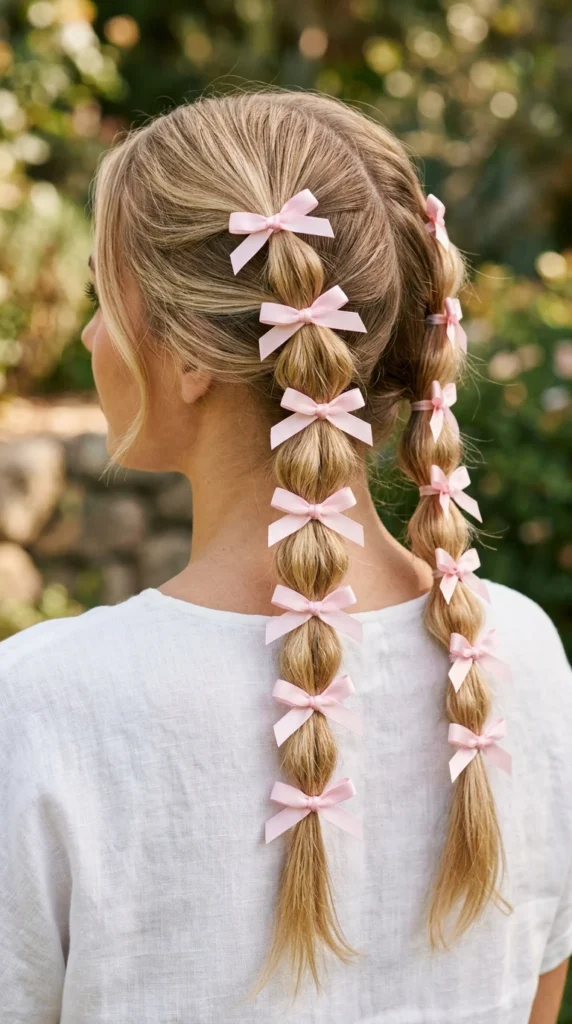
For a coquette or ballet-core aesthetic, wrap thin satin or velvet ribbons over your elastics. You can tie them into small bows at each section. This adds a soft, feminine touch to the style and can be color-coordinated with your outfit for a cohesive look.
14. Pull-Through
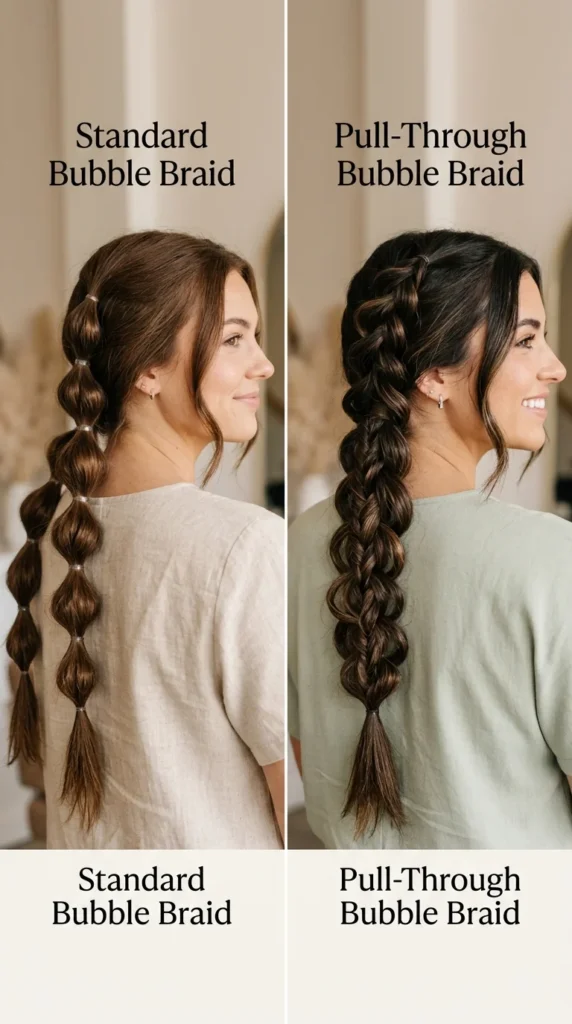
The pull-through bubble braid is a variation where you essentially create two ponytails and pull one through the other repeatedly. This creates a “3D” effect that is much sturdier than a standard bubble braid. It’s the ultimate choice for thick hair that tends to weigh down normal styles.
15. Messy Bedhead

Embrace the frizz with a bedhead version. This style relies on teasing each section of hair before securing the elastic. The result is a cloud-like, voluminous braid that feels modern and edgy. It’s the perfect “cool girl” look for a casual weekend.
16. Sleek & Polished
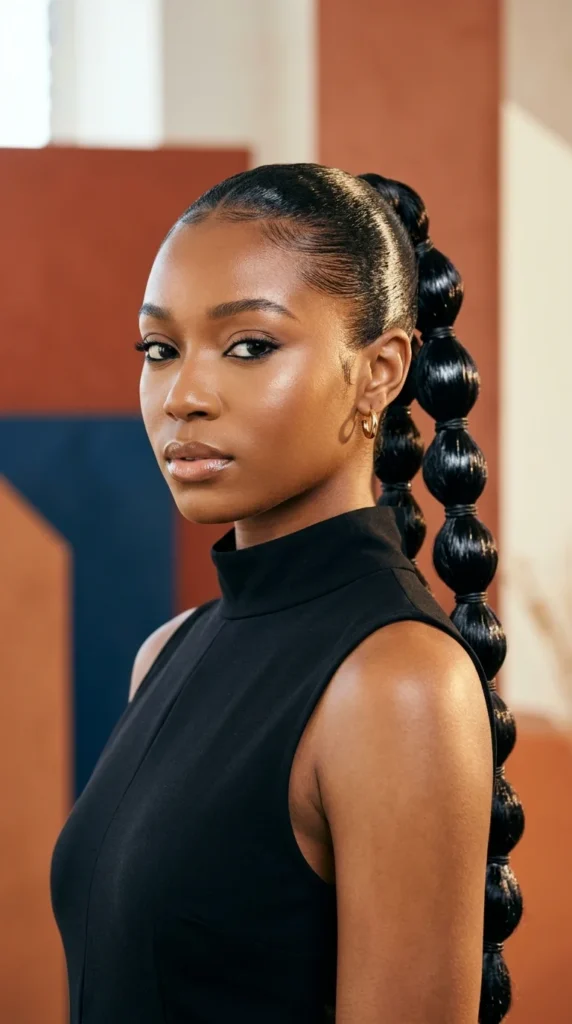
On the opposite end of the spectrum is the polished look. Using a heavy-duty hair gel or pomade, slick back every hair so that the scalp is visible and the bubbles are perfectly uniform. This high-shine look is frequently seen on runways and is incredibly striking for formal events.
17. Face-Framing
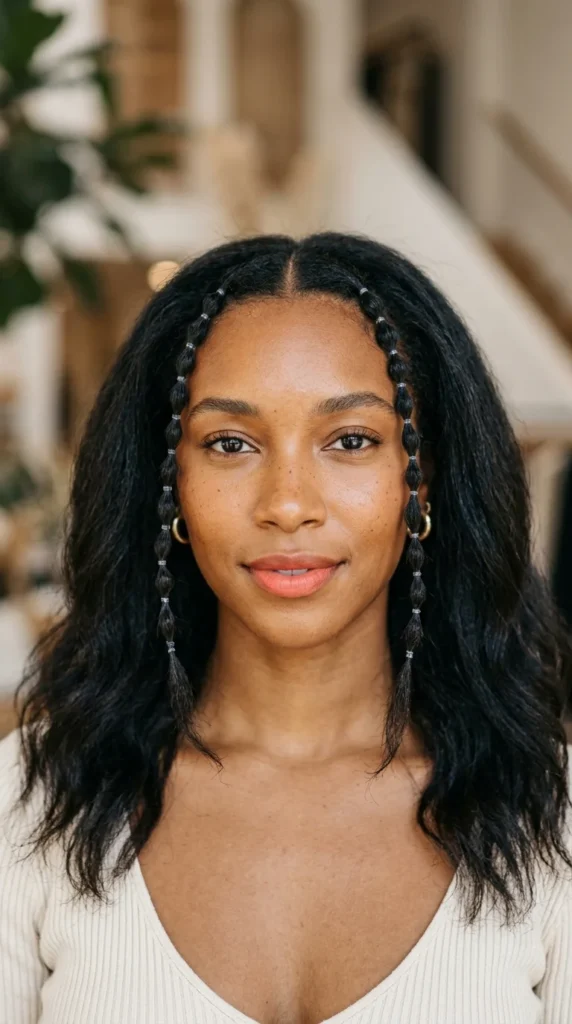
This trend focuses on the “baby braids” style. Instead of braiding all your hair, you only take two small sections at the very front. Turning these into micro-bubble braids adds a Y2K frame to your face that works with any hair length, from bobs to waist-length hair.
18. Extra Long Extensions
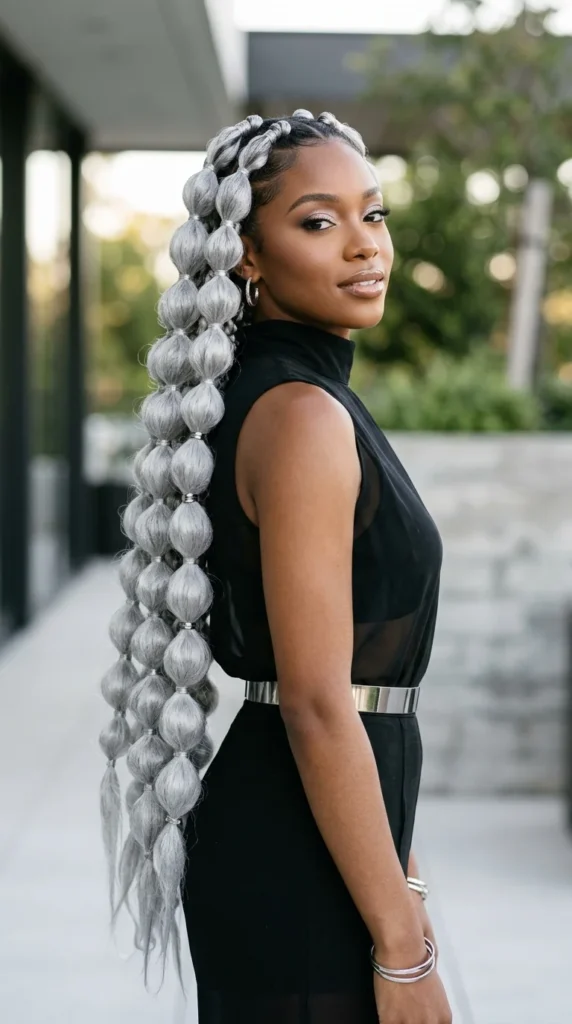
If your natural hair isn’t long enough for the bubbles of your dreams, extensions are your best friend. By clipping in or braiding in synthetic or human hair extensions, you can create floor-length bubble braids that are impossible to ignore. The extra weight also helps the bubbles hang more linearly.
How to Stop Elastic Snags
The biggest downside to the bubble braid trend is the sheer number of elastics required. If not handled correctly, removing these bands can lead to breakage, split ends, and general hair thinning. Here is how to keep your hair healthy and snag-free.
Choose the Right Elastics
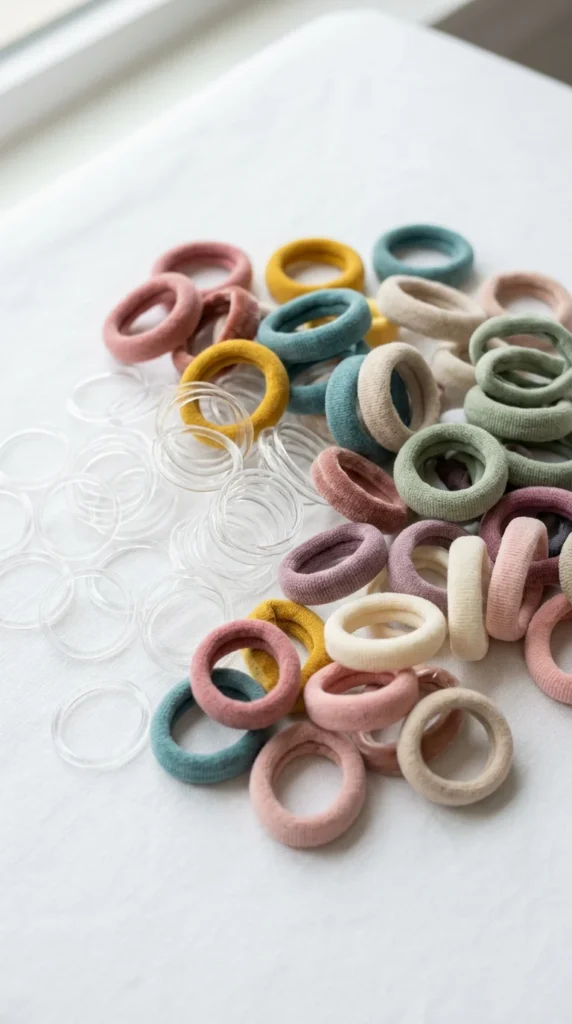
Not all elastics are created equal. Avoid the cheap, “rubber” feeling bands often found in bulk packs; these are made of latex that grips the hair cuticle too tightly. Instead, look for TPU (Thermoplastic Polyurethane) elastics. They are smoother, more durable, and glide off the hair more easily. Alternatively, for thicker hair, use small fabric-covered elastics which offer the most protection.
The “Oil Trick”

Before you even put the elastics in your hair, try this pro tip: soak your elastics in a bit of hair oil or coconut oil. This lubricates the band, preventing it from “grabbing” the hair shaft and causing friction. When it comes time to slide the band off, the oil acts as a barrier that allows the elastic to slip down the hair without taking half your strands with it.
Never Pull to Remove
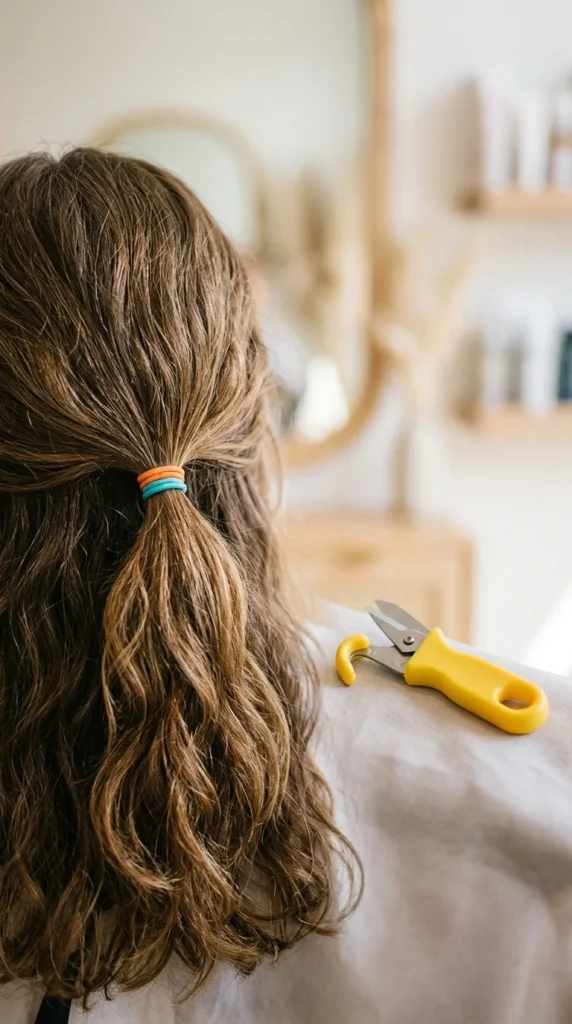
The golden rule of bubble braids is: Never pull the elastics out. Pulling an elastic down the length of the hair causes mechanical damage and snaps the delicate outer layer of the hair. Instead, use a specialized “snip tool” or a small pair of nail scissors to carefully cut the band. Because these bands are inexpensive, it is always better to destroy the elastic than to damage your hair.
Prep with Leave-In Conditioner
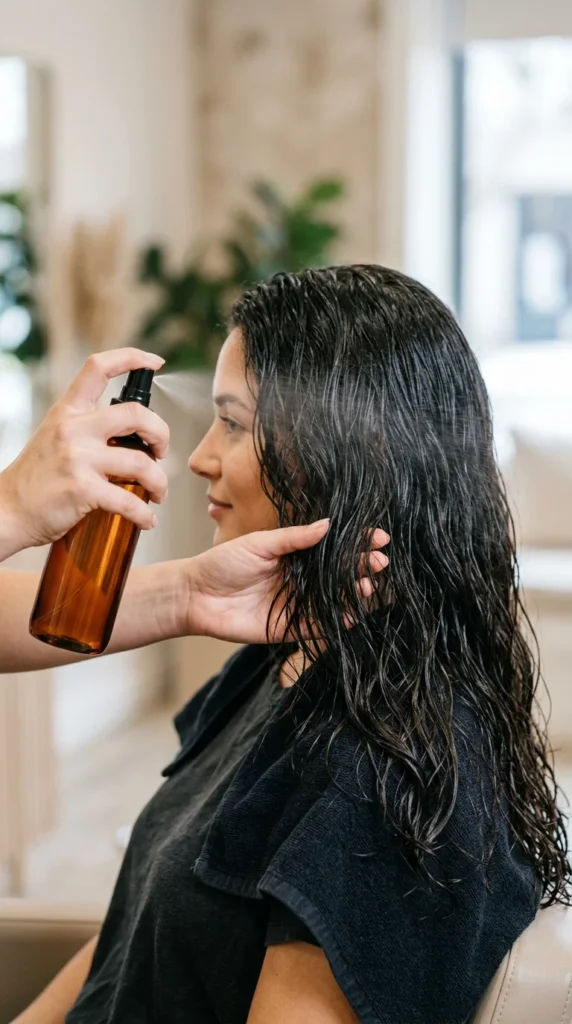
A well-moisturized hair shaft is more resilient. Before styling your bubble braids, apply a generous amount of leave-in conditioner or a smoothing serum. This fills in the gaps in the hair cuticle, making the surface of the hair “slippery.” This not only makes the bubbles look shinier but ensures that any friction from the elastics is minimized.
Strategic Sectioning
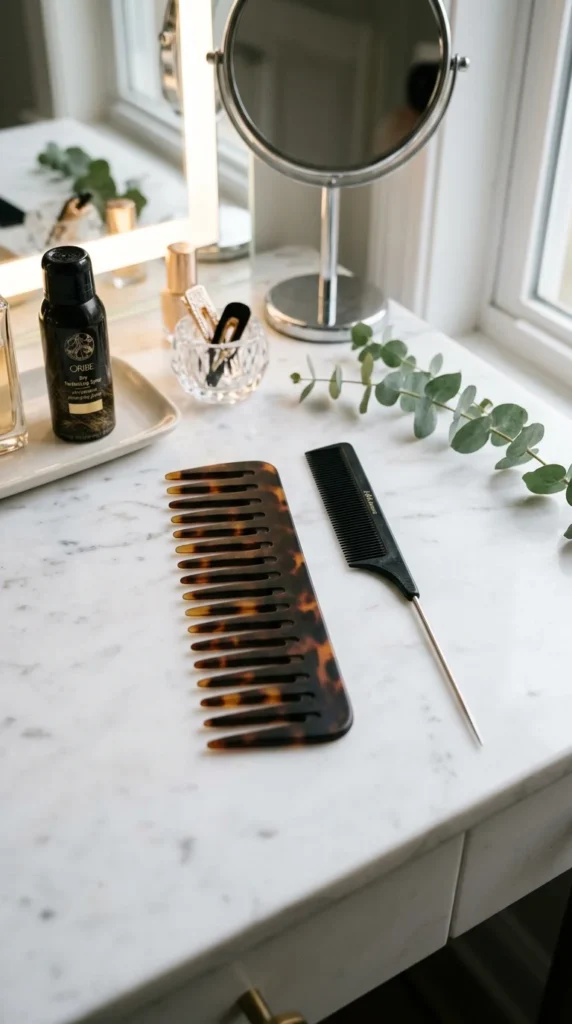
Tangles often occur when hair from one bubble gets caught in the elastic of the next. Use a rat-tail comb to ensure each section is perfectly clean and separated. If you have “stray” hairs crossing over into different sections, they will get pulled and snapped as you move throughout the day. Clean sections equal a pain-free removal.