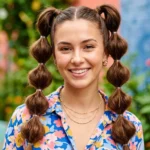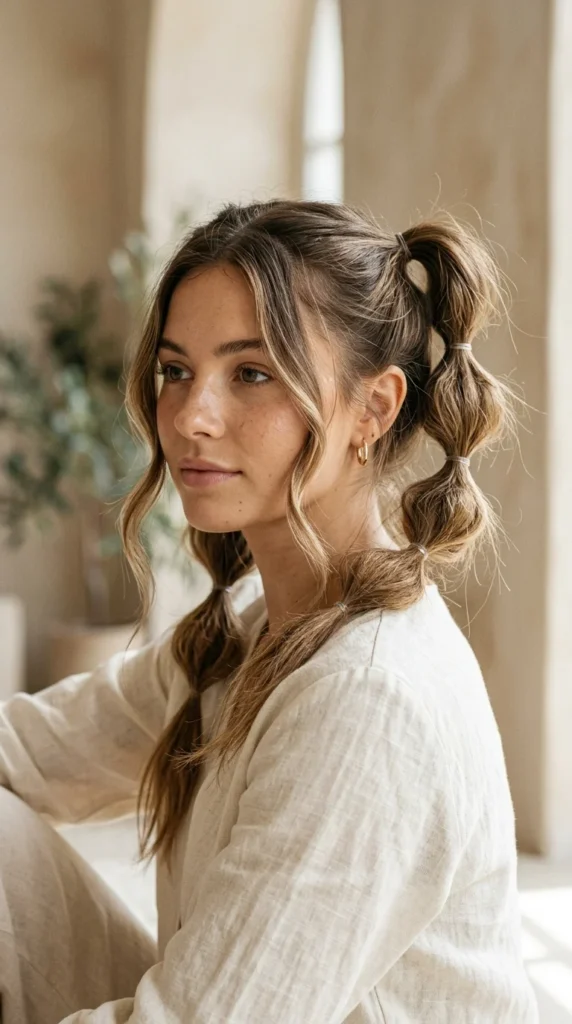

The bubble braid has taken the beauty world by storm, and for good reason. It offers the intricate look of a complex plait with only a fraction of the effort. When you double the fun by styling them into pigtails, you get a look that is youthful, sporty, and incredibly photogenic. Whether you are heading to a music festival, hitting the gym, or just looking to spice up your second-day hair, pigtail bubble braids are the ultimate “cool girl” hairstyle.
However, as anyone who has ever used those tiny clear elastics knows, the aftermath can be a nightmare of tangles and breakage. In this guide, we will explore 17 stunning ways to wear this trend and provide the ultimate expert secrets to removing those elastics without losing a single strand of hair.
1. Classic High
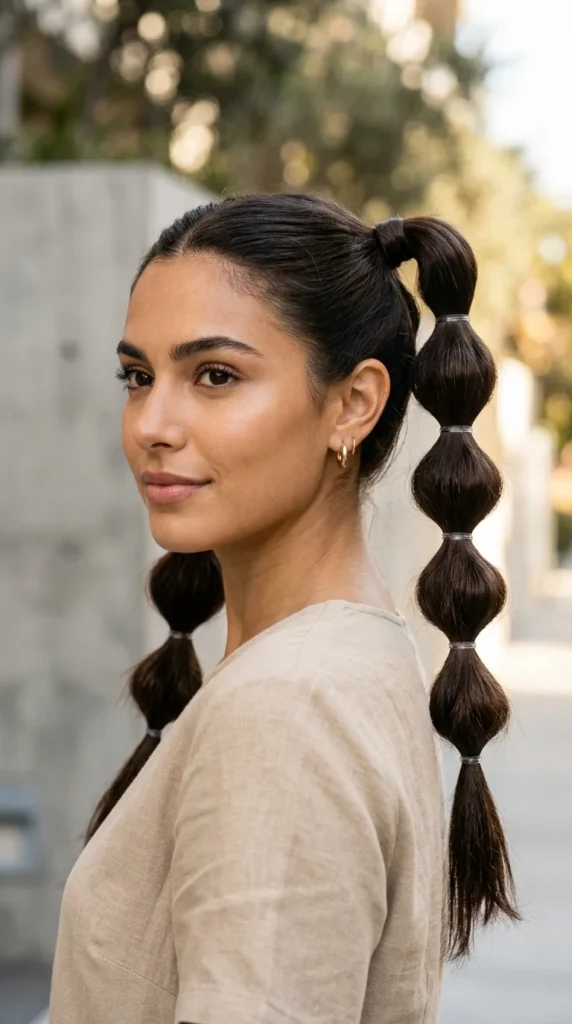
The classic high pigtail bubble braid starts at the crown of the head. This style provides an instant “facelift” effect by pulling the hair upward and outward. It is the quintessential festival look, offering maximum bounce and movement. To achieve this, secure two high ponytails first, then space your elastics about two inches apart, pulling the hair between them to create that signature “bubble” shape.
2. Sleek Low
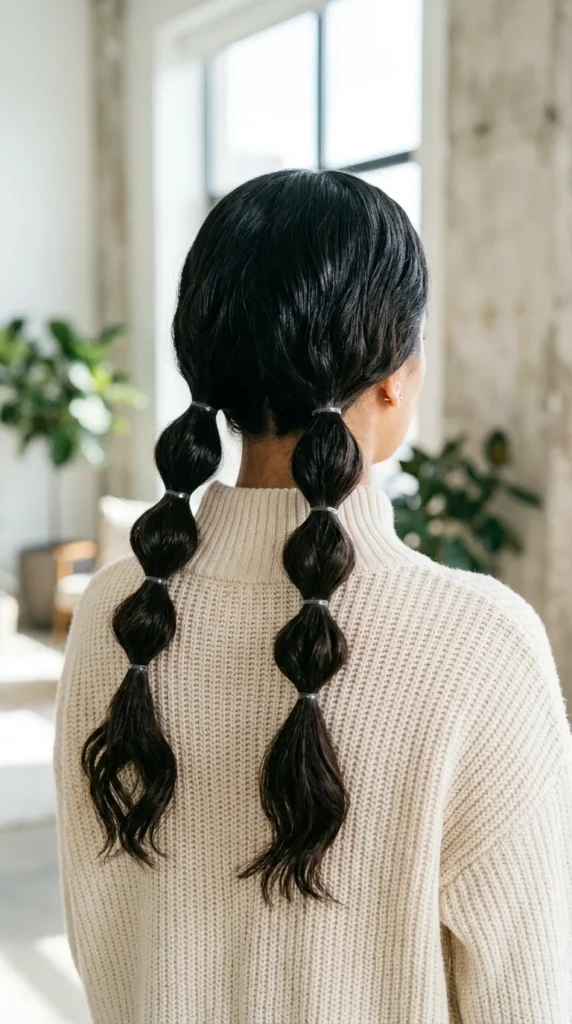
For a more sophisticated and polished take on the trend, try the sleek low version. This style works beautifully for professional settings or elegant dinners. By keeping the base of the pigtails at the nape of the neck, you create a streamlined silhouette. Use a light-hold gel or pomade to smooth down any flyaways at the roots for a glass-like finish.
3. Half-Up Pigtails
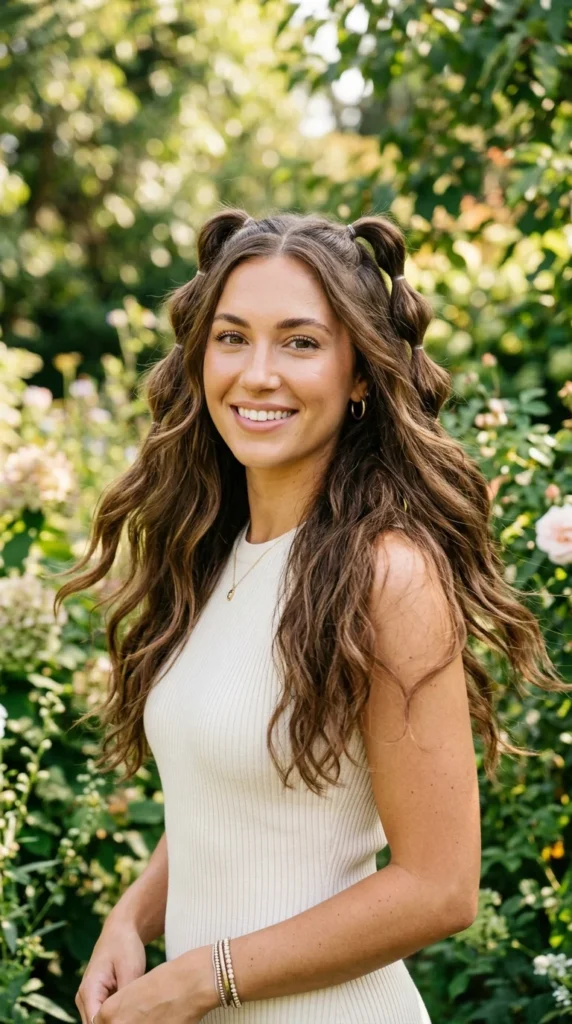
If you can’t decide between wearing your hair up or down, the half-up bubble pigtail is your best friend. This style uses only the top section of the hair, creating two mini bubble braids while the rest of your locks flow loosely. It’s a whimsical, bohemian look that adds height and interest to your face without the weight of a full updo.
4. Space Bun Starts
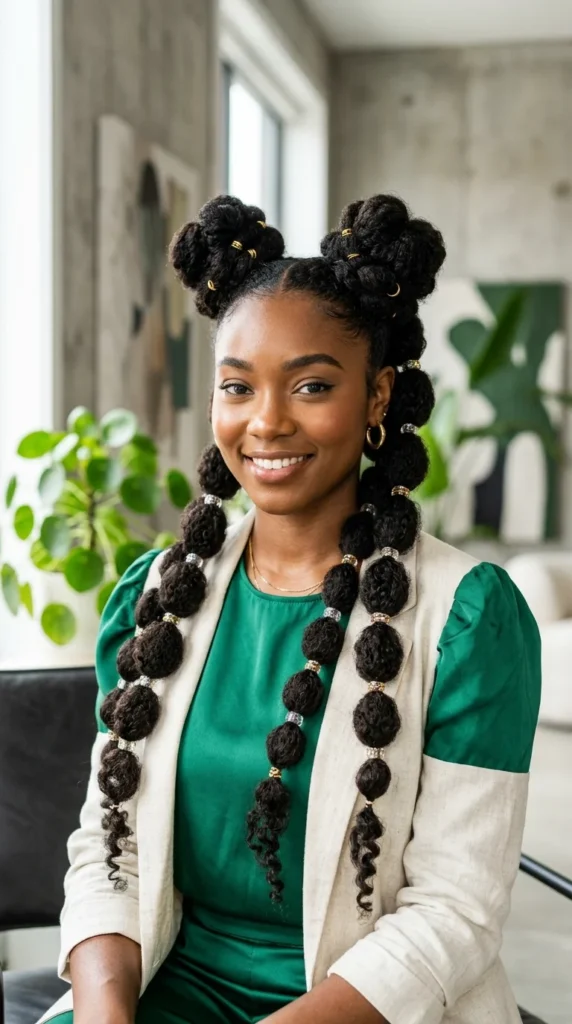
Why choose one trend when you can have two? Start your style by twisting the first few inches of your pigtails into mini space buns, then let the rest of the length fall into bubble braids. This creates a multidimensional look that is architectural and edgy. It’s particularly effective for those with very long hair who want to manage their length creatively.
5. Colorful Elastics
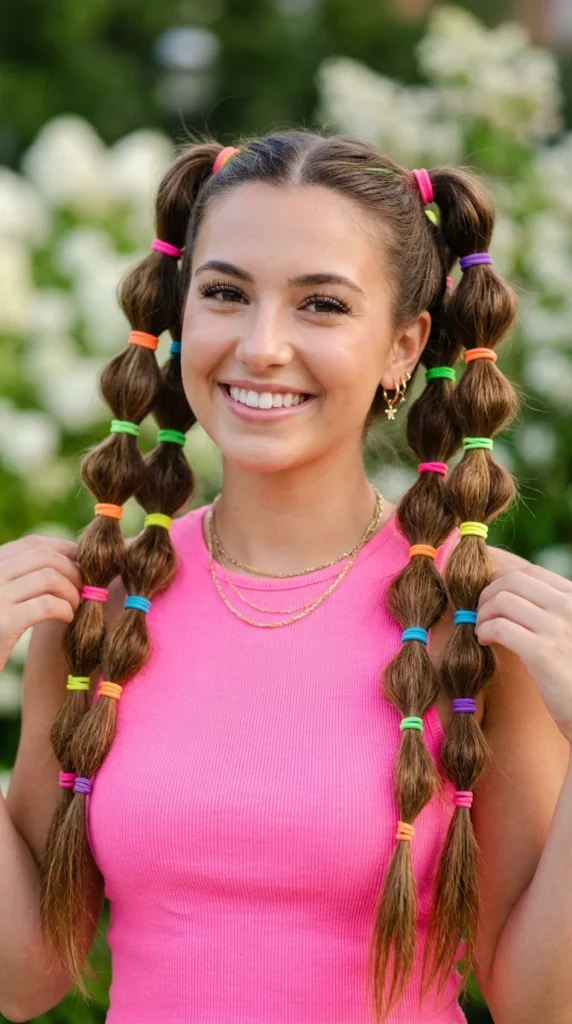
Make your hair the focal point of your outfit by using brightly colored elastics. Instead of trying to hide the bands, celebrate them. You can use a single popping color like hot pink or neon green, or go for a full rainbow gradient. This is a favorite for sporting events or themed parties where you want to show off your personality.
6. Extra-Large Volume
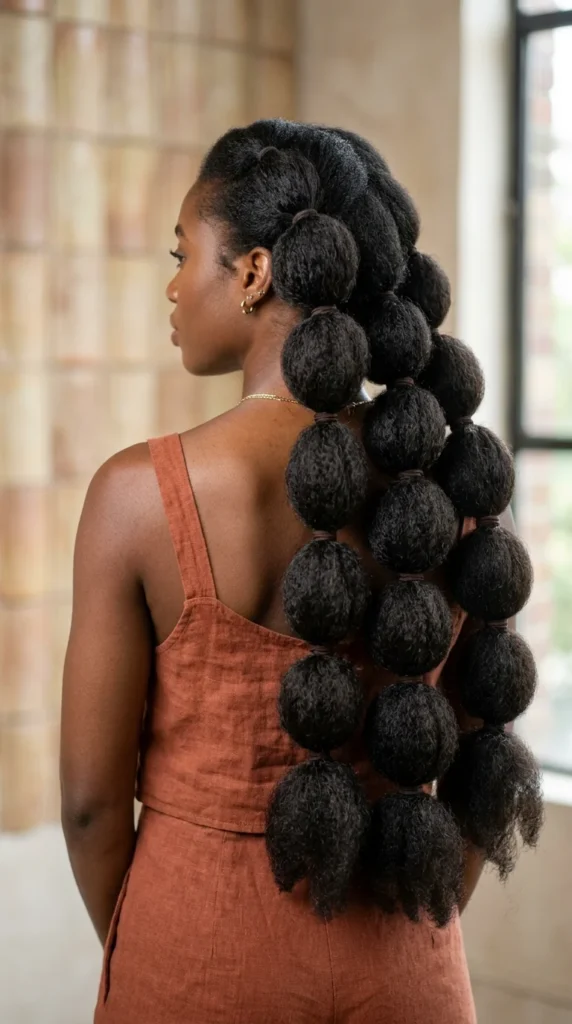
To get that “influencer” level of volume, you need to master the art of “pancaking.” Once your elastics are in place, gently tug at the edges of each bubble to widen it. This makes your hair look three times thicker than it actually is. For those with fine hair, a dusting of volumizing powder before fluffing will help the bubbles hold their shape.
7. Micro-Bubbles
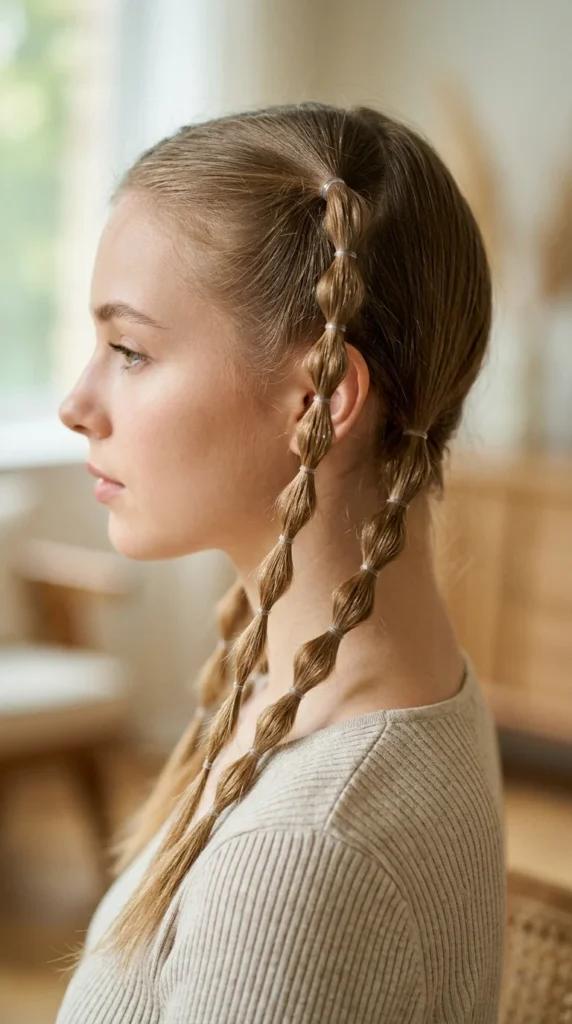
You don’t need thick hair to rock this trend. Micro-bubble pigtails involve creating many small bubbles close together. This creates a textured, intricate look that resembles a cornrow or a complex braid from a distance. It’s a great way to keep shorter layers or “wolf cuts” secure and out of your face.
8. Braided Roots
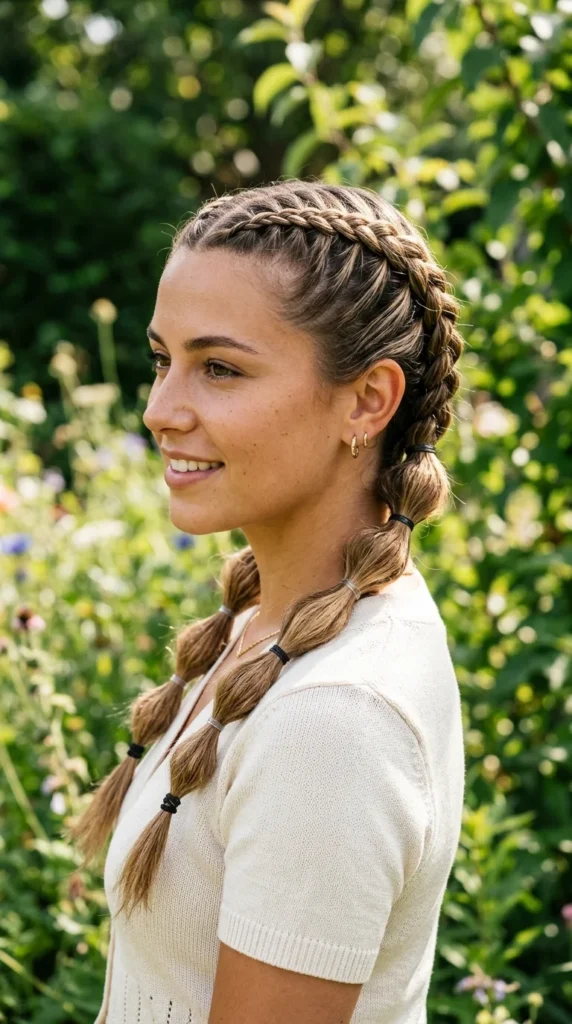
For maximum security and a sporty vibe, start with a Dutch or French braid against the scalp. Once you reach the nape of the neck or the base of the ponytail, switch to the bubble technique. This is the perfect “gym-to-brunch” hairstyle because the braided roots keep everything tight during a workout, while the bubbles add a touch of flair for later.
9. Messy Boho

Not every style needs to be perfect. The boho version of the bubble pigtail embraces frizz and loose strands. Use a sea salt spray before styling to give the hair some “grit.” Don’t worry about making the bubbles perfectly symmetrical; the beauty of this look lies in its effortless, “just woke up like this” aesthetic.
10. Ribbon Wrapped
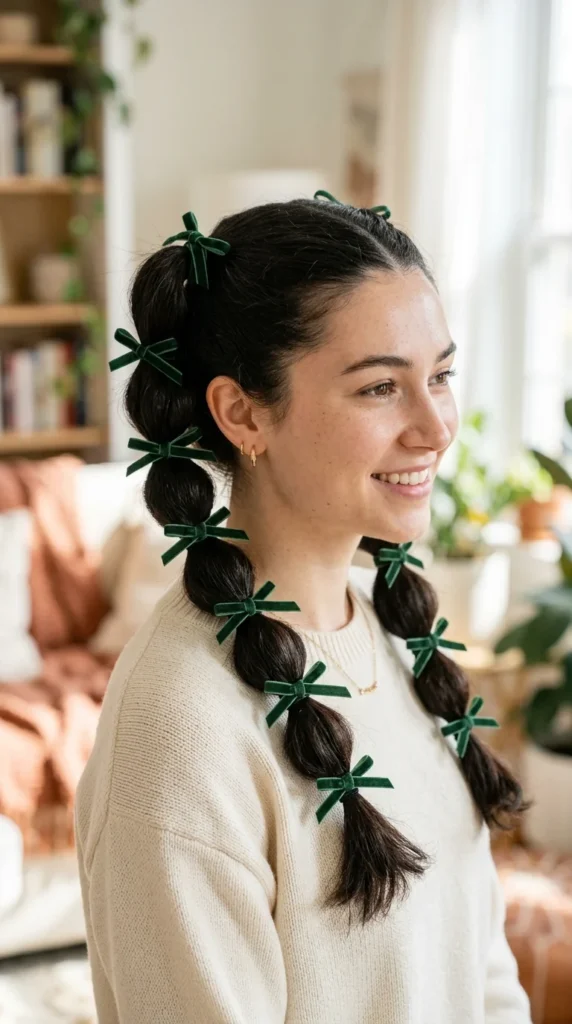
Elevate your pigtails for a special occasion by wrapping ribbons around each elastic. Velvet ribbons add a touch of luxury, while satin ribbons feel feminine and soft. You can match the ribbon to your outfit for a cohesive, “coquette” aesthetic that is currently trending on social media.
11. Pearl Embellished
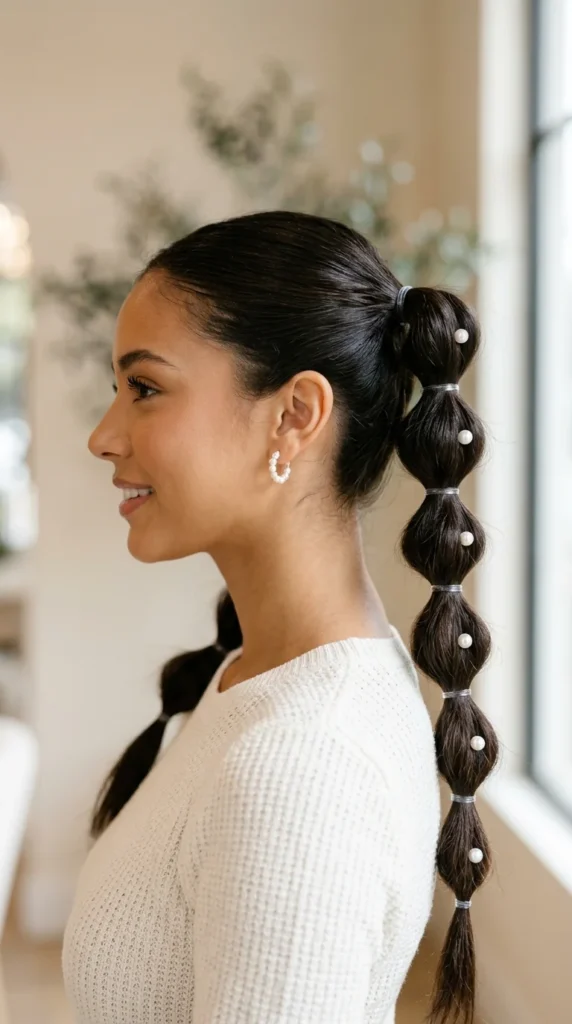
For a bridal or formal event, pigtail bubble braids can be surprisingly elegant when adorned with pearls. Simply slide U-shaped pearl pins into the center of each “bubble.” The contrast between the playful pigtails and the classic pearls creates a unique and memorable look.
12. Glitter Roots
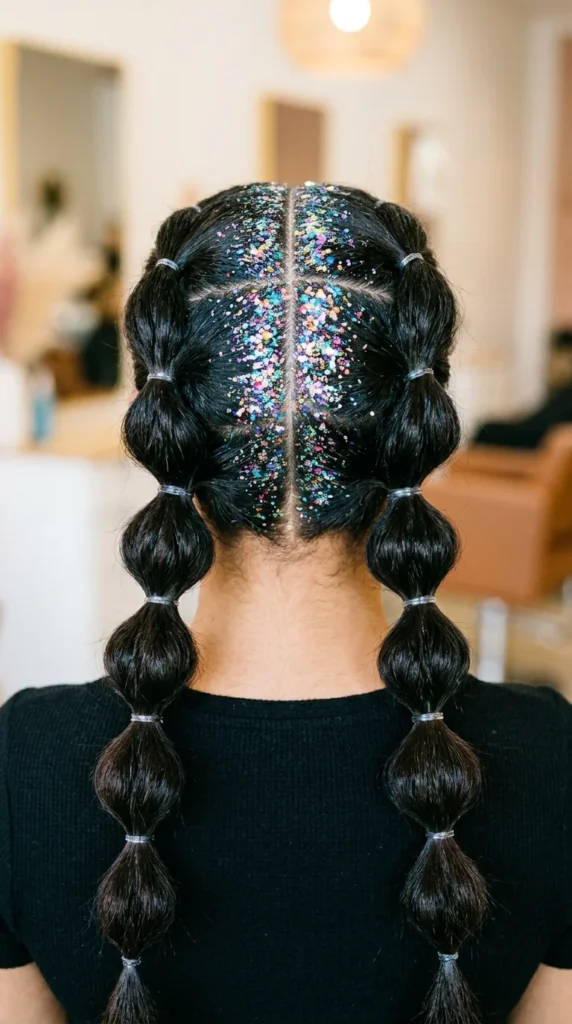
If you’re heading to a concert or a festival, adding glitter to your part line is the ultimate finishing touch. Style your bubble pigtails as usual, then apply a mixture of hair gel and chunky glitter to your roots. It draws the eye upward and adds a magical sparkle to the entire look.
13. Side-Swept Pigtails
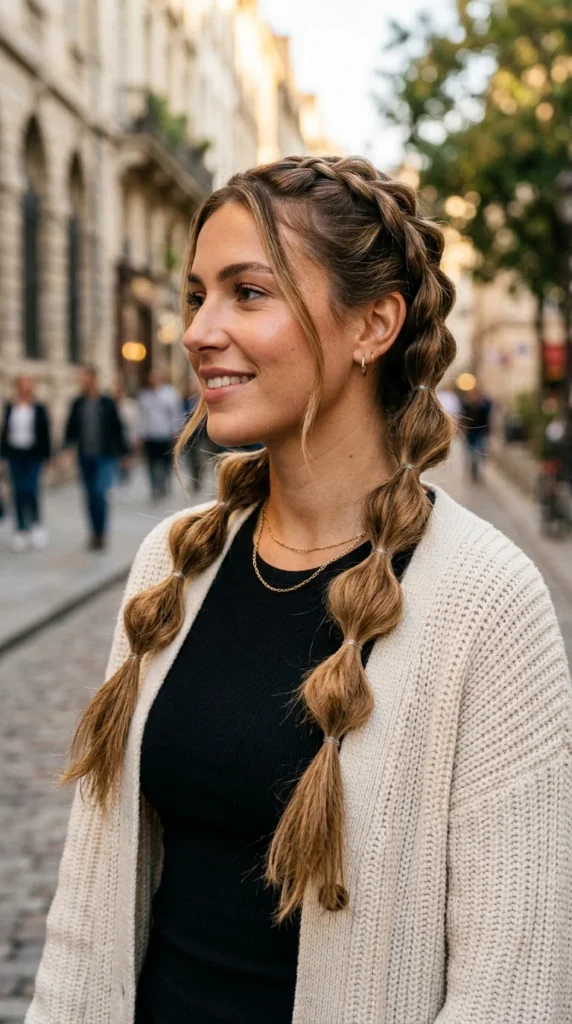
For a more romantic, asymmetrical vibe, pull both of your bubble pigtails to one side. This frames the face beautifully and works well for photos. It’s a softer approach to the traditional pigtail look and feels less “schoolgirl” and more “high-fashion.”
14. Face-Framing Minis
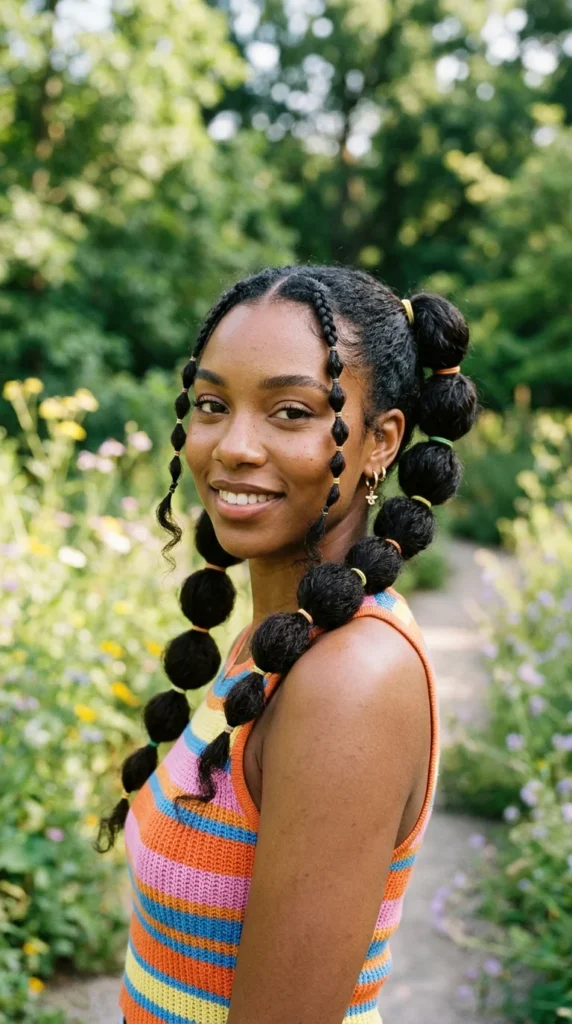
Incorporate the 90s trend of face-framing strands by creating two tiny bubble braids right at the front of your hairline. Then, style the rest of your hair into larger pigtails. This creates a layered, complex look that adds a lot of visual interest and frames your features perfectly.
15. Velvet Scrunchie Accents
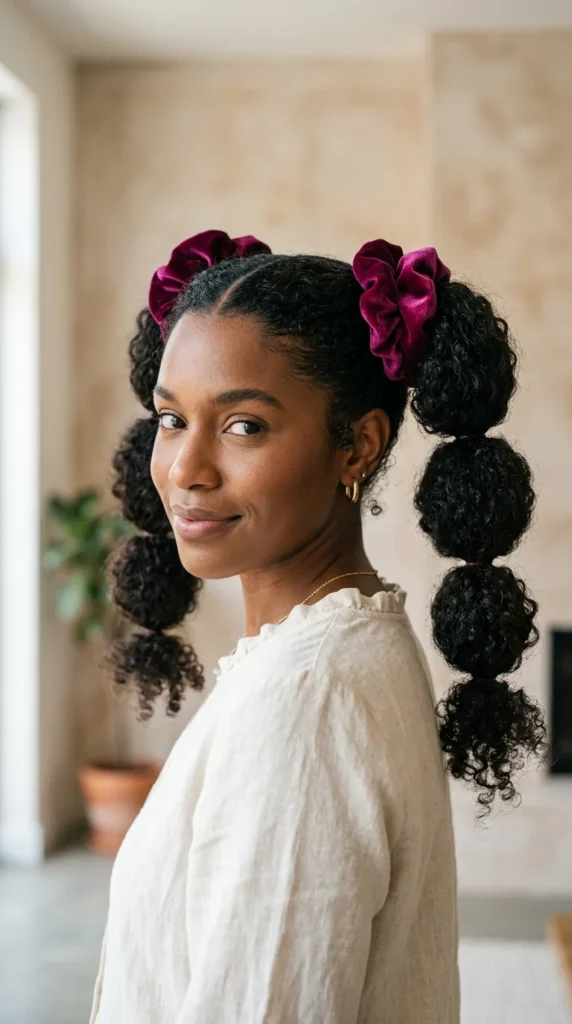
If you want to protect your hair from the very start, use large velvet scrunchies at the base of your pigtails. Then, use smaller elastics for the “bubbles” further down. The scrunchies provide a bold pop of color and texture while preventing the tension breakage often associated with high pigtails.
16. Triple-Bubble Tiers
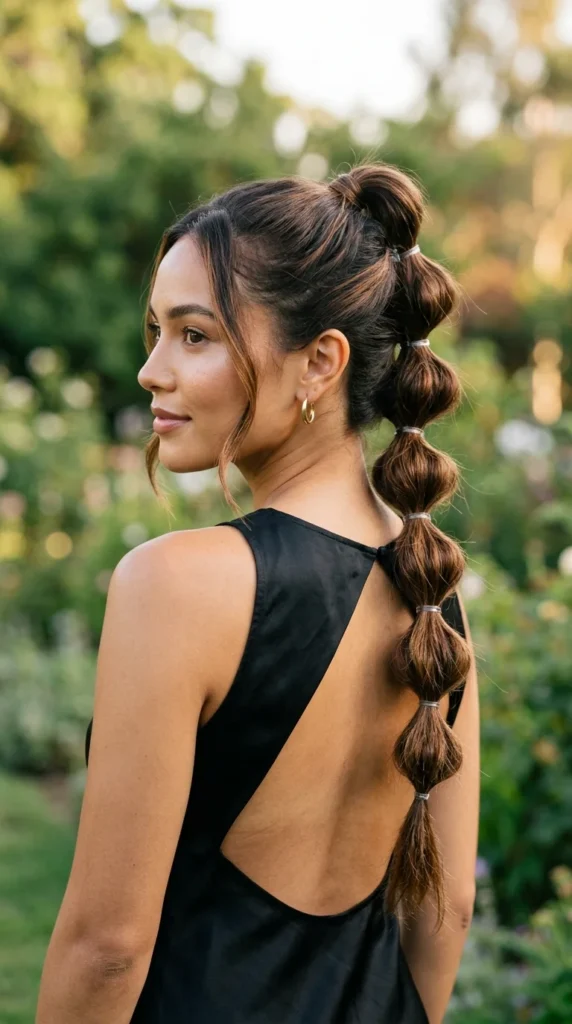
This is a more advanced version of the bubble braid. Instead of one long ponytail, you create multiple sections down the back of the head, feeding the previous bubble into the next one. This creates a “tiered” effect that looks like a 3D sculpture and is incredibly secure for thick, heavy hair.
17. The Ombre Pop
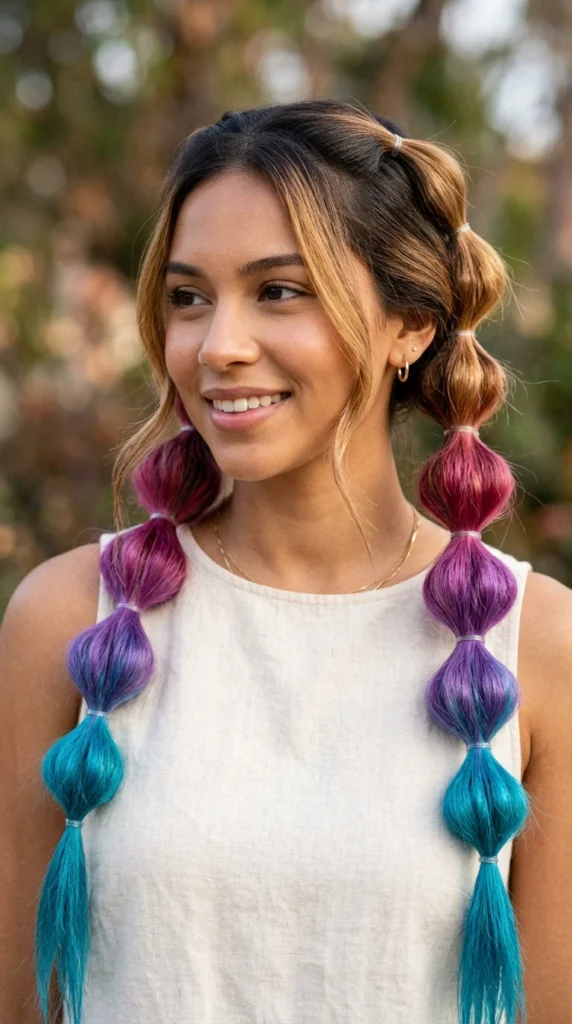
Bubble braids are the absolute best way to show off a color transition. Because each bubble “poofs” out, it catches the light and highlights the different tones in your hair. If you have ombre or highlighted hair, the bubbles will naturally showcase the gradient, making the color appear more vibrant and intentional.
How to Stop Elastic Snags: The Ultimate Guide
We’ve all been there: the end of a long day, you’re tired, and you start pulling at those tiny clear elastics, only to hear the sickening snap of your own hair breaking. Those little rubber bands are notorious for causing mechanical damage. Here is how the pros handle them.
1. The “Snip” Method
The golden rule of bubble braids is: Never pull the elastics out. Instead, use a pair of small embroidery scissors or a dedicated “seam ripper” tool. Carefully slide the tip of the scissors under one loop of the elastic and snip. The band will pop off instantly without pulling a single hair.
2. The Essential Oil Trick
If you don’t want to cut your elastics (perhaps you’re using reusable ones), use a drop of hair oil or even kitchen olive oil. Rub the oil onto the elastic before you try to move it. The oil breaks down the surface tension of the rubber and allows it to slide right off the hair shaft without snagging.
3. Choose Silicone over Rubber
Not all small elastics are created equal. Look for “silicone” bands rather than “rubber” bands. Silicone has a smoother surface that is much gentler on the hair cuticle. They are slightly more expensive, but your hair health is worth the extra dollar.
4. The “Coated” Secret
If you have extremely fragile or bleached hair, try using elastics that are coated in fabric, even the tiny ones. If you can only find rubber ones, try “pre-stretching” them and coating them in a little bit of leave-in conditioner before putting them in your hair.
5. Proper Sectioning
Snags often happen because hair from one bubble gets caught in the elastic of the next. When creating your pigtails, use a rattail comb to ensure every section is perfectly clean. Use a smoothing brush on each section before applying the band to ensure there are no stray hairs waiting to get tangled.
6. Post-Braid Care
Once the elastics are out, your hair will likely have “dents” or “kinks.” Do not immediately brush them out with a fine-tooth comb. Instead, use your fingers to gently massage your scalp and loosen the hair. Follow up with a wide-tooth comb and a bit of detangling spray to restore your hair’s natural pattern without stress.