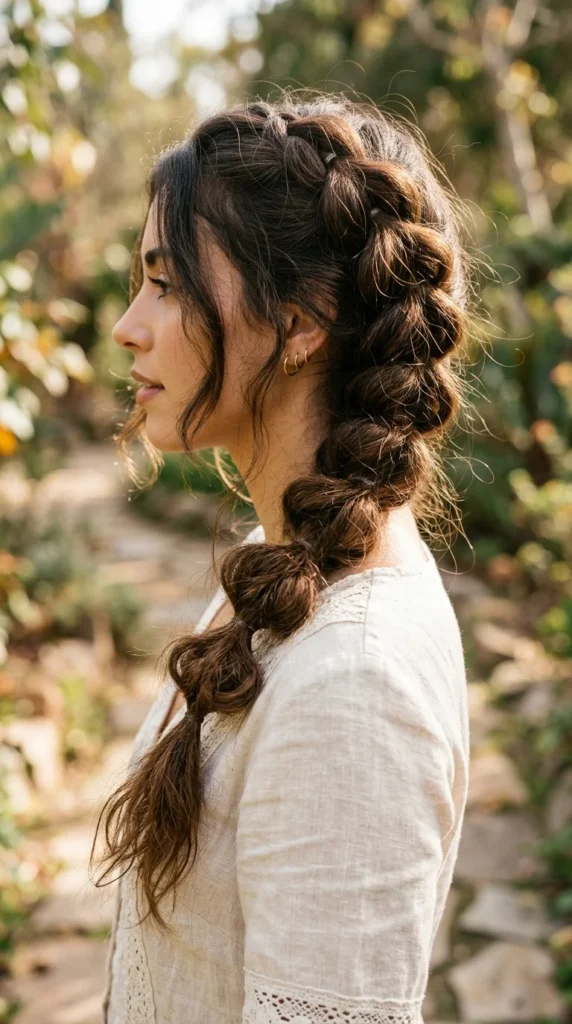

Bubble braids have taken the beauty world by storm, and for a good reason. They offer the intricate aesthetic of a complex braid with only a fraction of the effort. Whether you are heading to a music festival, a workout session, or a formal gala, there is a bubble braid style that fits the vibe. Unlike traditional three-strand braids that require manual dexterity and finger strength, bubble braids rely on strategic placement of elastics and a bit of “fluffing” to create that iconic, bouncy volume.
In this comprehensive guide, we will dive into 16 unique ways to rock this trend, along with professional tips on how to keep your bubbles secure all day and how to pair them with your wardrobe.
1. High Ponytail
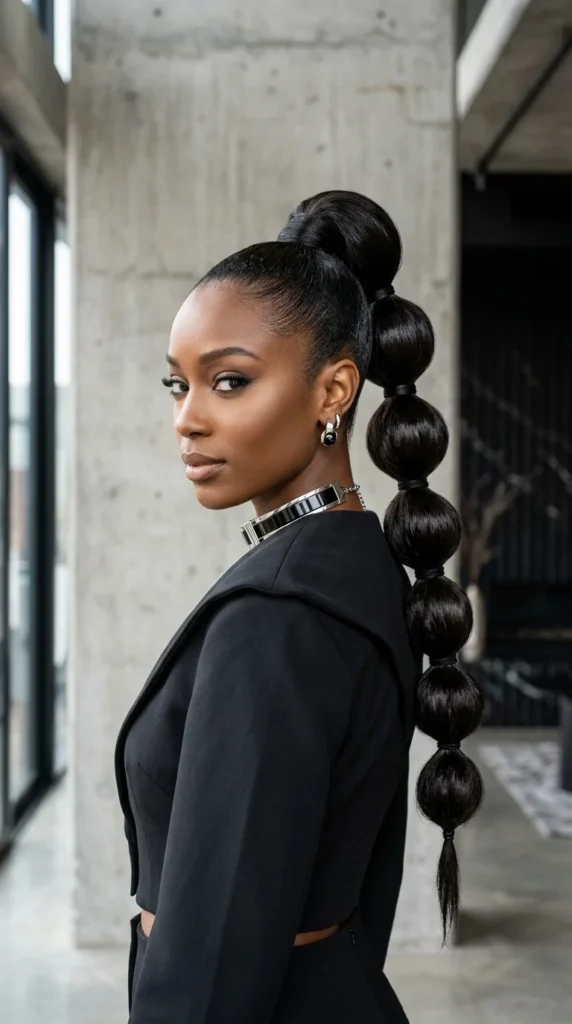
The high ponytail bubble braid is the ultimate “power move” hairstyle. It combines the sleekness of a snatched ponytail with the playful volume of bubbles. To achieve this, slick back your hair with a firm-hold gel to eliminate flyaways. Once the ponytail is secured at the crown, place elastics every two to three inches down the length of the hair. The key is to pull the hair outward between each elastic to create a spherical shape. This look is perfect for showing off your bone structure and pairs beautifully with high-neck tops or oversized blazers.
2. Double Pigtails
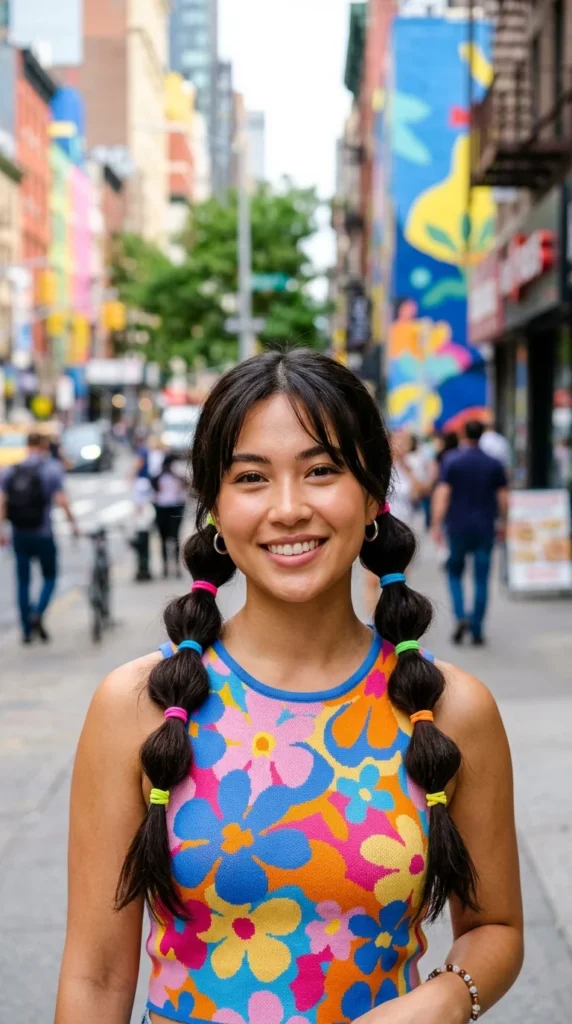
Double pigtail bubbles offer a nostalgic, Y2K aesthetic that is both fun and functional. This style is excellent for active days because the multiple elastics keep the hair extremely secure. For a “funky” twist, use contrasting elastic colors or even small charms. This look matches perfectly with streetwear, dungarees, or a simple graphic tee.
3. Half-Up Style

If you can’t decide between wearing your hair up or down, the half-up bubble braid is your best friend. It keeps the hair out of your face while maintaining the romantic feel of long, flowing locks. This style is particularly effective for those with medium to long hair. To give it more “funk,” try adding a small velvet bow at the very first elastic.
4. Side Braid
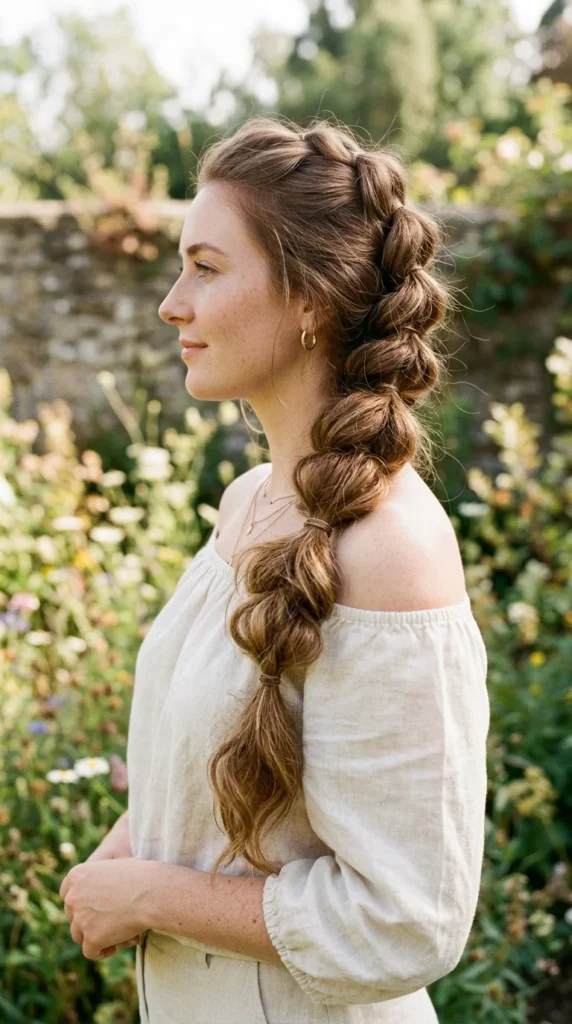
The side bubble braid is the “cool cousin” of the side-swept French braid. It feels more relaxed and bohemian. By pulling all your hair to one side and creating bubbles that gradually get smaller toward the ends, you create a beautiful silhouette. This style pairs excellently with off-the-shoulder dresses and floral prints.
5. Space Buns
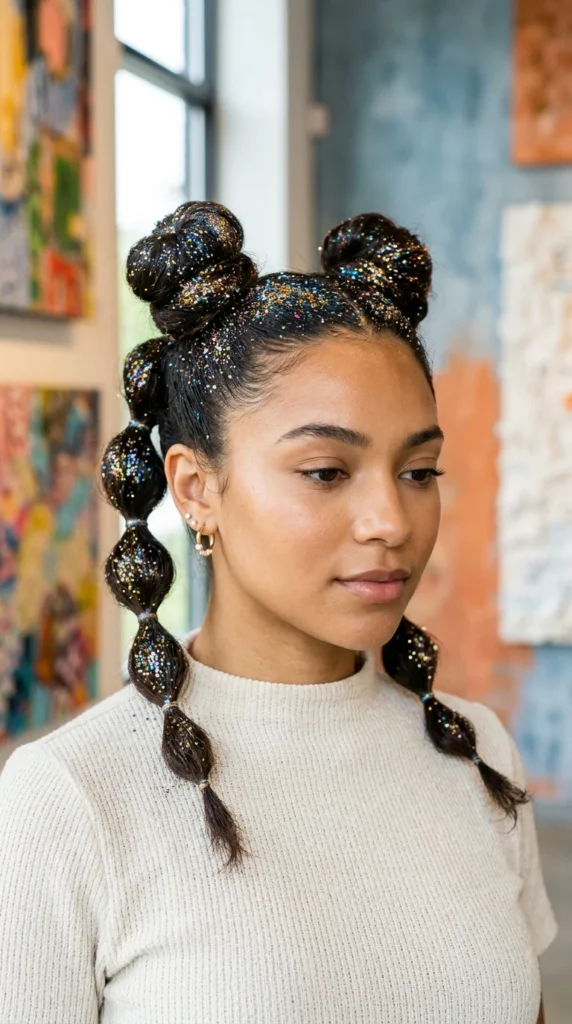
Space buns are already iconic, but adding bubble “tails” to them takes the look to a futuristic level. This is a staple for festivals and concerts. You can even wrap the first bubble in a bit of tinsel or hair glitter for extra sparkle. This look demands a bold outfit—think holographic fabrics or bright neon colors.
6. Rainbow Elastics
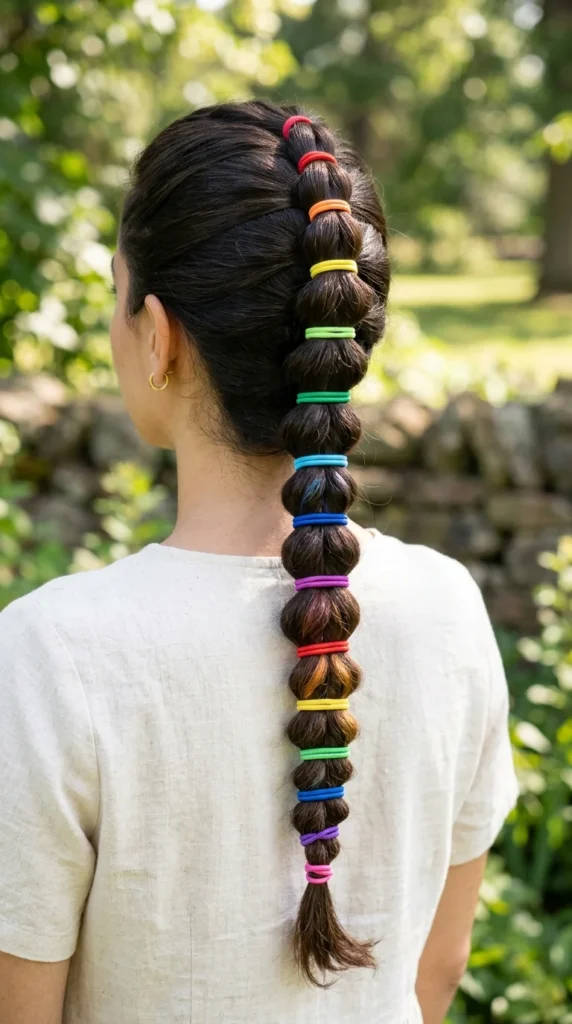
Sometimes the “funk” comes from the accessories rather than the structure. Using rainbow-colored elastics is a simple way to make a basic bubble braid pop. This is a great choice for Pride events, birthday parties, or just brightening up a rainy day. Match this with a neutral outfit to let the hair be the star of the show.
7. Face-Framing Bubbles
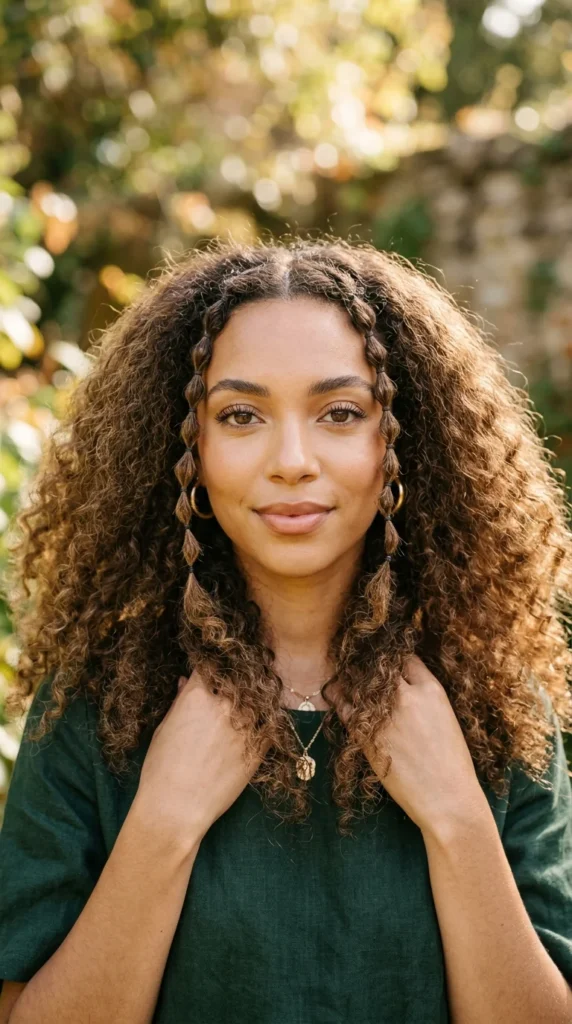
Mini face-framing bubble braids are a direct nod to 90s fashion. They are subtle enough for everyday wear but distinct enough to make a statement. These work best on thin sections of hair right at the front. Because these bubbles are smaller, you’ll want to use tiny clear elastics to keep the focus on the hair shape itself.
8. Dutch Hybrid
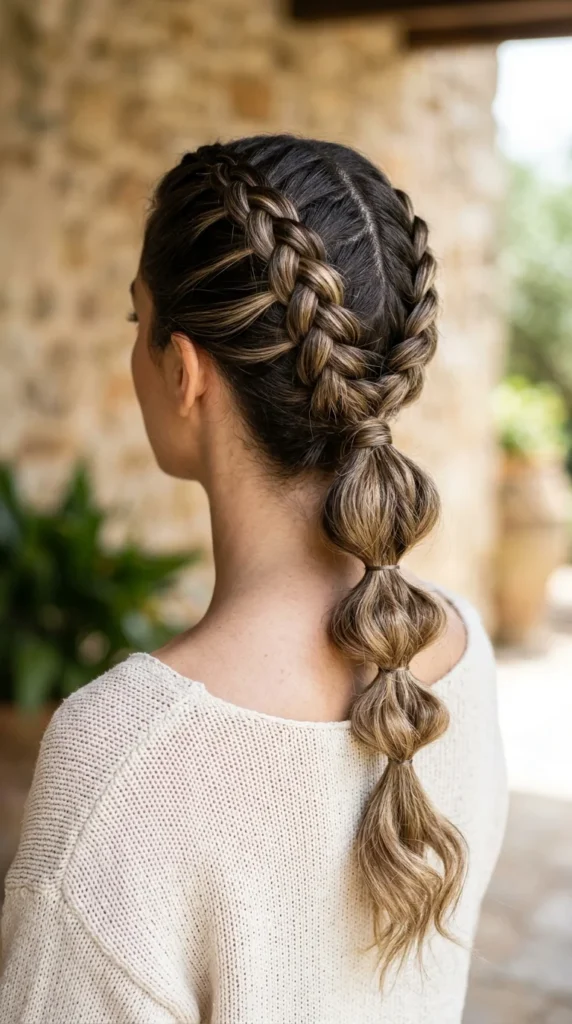
For those who have mastered the art of braiding, combining a Dutch braid with bubbles creates a high-texture, professional look. The Dutch braid provides security at the scalp, while the bubbles add whimsical volume at the ends. This is a fantastic “gym-to-dinner” hairstyle because it stays put during a workout but looks elegant enough for a night out.
9. Triple Threat
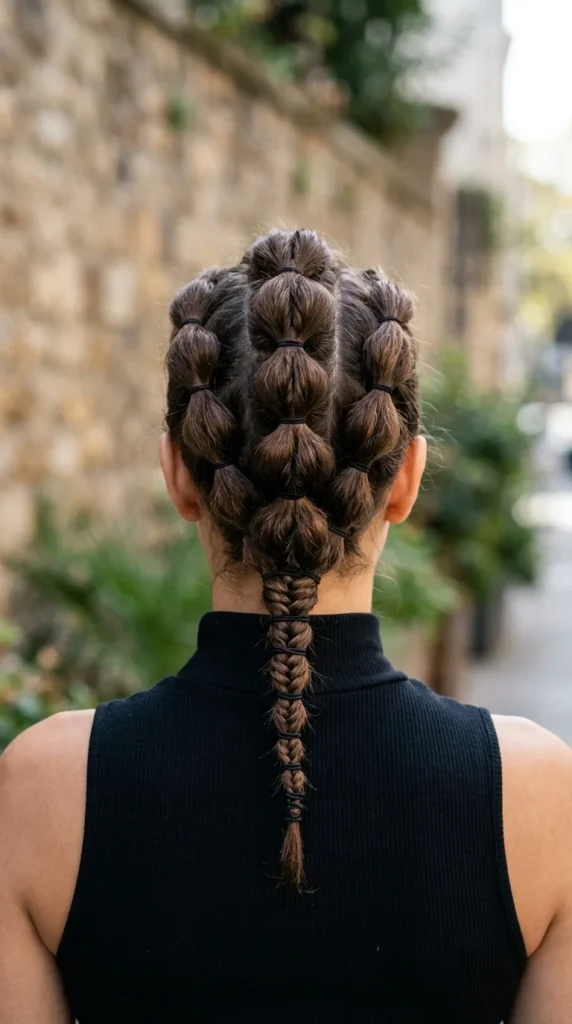
The triple bubble braid involves sectioning the hair into three vertical columns. This creates a very structured, almost architectural look. It’s a bold choice that works well with edgy fashion—think leather jackets, combat boots, and dark eyeliner.
10. Tucked Under
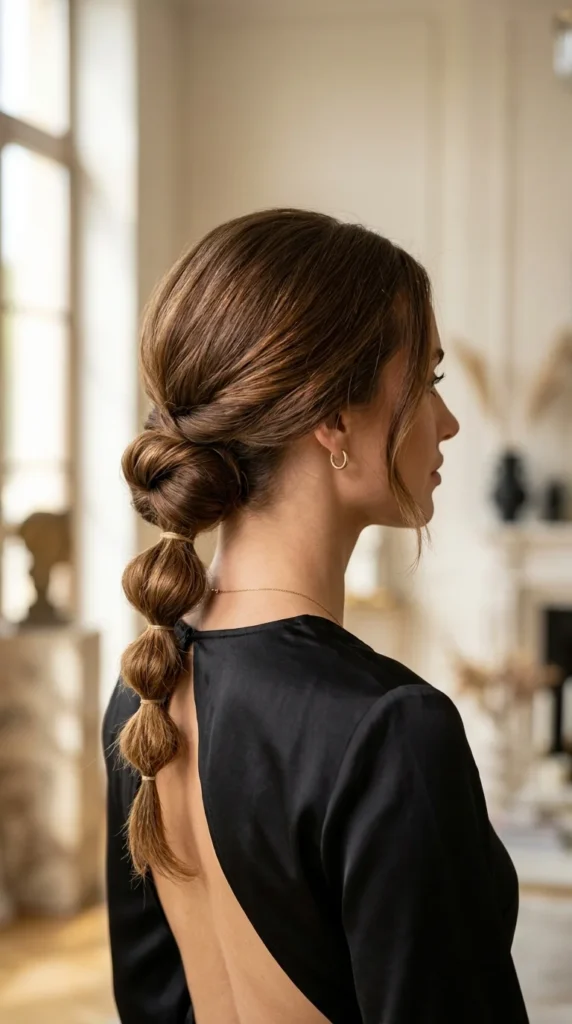
If you want a bubble braid that works for a wedding or a corporate event, the tucked-under version is the way to go. By folding the tail of the braid under itself and securing it with bobby pins, you transform a casual style into an elegant updo. This matches perfectly with silk slip dresses or tailored trousers.
11. Glitter Bubbles
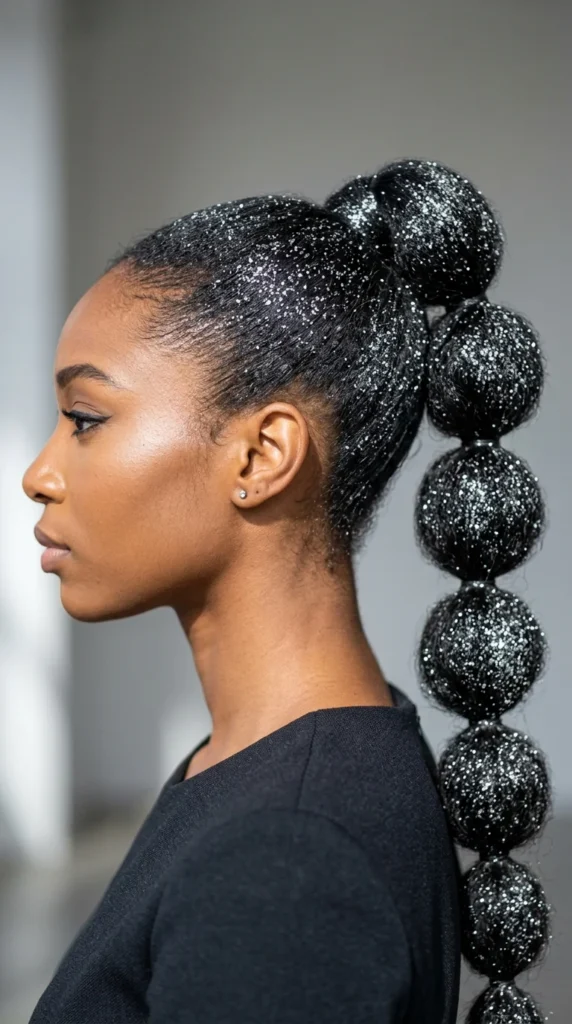
Texture isn’t just about the hair itself; it’s about what you add to it. Applying hair gel mixed with chunky glitter to the “bubbles” creates a disco-ready look. This is a great way to hide any frizz or unevenness in your bubbles while making a major style statement.
12. Butterfly Clips
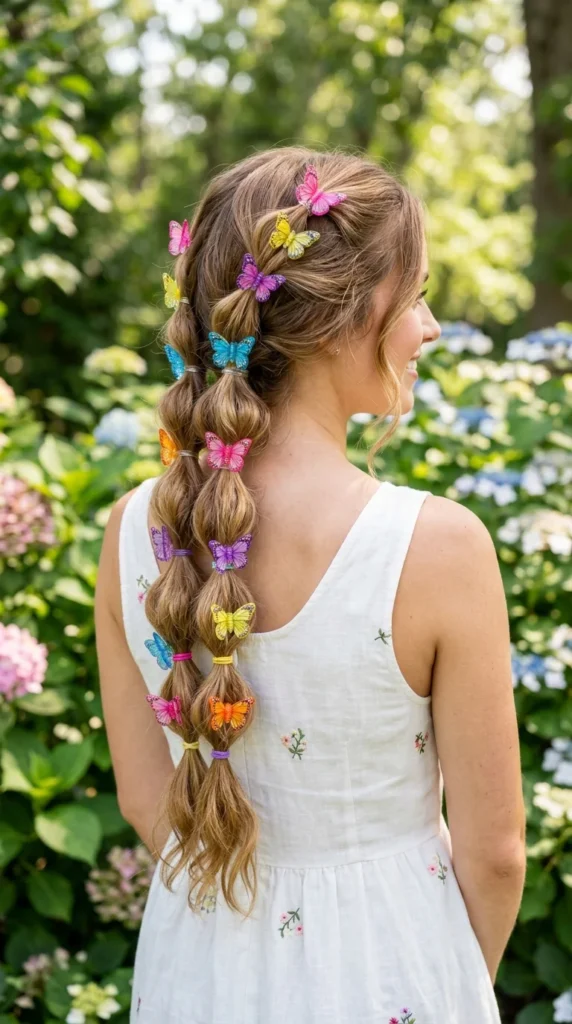
Embrace the ultimate “soft girl” aesthetic by adding butterfly clips to your bubble braid. Placing a clip over each elastic band hides the rubber and adds a layer of 3D texture. This look is inherently youthful and pairs well with pastel colors and denim.
13. Extra Long
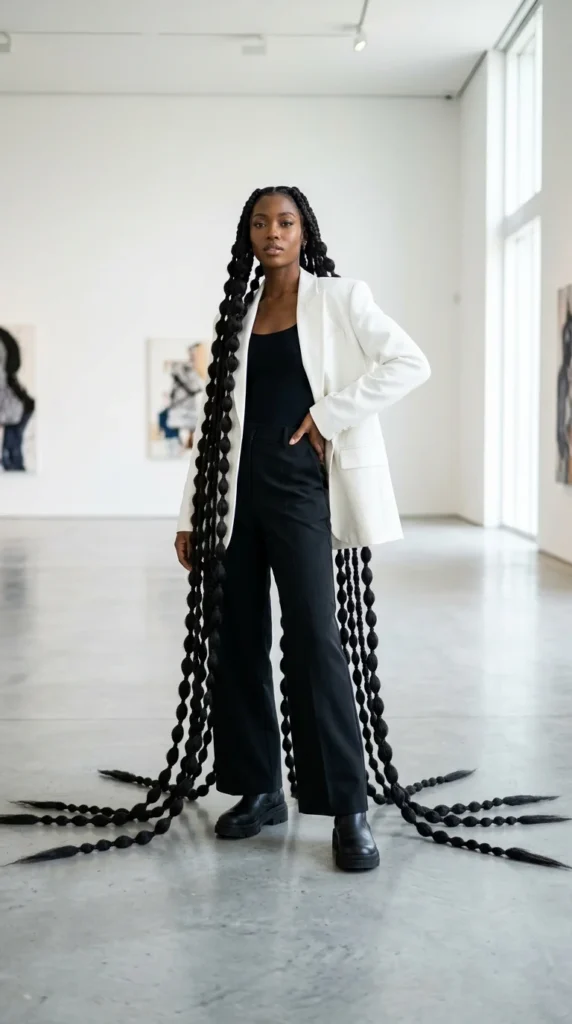
If you have the length (or the extensions), the extra-long bubble braid is a showstopper. Because long hair can get heavy, the key here is to use “heavy-duty” elastics. This style looks incredible with minimalist, body-con outfits where the length of the hair creates the silhouette.
14. Messy Bedhead
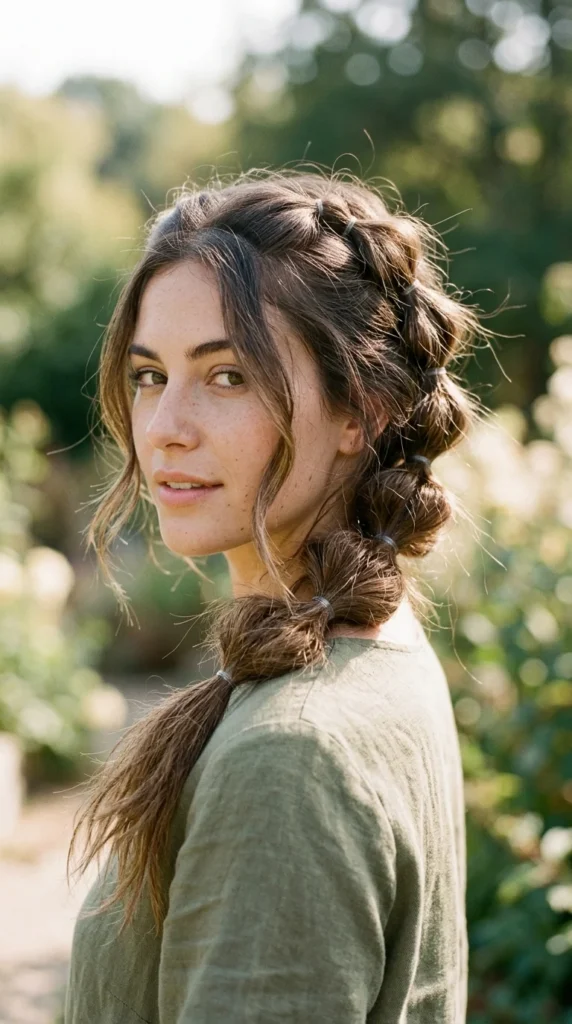
Not every bubble braid needs to be perfect. The “messy” version relies on sea salt spray and backcombing. Instead of smooth spheres, you want textured, slightly irregular “clouds” of hair. This is the perfect “cool girl” look for a beach day or a casual brunch.
15. The Crown
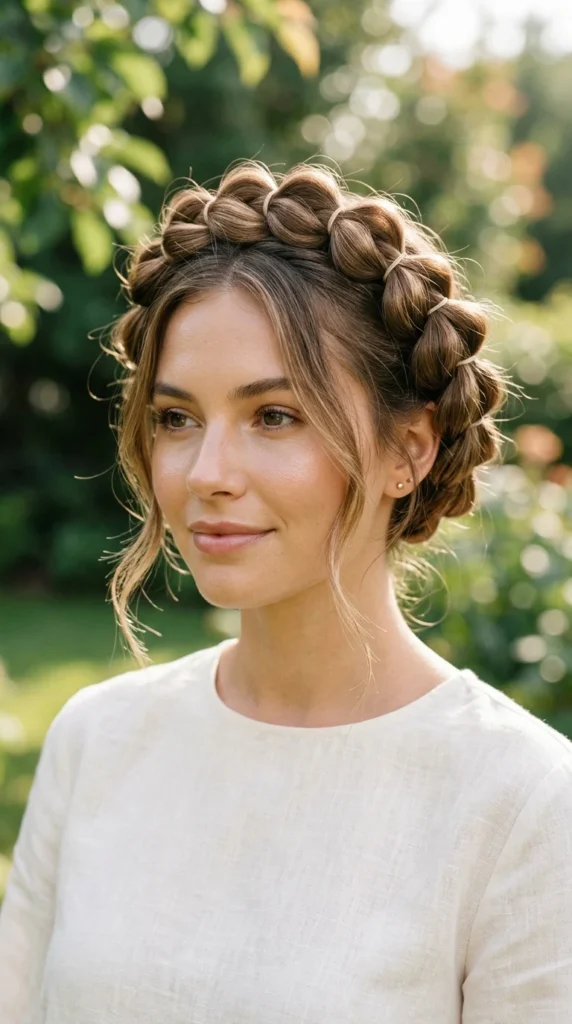
The bubble crown is a creative alternative to the traditional milkmaid braid. It involves creating a long bubble braid and pinning it around the circumference of the head. It’s a regal, ethereal look that pairs beautifully with lace and vintage-inspired clothing.
16. Ribbon Wrapped
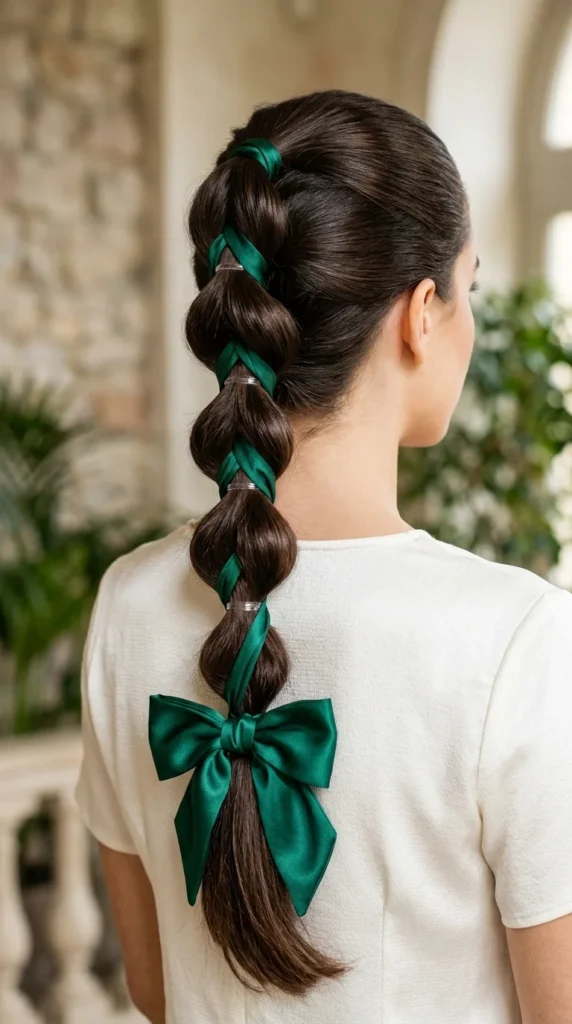
For a touch of femininity, weave a ribbon through your bubble braid. You can wrap the ribbon around each elastic or weave it through the bubbles themselves. This adds a pop of color and a sophisticated finish that matches perfectly with a sundress or a cozy knit sweater.
How to Style: The Perfect Bubble
Creating a bubble braid is simpler than it looks, but the technique is everything.
- Step 1: Prep. Apply a light mousse or texturizing spray to damp hair and blow-dry. This gives the hair “grip” so the elastics don’t slide.
- Step 2: Section. Decide on your base (ponytail, pigtails, or half-up). Secure the first section firmly.
- Step 3: The Interval. Move down two to three inches and place your second elastic.
- Step 4: The “Pancaking”. This is the most important step. Hold the second elastic with one hand and use your other hand to gently pull the hair outward between the two elastics. Do this symmetrically until a “bubble” forms.
- Step 5: Repeat. Continue down the length of the hair.
How to Hold: Making It Last
The biggest challenge with bubble braids is the bubbles “deflating” over time.
- Use the Right Elastics: Avoid the large, fabric-covered hair ties for the bubbles themselves. Use small, high-quality silicone elastics.
- Backcomb for Volume: Before moving to the next section, lightly tease the hair that will become the next bubble. This creates an internal structure that prevents the bubble from collapsing.
- Double Elastic: If you have very thick or heavy hair, use two elastics at every interval for extra security.
- The Hairspray Trick: Once the bubble is puffed to your liking, give it a quick blast of strong-hold hairspray before moving to the next one.
How to Match Your Look
- For Streetwear: Go for high-altitude bubbles (high ponytails) and use neon or black elastics. Pair with hoodies and joggers.
- For Romantic Dates: Opt for the half-up or side-swept version. Use clear elastics and pull out small “tendrils” around the face to soften the look.
- For Formal Events: Choose the tucked-under or crown style. Use elastics that match your hair color exactly so they disappear, and finish with a high-shine serum.
- For Festivals: The more “funk,” the better. Use glitter, charms, and multiple braids to create a high-impact, 360-degree look.