
Finding the perfect hairstyle for a party can be the difference between feeling “just okay” and feeling like the star of the show. Whether you are heading to a casual house party, a corporate gala, or a high-energy club night, your hair is your best accessory. In this guide, we break down 17 stunning party hairstyles, offering simple DIY steps for those short on time and “Pro Style” tips for when you want that flawless, salon-finished look.
1. Hollywood Waves
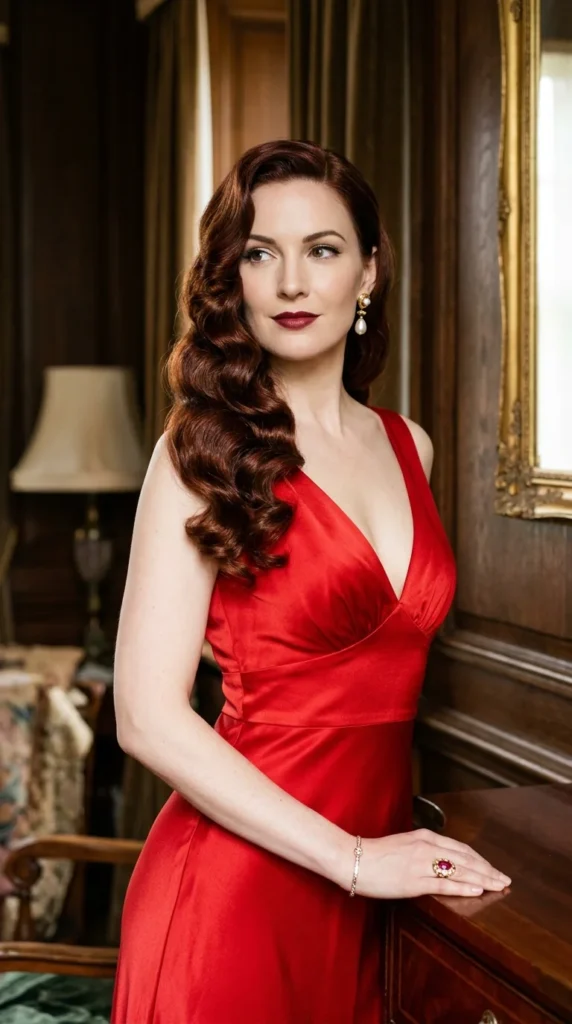
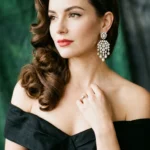
The DIY Approach: Start by applying a heat protectant. Use a 1-inch curling wand to curl your hair in the same direction all around your head. Once the curls have cooled, gently brush them out with a paddle brush. This transforms tight ringlets into soft, continuous waves. Finish with a light-hold hairspray.
The Pro Style: Professionals use the “pin curl” method. After curling each section, they clip it to the scalp and let it set until completely cold. They use a boar bristle brush and high-gloss serum to sculpt the waves into a uniform pattern, ensuring no stray hairs are visible.
2. Sleek Ponytail
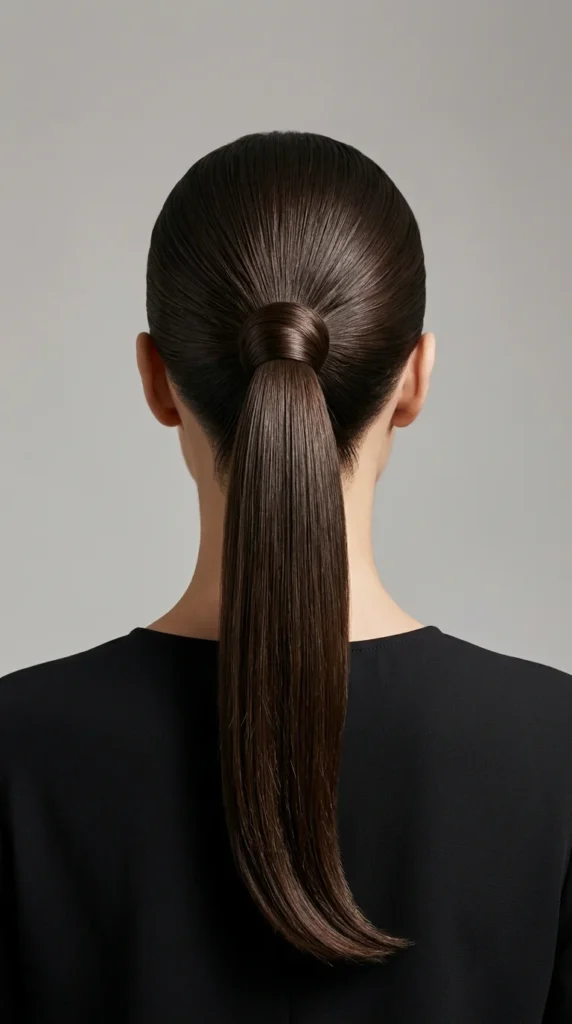
The DIY Approach: Brush your hair back thoroughly. Use a fine-tooth comb and a bit of hair gel to smooth down any bumps as you pull the hair into a high elastic. Take a small strand of hair from the bottom of the pony and wrap it around the band to hide it, securing it with a bobby pin underneath.
The Pro Style: A pro will often add clip-in extensions for extra length and thickness. They use a flat iron to get the ponytail “liquid smooth” and apply a heavy-duty edge control or wax stick to ensure a glass-like finish that lasts all night.
3. Messy Bun
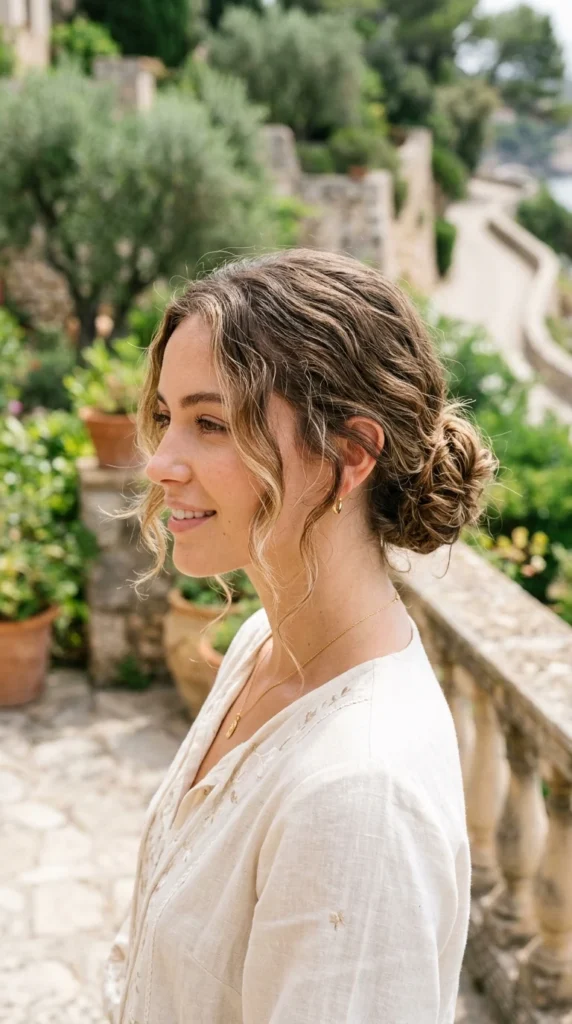
The DIY Approach: Flip your hair upside down and gather it into a loose bun at the nape of your neck or the top of your head. Secure with a scrunchie. Gently pull at sections of the bun to increase volume and tug out a few strands around your ears for a relaxed vibe.
The Pro Style: To make a messy bun look “expensive,” stylists prep the hair with sea salt spray and backcomb the roots for structural volume. They use U-pins instead of elastics to “anchor” the bun, creating a shape that looks accidental but is actually strategically secure.
4. Bubble Braid
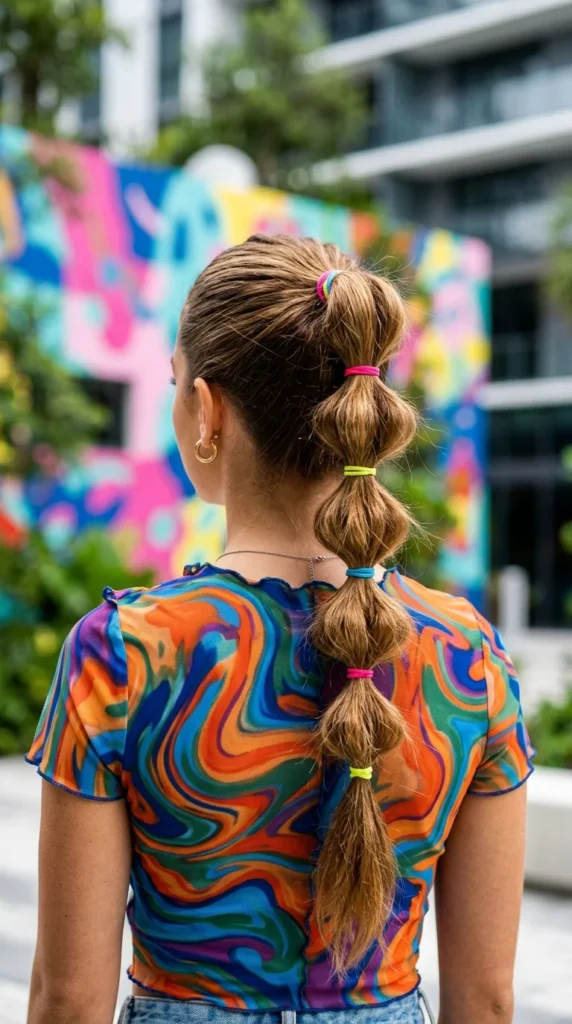
The DIY Approach: Pull your hair into a standard ponytail. Every two inches down the length of the pony, add a small clear elastic. Once all elastics are in place, use your fingers to “pancake” or pull the hair between the elastics outward to create a rounded bubble effect.
The Pro Style: Pros use hair padding or teasing techniques inside each bubble to ensure they don’t deflate. They also use “hidden” elastics and may incorporate colorful ribbons or metallic rings between the bubbles for a high-fashion editorial look.
5. Crown Braid
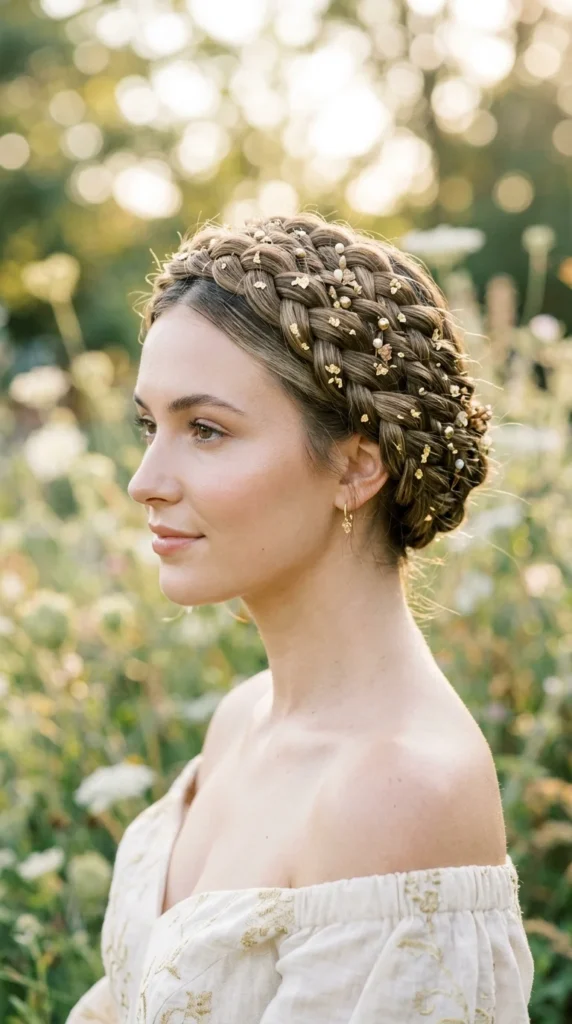
The DIY Approach: Divide your hair into two pigtail braids. Take the left braid, wrap it over the top of your head, and pin it. Do the same with the right braid, tucking the ends under the first braid. This creates a quick and easy “halo” effect.
The Pro Style: A professional will do a continuous Dutch braid starting from one ear, traveling across the forehead, and circling back to the start. This requires precise tension and sectioning, resulting in a much flatter, more integrated crown that doesn’t look like two separate pieces.
6. Side-Swept Curls
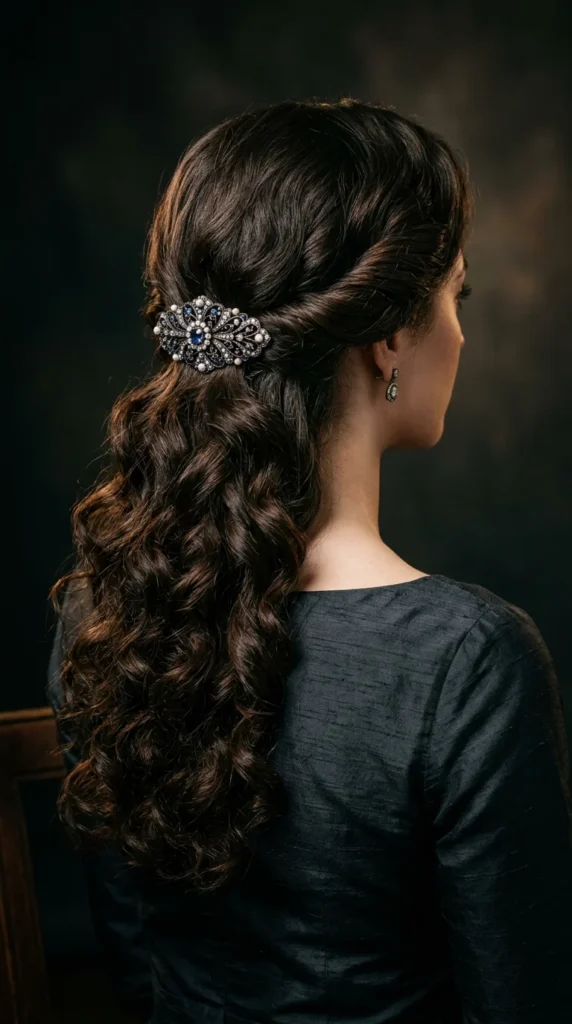
The DIY Approach: Curl your entire head. Choose a side and sweep all the hair over that shoulder. Use three or four bobby pins at the nape of your neck, stacked vertically, to hold the hair in place. Cover the pins with a decorative clip.
The Pro Style: Stylists will use “sewing” techniques or hidden “hair bungees” to ensure the sweep stays perfectly in place even if you’re dancing. They also focus on “over-directing” the curls during the heat process so they naturally want to fall to one side.
7. Half-Up Knot
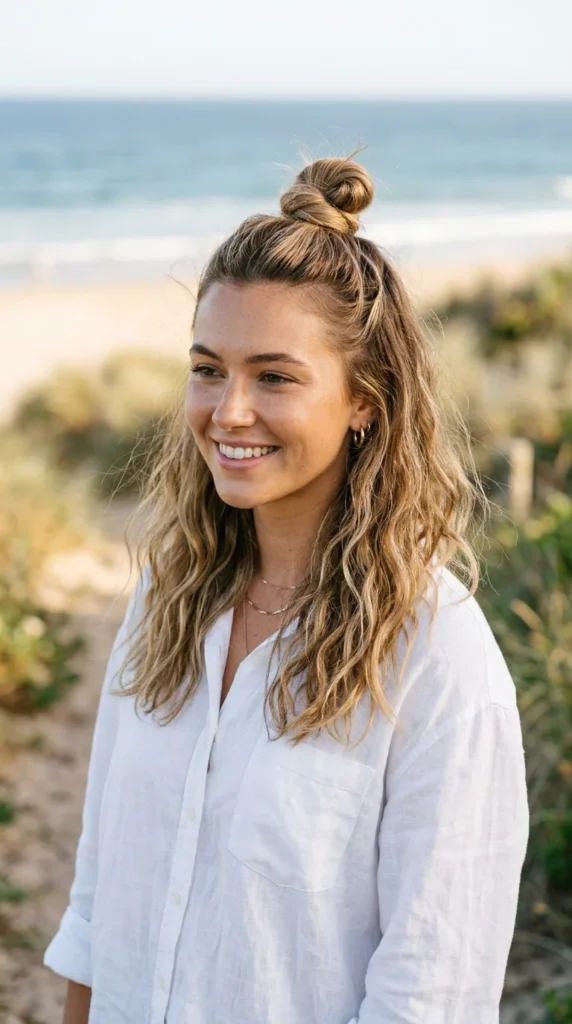
The DIY Approach: Section off the top third of your hair (from the temples up). Twist this section into a small bun at the crown and secure it with a small elastic. Leave the bottom section straight or add quick waves with a flat iron.
The Pro Style: The pro version involves “sectioning for scalp visibility”—ensuring the parts are perfectly straight. They often add “root lift” powder to the top section to give the knot more height, preventing it from looking flat against the head.
8. Sleek Chignon
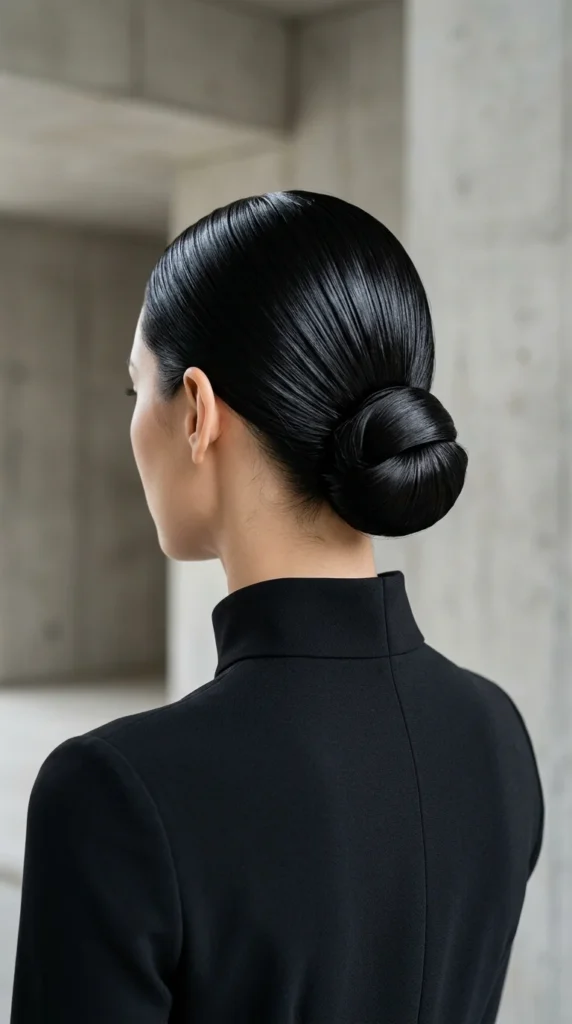
The DIY Approach: Tie your hair into a low ponytail. Create a hole just above the elastic and “tuck” the ponytail through it (a topsy-tail move). Take the remaining tail, roll it upward, and tuck it into that same space, pinning it securely.
The Pro Style: A pro chignon involves hair donuts or padding to create a perfect symmetrical sphere. They use a “hair net” in the exact shade of your hair to keep every single strand perfectly in place, giving it a sculptural, red-carpet finish.
9. Boho Fishtail
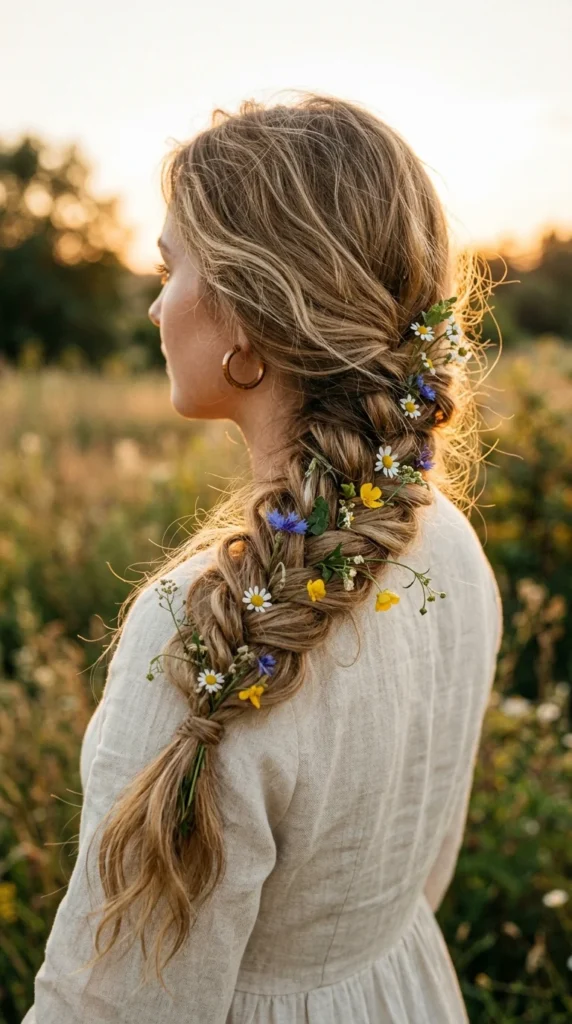
The DIY Approach: Split a side ponytail into two sections. Take a small piece from the outside of the left section and cross it over to the right. Take a small piece from the outside of the right and cross it over to the left. Repeat until you reach the bottom.
The Pro Style: The pro “Boho” look involves “irregular” weaving—changing the thickness of the strands as they go. They also use dry shampoo or texture paste to give the braid a “dusty,” matte finish that looks effortless but stays structured.
10. Space Buns
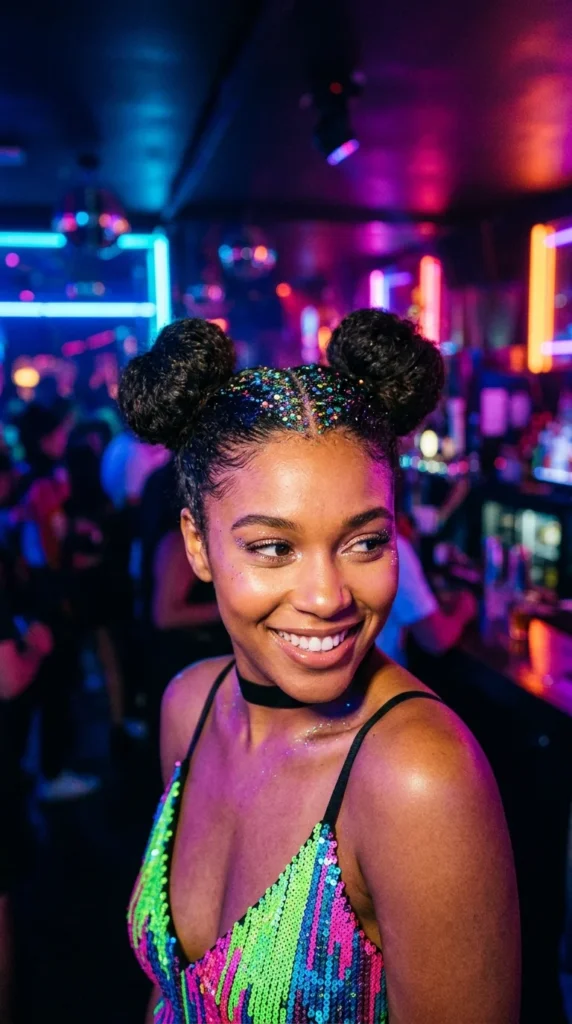
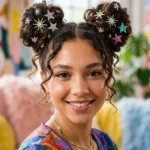
The DIY Approach: Part your hair down the middle into two even sections. Create two high pigtails. Twist each pigtail until it coils around itself into a bun. Secure with elastics and bobby pins.
The Pro Style: Pros often incorporate braids leading up to the buns (from the nape of the neck upward). They use hair-matching “fillers” inside the buns to make them perfectly round and identical in size, often finishing with a “glitter root” for festival-themed parties.
11. Twisted Halo
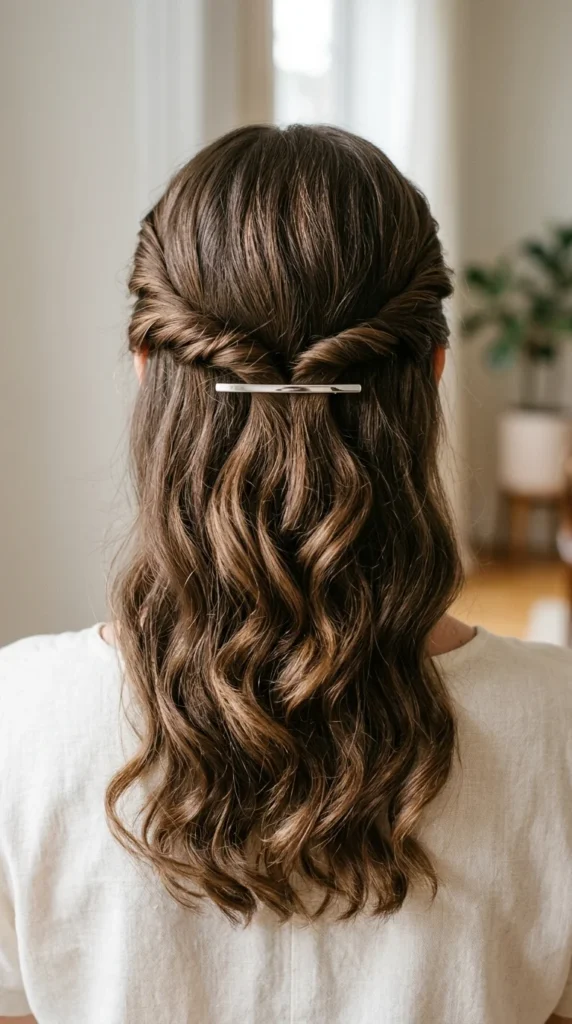
The DIY Approach: Take a small section of hair from above each ear. Twist them tightly toward the back of your head. Join them in the middle with a small clear elastic. Flip the “tail” over the elastic to create a decorative twist.
The Pro Style: The professional version uses a “rope braid” technique rather than a simple twist, which prevents the hair from unraveling. They also “back-fill” the twists with a small amount of teasing to make the halo look thicker and more prominent.
12. Wet Hair Look
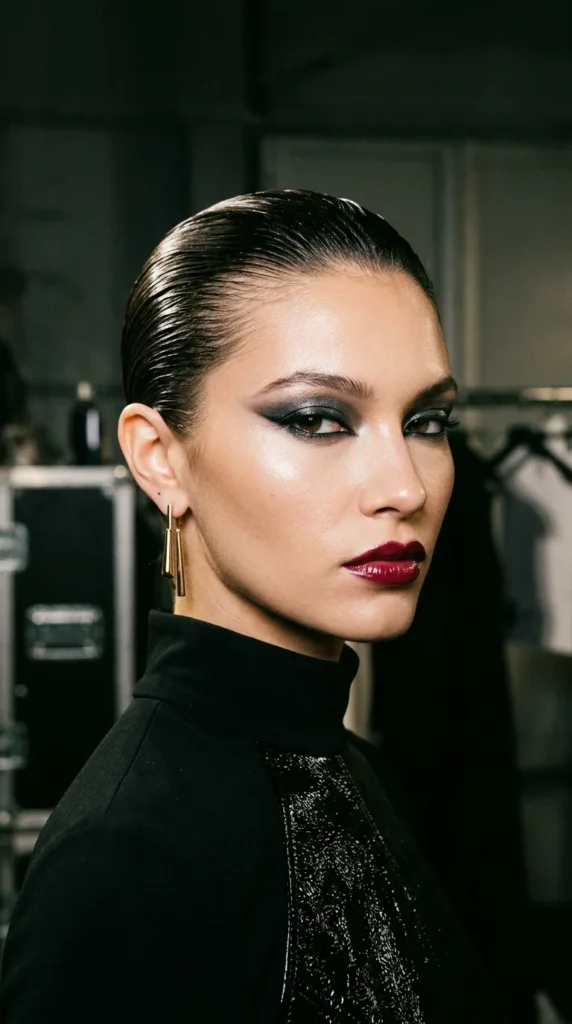
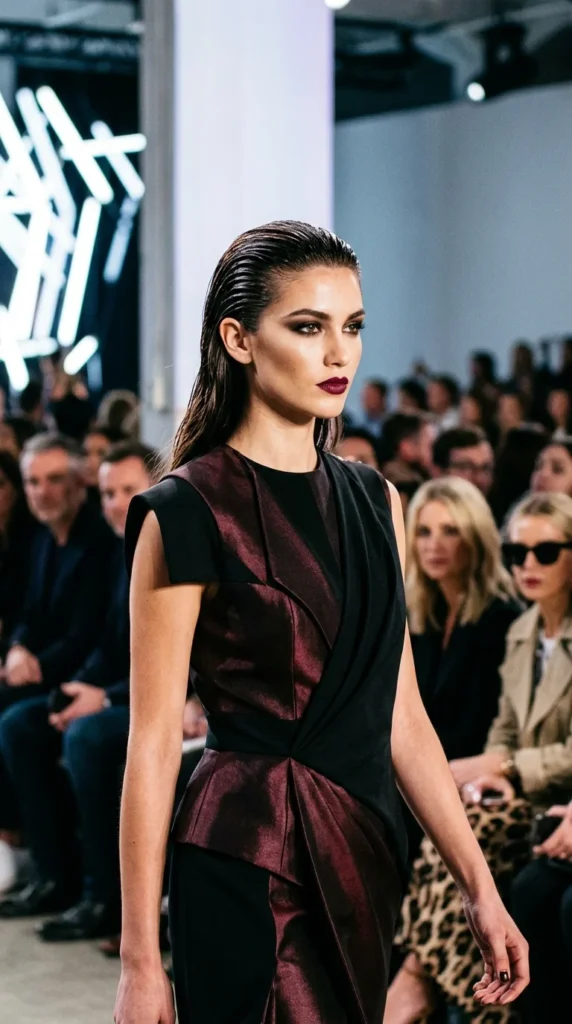
The DIY Approach: While your hair is damp, apply a generous amount of high-shine gel from the roots to the mid-lengths. Comb it back with a wide-tooth comb. Let it air dry without touching it to keep the “wet” structure.
The Pro Style: Pros don’t just use gel; they mix a heavy-duty pomade with a high-gloss serum. This prevents the hair from becoming “crunchy” or flaky. They also use a blow dryer on a low, cool setting to “set” the product in place without blowing the hair around.
13. 60s Beehive
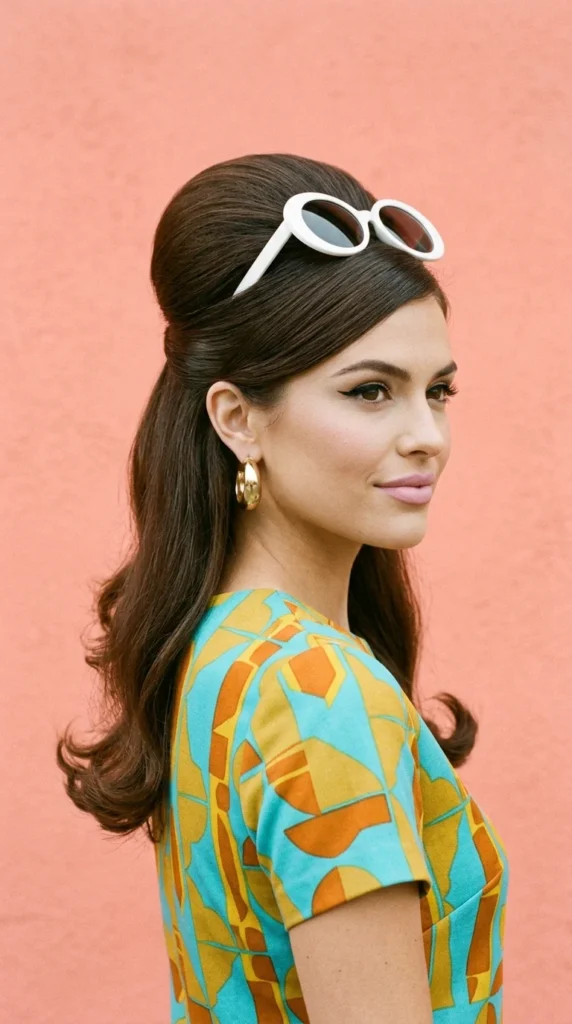
The DIY Approach: Section off the crown of your hair. Use a comb to tease (backcomb) the underside of that section until it stands up. Smooth the top layer over the “birds nest” you created and pin it at the back.
The Pro Style: A pro will use a foam “hair bump” or “rat” (a mesh insert) to provide the structure. This saves the hair from the damage of heavy teasing and ensures the height is perfectly symmetrical and won’t collapse mid-party.
14. Double Dutch Braids
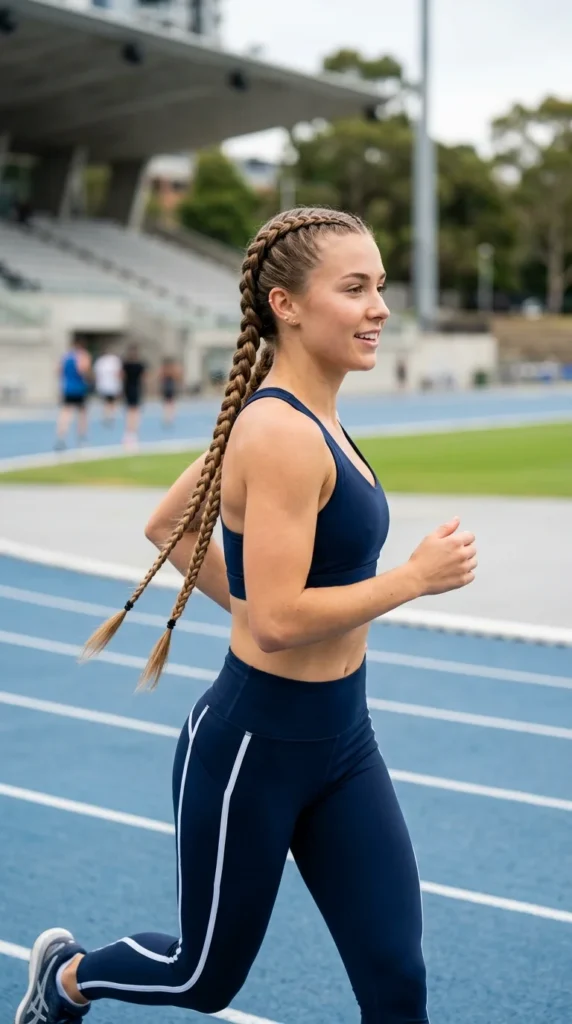
The DIY Approach: Part hair down the middle. Start a three-strand braid at the hairline, but instead of crossing strands over, cross them under. Add hair to the sections as you move toward the nape of the neck.
The Pro Style: The secret to pro Dutch braids is “hand positioning”—keeping the hands very close to the scalp for maximum tightness. They also use a wax stick on the fingertips while braiding to eliminate flyaways and create a “plastic” perfect finish.
15. Low Twisted Bun
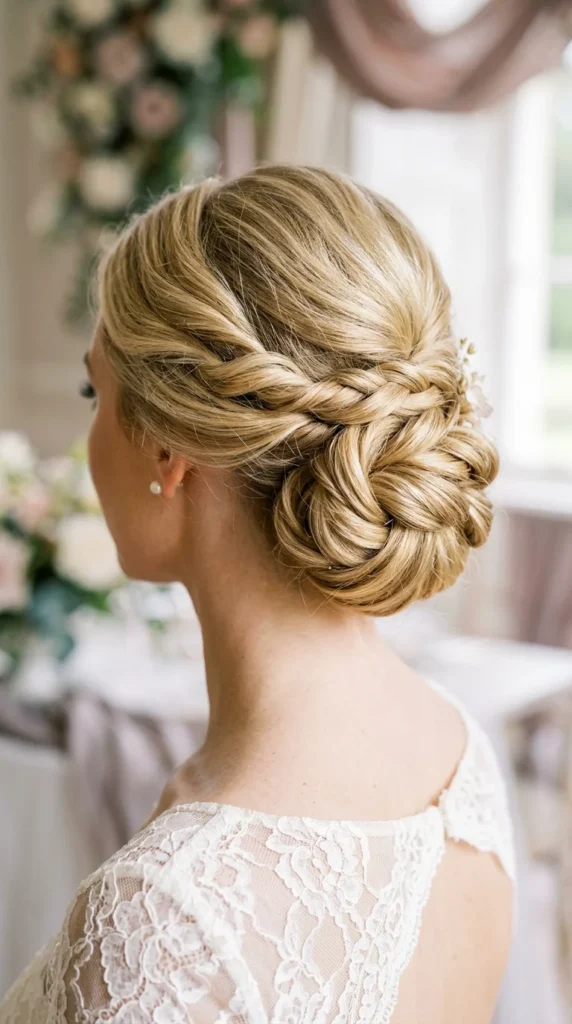
The DIY Approach: Divide hair into three sections at the back. Twist each section individually and then wrap them around each other into one large bun. Secure with as many pins as necessary.
The Pro Style: Stylists treat each twist as a separate design element, pinning them in a “rosette” pattern. They use a “shine spray” between each twist to create depth and dimension, making the bun look like a piece of art.
16. Glamorous Blowout
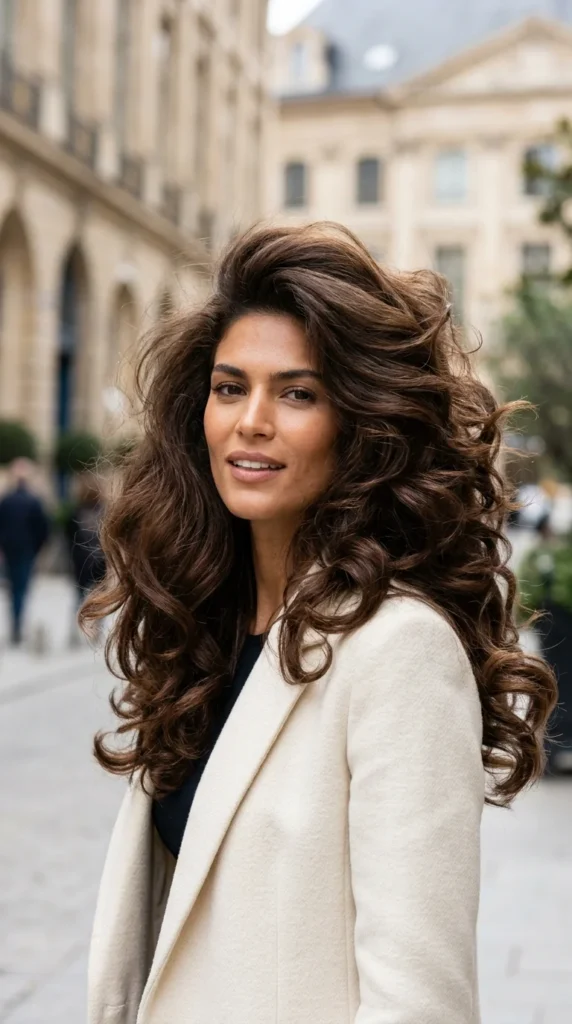
The DIY Approach: Apply a volumizing mousse to damp hair. Use a large round brush and a blow dryer, pulling the hair upward at the roots. At the ends, roll the brush and hold the heat for a few seconds before releasing.
The Pro Style: A professional blowout involves “directional drying”—drying every section in the specific direction it will lay. They use a “cool shot” on the dryer to seal the cuticle and often finish by putting the hair in large Velcro rollers for 20 minutes to “lock in” the bounce.
17. Ribbon-Tied Pony
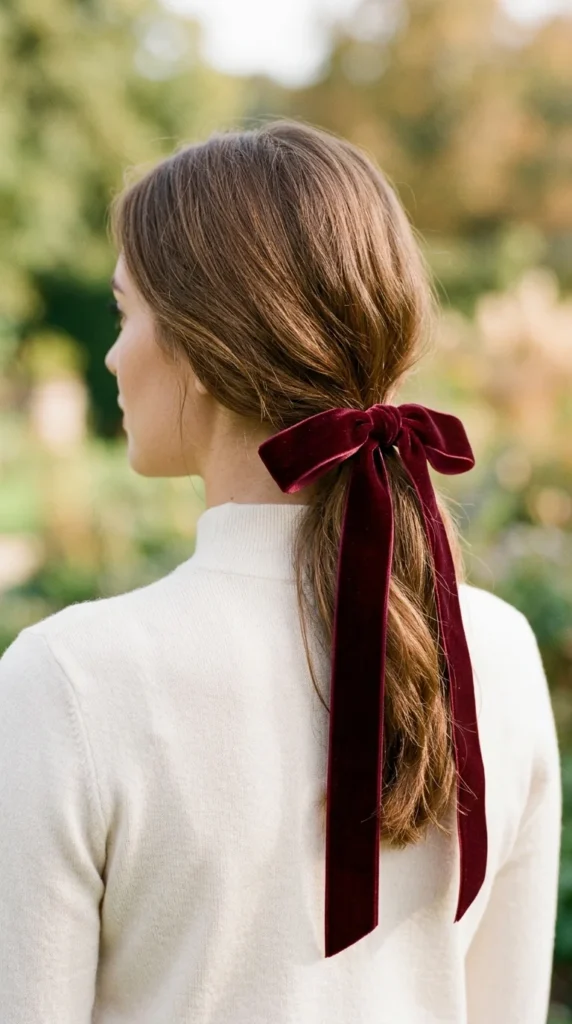
The DIY Approach: Pull hair into a low, sleek ponytail. Take a piece of velvet or satin ribbon and tie it in a simple bow over your elastic. Let the ends of the ribbon hang long for a dramatic effect.
The Pro Style: A pro will “anchor” the ribbon by looping it through the elastic first so it cannot slide down. They may also “wire” the ribbon bow so it stays perfectly pert and doesn’t limp throughout the evening, ensuring the photo-ready look lasts.