The holiday season is the perfect time to let your creativity shine, and what better canvas than your hair? Christmas tree braids have become a viral sensation for a reason: they are whimsical, festive, and surprisingly versatile. Whether you are heading to an “ugly sweater” party or just want to add some holiday cheer to your office look, these braided styles range from subtle and elegant to full-blown festive masterpieces.
In this guide, we’ll explore 16 unique ways to rock the Christmas tree braid trend, followed by the professional secrets to making sure your masterpiece doesn’t turn into a tangled mess before the eggnog is served.
1. Green Ribbons
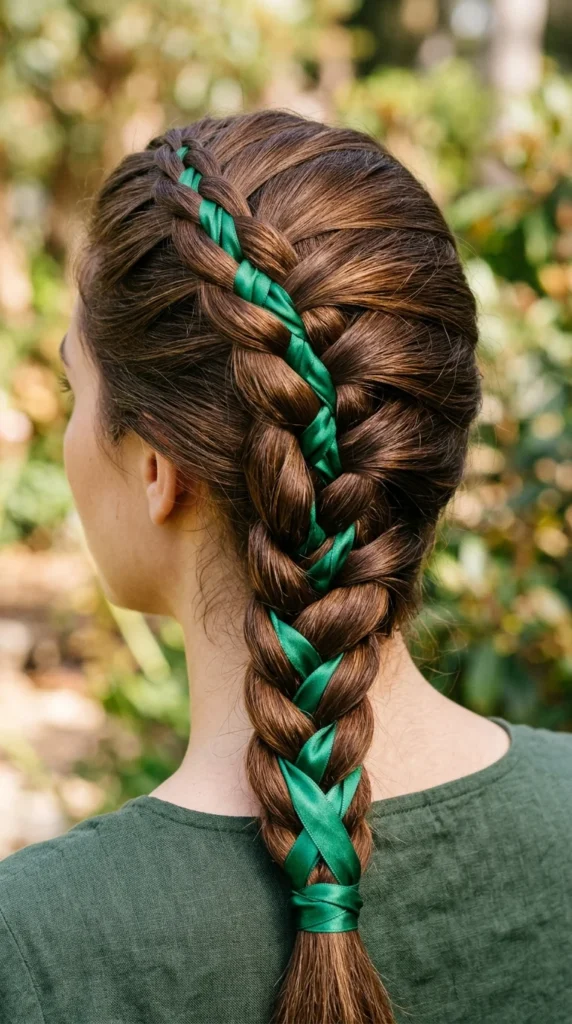
The easiest way to transform a standard braid into a holiday statement is by weaving in a green ribbon. By using a Dutch or French braid as your base, you can “lace” the ribbon through the outer edges of the braid. The key is to start narrow at the top and widen the ribbon loops as you move down, creating that iconic triangular evergreen silhouette.
2. Ornament Charms
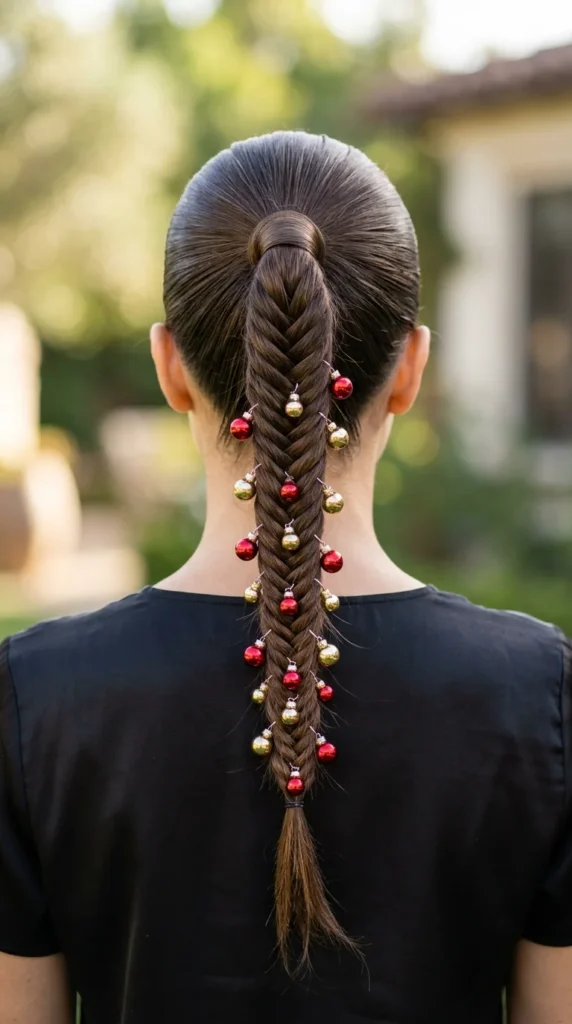
If you want a look that truly pops, treat your hair like an actual tree. Tiny, lightweight plastic ornaments can be attached to hair rings or bobby pins and tucked into the “branches” of your braid. This 3D effect is a showstopper and adds incredible texture and movement to the style.
3. Glitter Parting
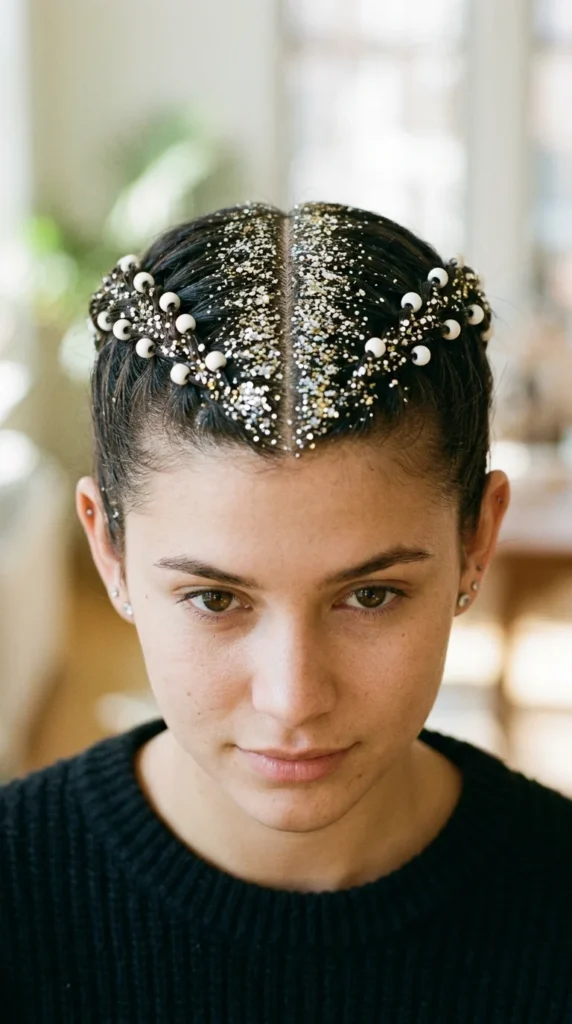
For those who prefer a more modern, “cool girl” holiday vibe, the glitter parting is the way to go. Combine this with two small braids on either side of the head. The glitter acts as the “lights” or “tinsel” of the tree, giving off a magical shimmer every time you turn your head under the Christmas lights.
4. Double Trees
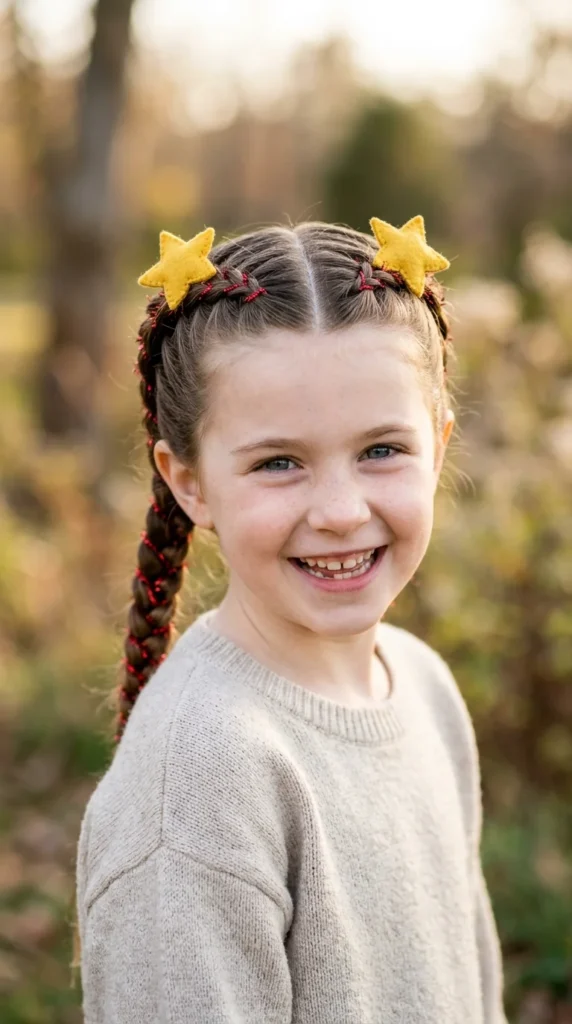
Why have one tree when you can have two? Double Christmas tree braids are perfect for kids or anyone looking for a playful, symmetrical look. These work best as pigtail-style Dutch braids where the “tree” effect is created using contrasting colored elastics or ribbons that bridge the gap between the two braids.
5. Star Topper
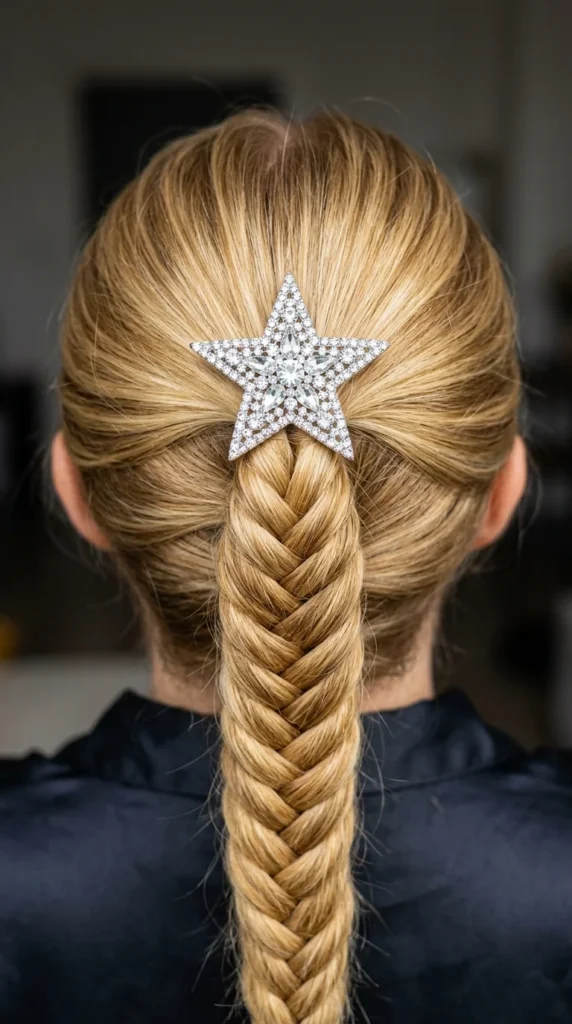
No Christmas tree is complete without a star. Using a high-quality rhinestone or gold star clip at the beginning of your braid (near the crown of your head) instantly defines the shape. It provides a focal point and makes the “tree” theme unmistakable, even if the rest of your braid is relatively simple.
6. Upside Down
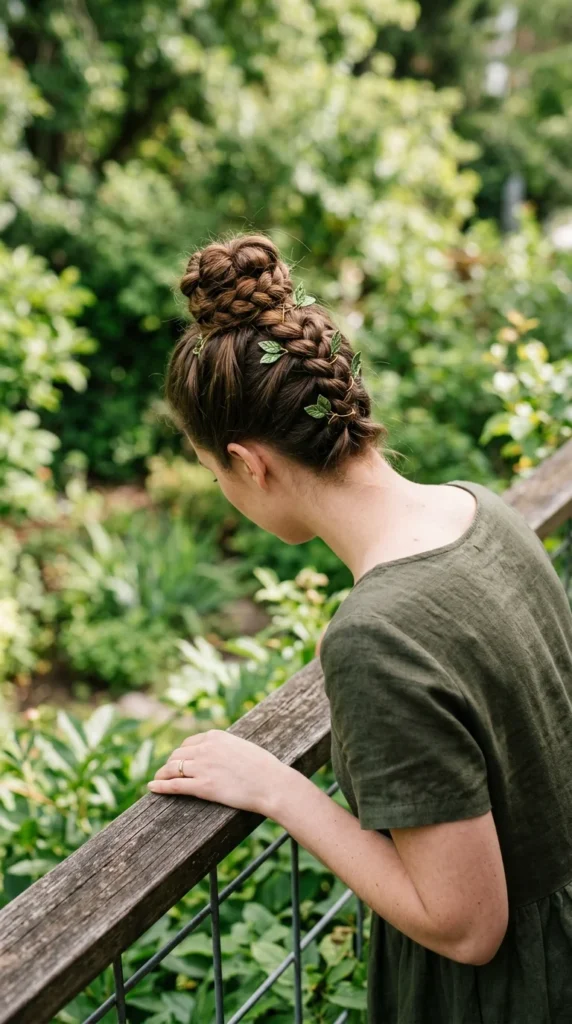
The upside-down Christmas tree braid is an architectural marvel. By braiding from the nape of your neck upward toward the crown, you create a natural taper that mimics a tree. Finish the look with a large bun at the top, which can be decorated to look like the “star” or a giant bauble.
7. Pull-Through
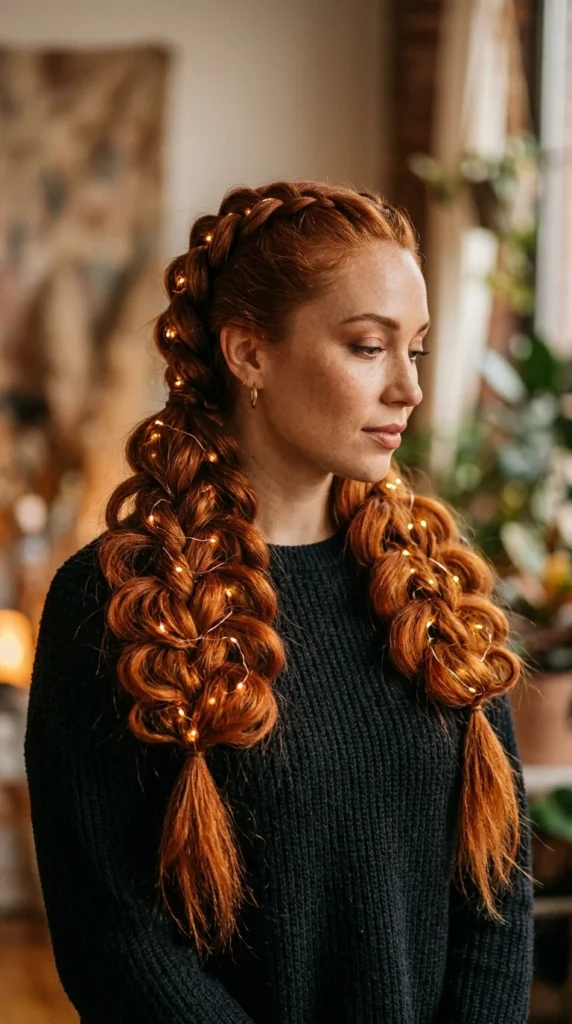
The pull-through braid is the best choice for those with fine hair because it creates massive volume. Because each section is secured with an elastic, it’s also the sturdiest base for heavier decorations. You can “pancake” (pull apart) the loops to make the tree look lush and full, just like a real Douglas fir.
8. Candy Cane
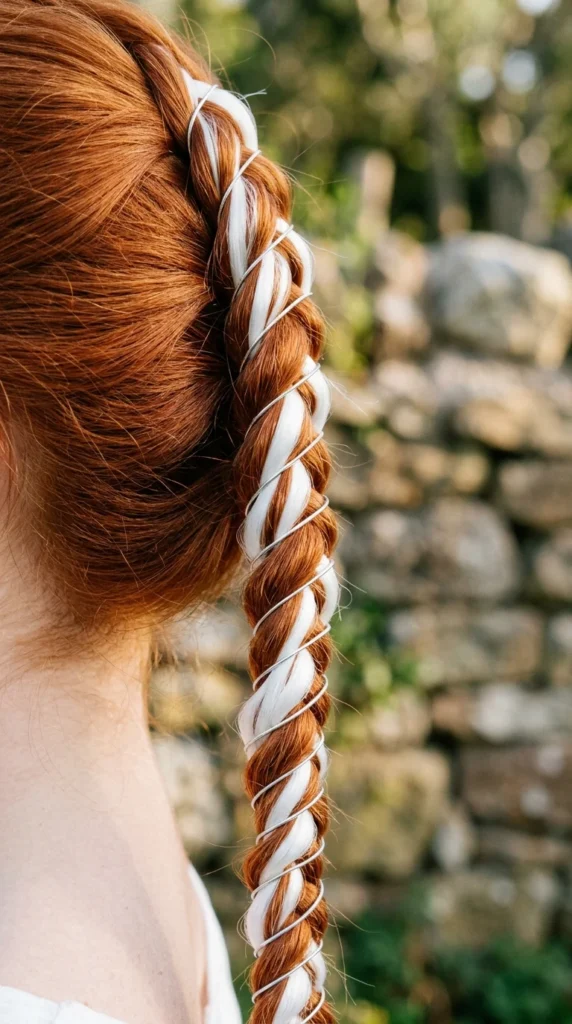
While not a literal tree shape, the candy cane braid uses the spirit of the season. By incorporating red and white ribbons or extensions into a two-strand rope braid, you create a striped effect that looks exactly like the classic holiday treat. It’s a sleek, sophisticated take on festive hair.
9. LED Lights
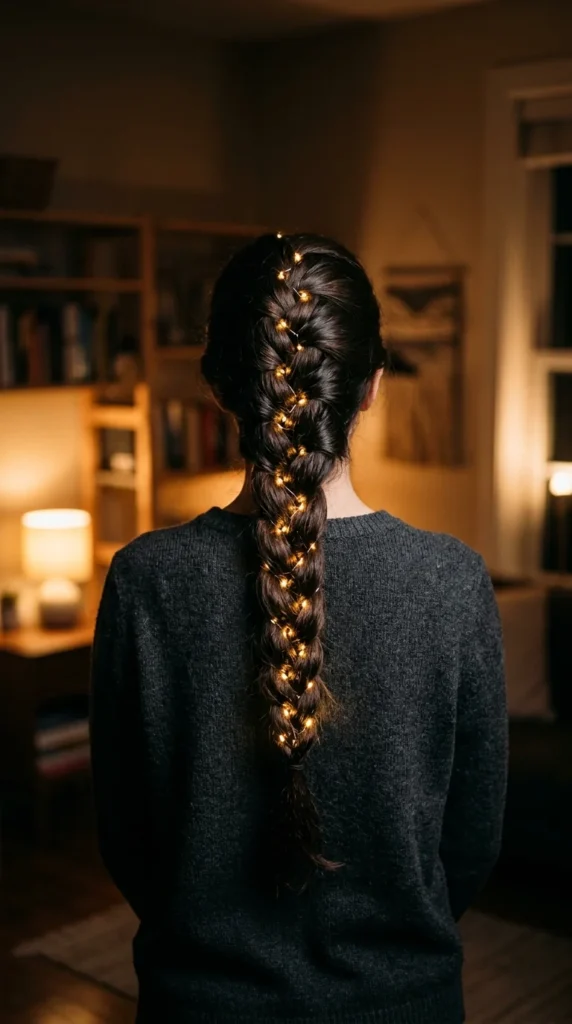
For the ultimate “wow” factor, you can actually light up your hair. Miniature LED fairy lights with tiny, hideable battery packs are widely available. Weave the thin wire through your braid to mimic a lit-up tree. Just ensure the battery pack is tucked securely into a bun or pinned behind a thick section of hair for comfort.
10. Fishtail Texture
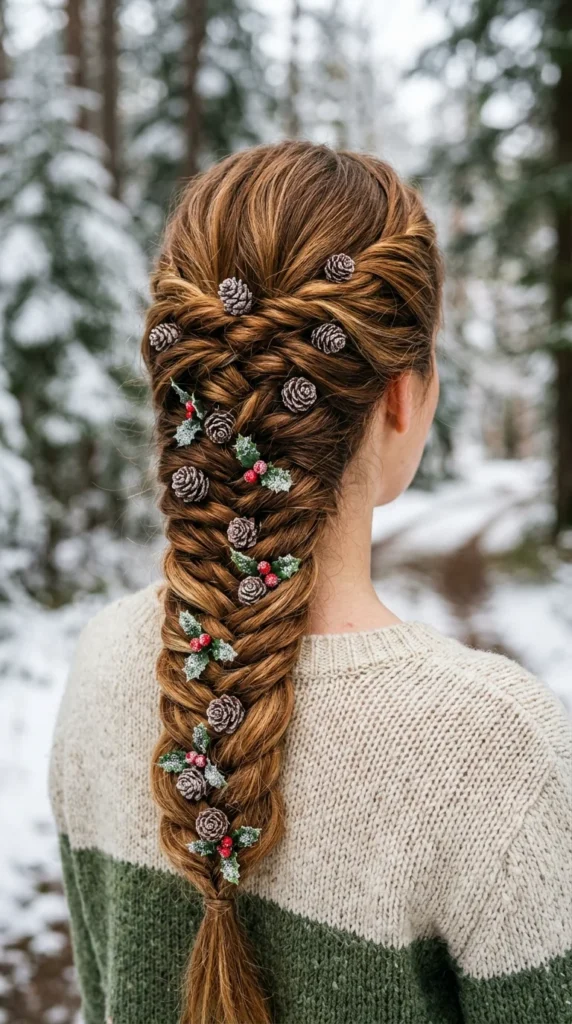
The intricate, overlapping nature of a fishtail braid naturally mimics the needles of a pine tree. If you want a more “rustic” or “Boho” Christmas look, a loose fishtail braid decorated with natural elements like tiny pinecones or holly berries is the perfect choice for a winter woodland aesthetic.
11. Snowflake Accents
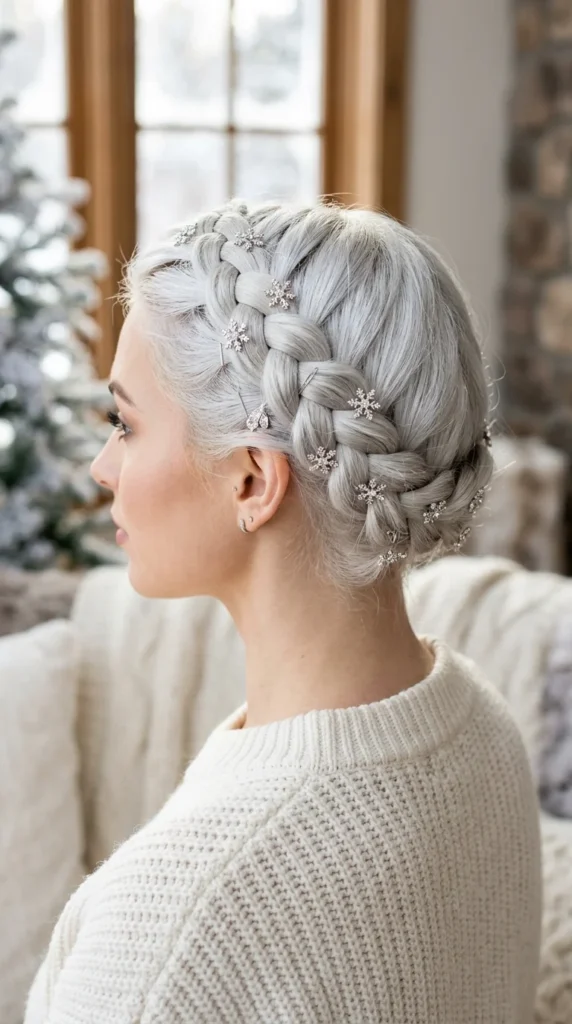
If you want to lean into the “Winter Wonderland” theme, skip the green and red for silver and white. Snowflake-shaped hair jewelry pinned into a circular crown braid or a long side braid creates a frozen, ethereal look that is perfect for formal holiday parties or New Year’s Eve.
12. Velvet Bows
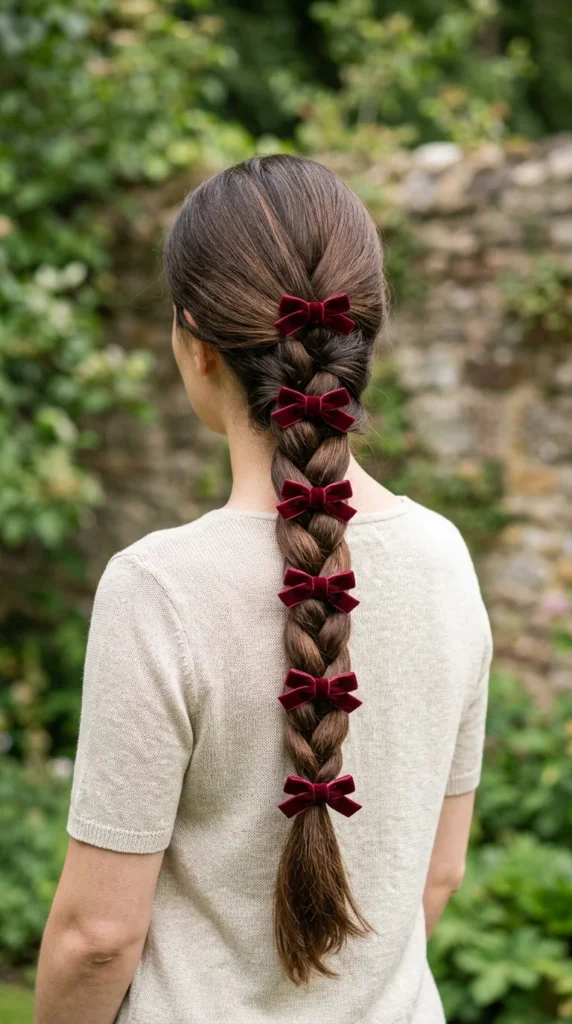
For a classic, vintage holiday look, nothing beats velvet. Adding small velvet bows down the “spine” of your braid adds a touch of luxury and elegance. This look is less about the literal shape of the tree and more about the rich, cozy textures associated with a traditional Christmas.
13. Tree Silhouette
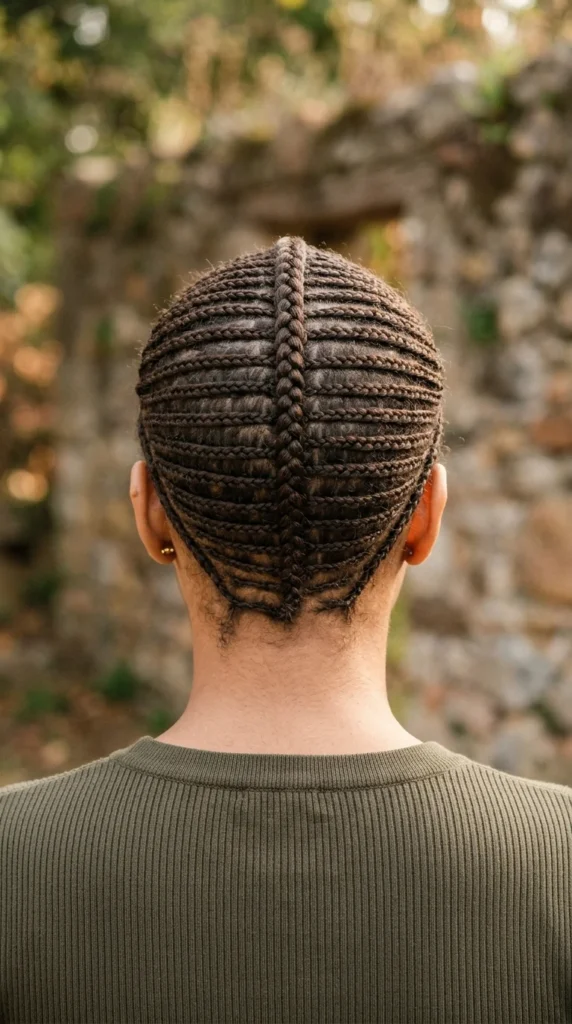
This is for the advanced braiders. By using multiple horizontal braids of varying lengths and connecting them to a central vertical braid, you can literally sculpt a 2D tree silhouette onto the back of the head. It’s a graphic, high-fashion take on the trend that looks incredible in photos.
14. Garland Braid
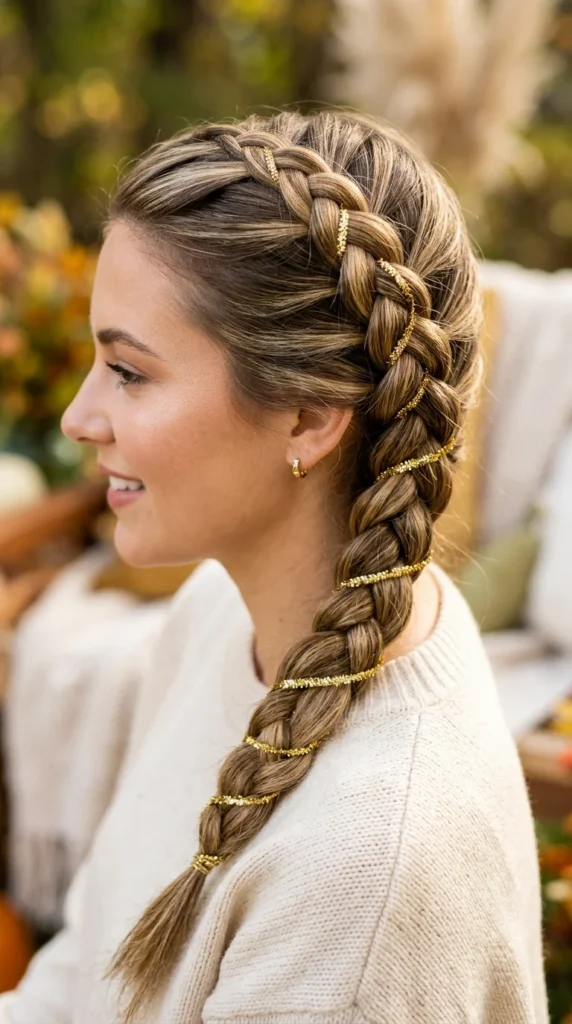
Tinsel isn’t just for the living room! Using a thin, soft tinsel garland (ensure it’s the non-scratchy kind) and wrapping it around your braid gives it a festive, metallic pop. This is a great way to add shine to dark hair that might otherwise lose the detail of a braid in photos.
15. Side-Swept
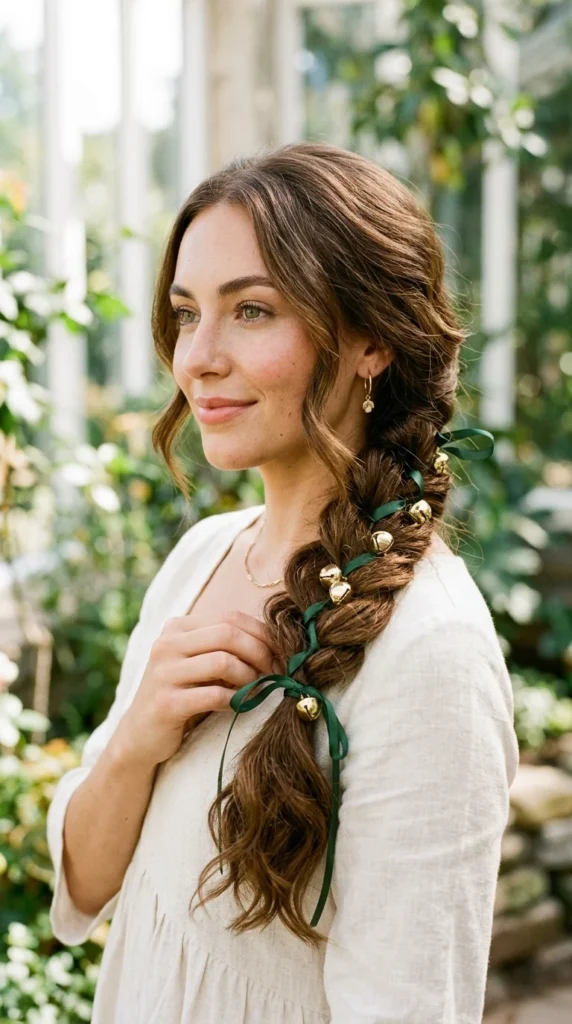
The side-swept Christmas tree braid is the “relaxed” version of this trend. It’s perfect for a cozy Christmas morning. By keeping the braid loose and over one shoulder, you can easily see the decorations in the mirror (and in selfies!) without needing a second person to help you get the placement right.
16. Kids’ Colorful Mess
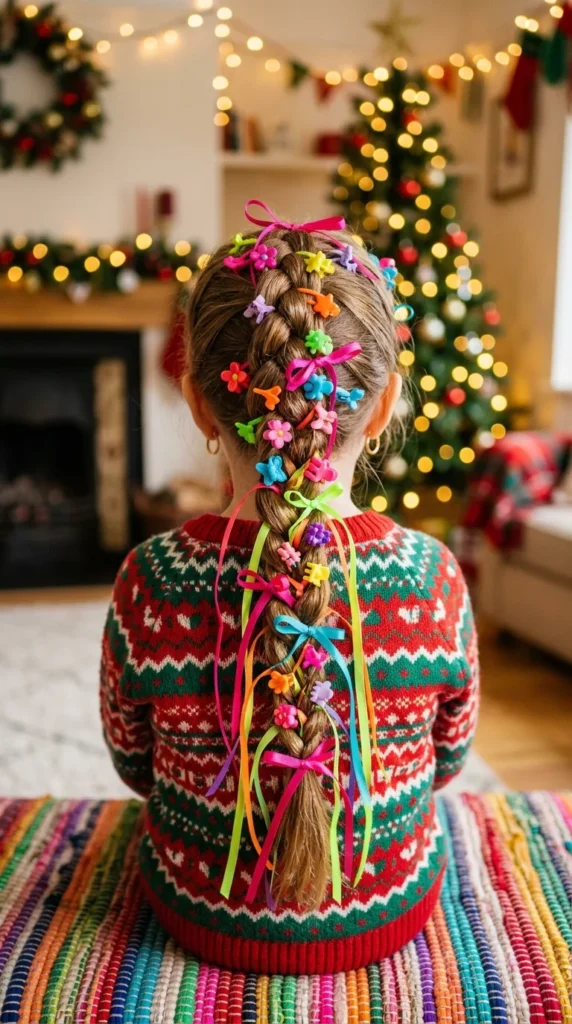
Sometimes, more is more. For kids, let them choose the “ornaments.” A simple braid filled with mismatched colorful clips, bright ribbons, and maybe even some temporary hair chalk colors creates a joyful, “decorated by a toddler” look that captures the true chaos and fun of the holidays.
The Secret to Keeping Them Neat
Nothing ruins a festive look faster than flyaways and a sagging braid. If you want your Christmas tree braid to look as good at the end of the party as it did at the start, you need to follow these professional steps:
The “Damp Start” Method
Braiding bone-dry hair is a recipe for frizz. For the neatest results, start with slightly damp hair or use a heavy-duty styling mousse. This provides the “grip” necessary to keep every strand in place while you weave in ribbons or lights.
The Power of “Tension”
When weaving ribbons into your braid, maintaining consistent tension is vital. If the ribbon is too loose, it will sag and lose the “tree” shape. If it’s too tight, it will pucker the hair. Aim for a “snug but not pulling” feel.
Choose Your Elastics Wisely
Standard rubber bands can snap under the weight of ornaments. Use high-quality nylon elastics or “polybands.” If you are attaching heavy charms, use hair pins to anchor them to the scalp-side of the braid rather than just the hair strands to prevent the braid from sagging downward.
The “Locking” Finish
Once your tree is decorated, use a high-shine, firm-hold hairspray. For an extra festive touch, look for a hairspray that contains subtle shimmer or “hair tinsel” particles. This not only keeps the style in place but adds to the magical holiday glow.
The Satin Secret
If you’re sleeping in your braids (perhaps for a Christmas morning surprise), always wrap your hair in a silk or satin scarf. This prevents the friction of your pillow from pulling out those tiny “branches” and keep the ribbon placement pristine for the big reveal.