Hitting the trails doesn’t mean you have to sacrifice style for functionality. The ultimate outdoor dilemma for any hiker is the “hat hair” catastrophe. You want to protect your face from the sun with a baseball cap or a wide-brimmed bucket hat, but you also want to be able to grab a post-hike celebratory drink without looking like your hair has been permanently flattened by a steamroller.
The key to a successful hiking hairstyle is “low and secure.” By keeping the volume and the intricate details at the nape of your neck, you avoid the dreaded “hat bump” and ensure that once the headwear comes off, your locks fall back into place with effortless grace. Here are 14 hairstyles that survive the summit and the selfie.
1. Dutch Braids
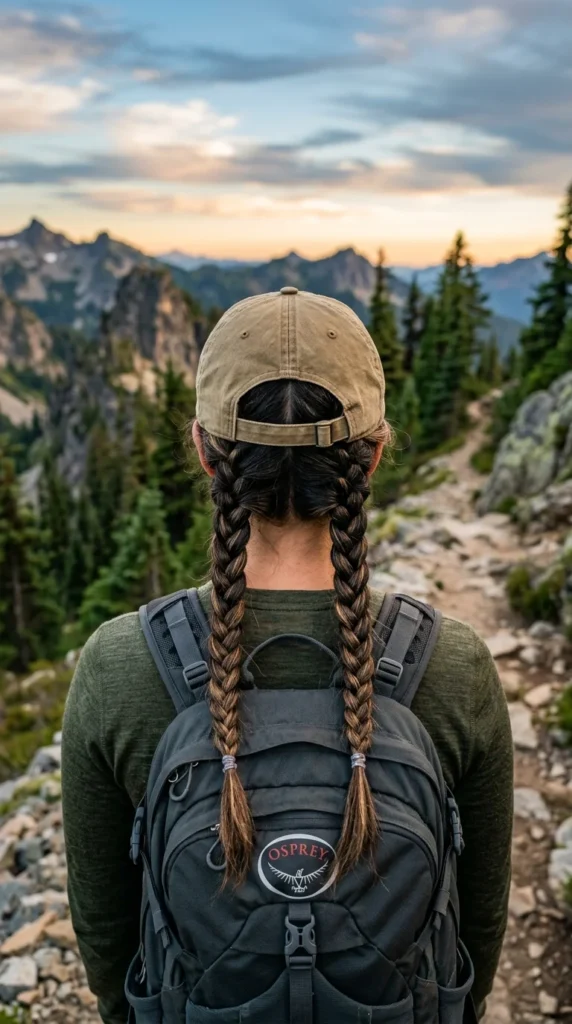
Dutch braids are the gold standard for outdoor activities. Because they are “inside-out” braids, they sit on top of the hair, providing a textured look that resists wind and movement. For hat wearers, the trick is to start the braids slightly lower than usual or keep them very tight to the scalp. When you remove your hat, the braids remain crisp and defined. Even if you decide to unbraid them mid-trail, you’ll be left with stunning, heat-less waves that look intentional and voluminous.
2. Bubble Ponytail
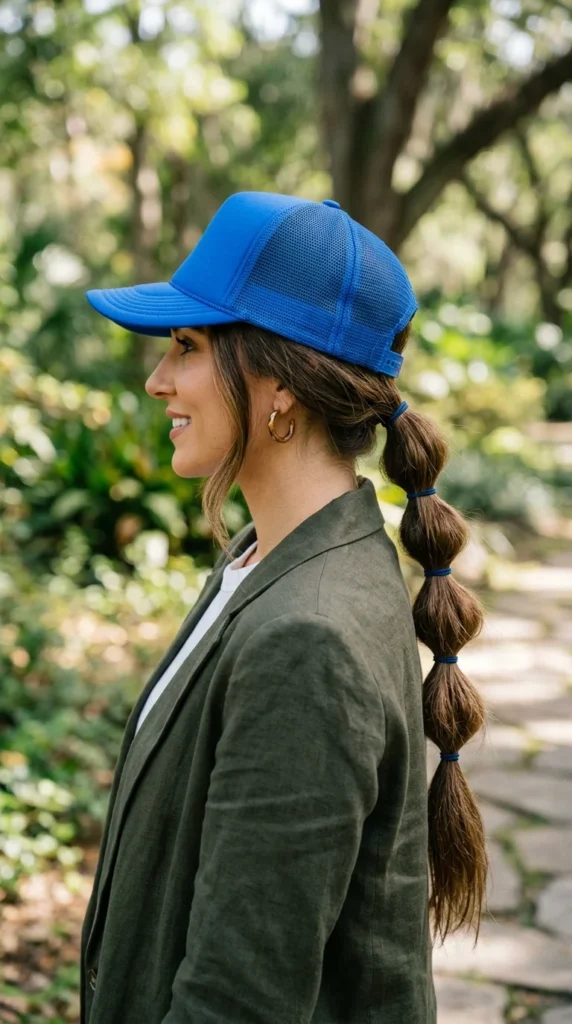
The bubble ponytail is a lifesaver for those who find traditional braiding difficult. It involves placing elastics every two inches down a low ponytail and gently “pancaking” or pulling the hair out between the bands to create a rounded, bubble effect. This style is incredibly secure against the wind. When the hat comes off, the bubbles maintain their shape, and because the hair is gathered at the nape, there is zero interference with the fit of your cap.
3. Low Buns
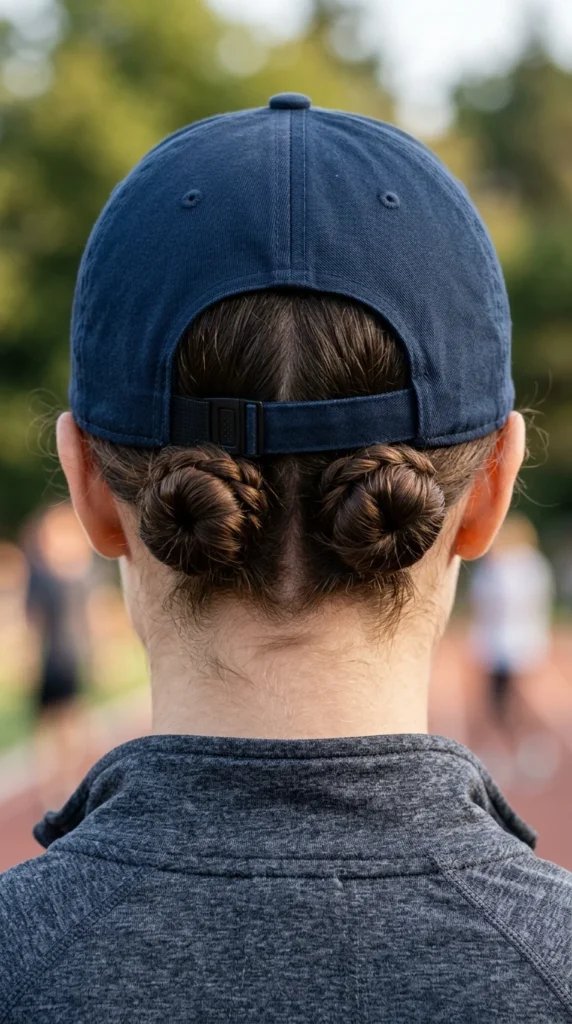
Double low buns, often called “space buns,” are just as practical as they are adorable. By splitting your hair down the middle and securing two small buns at the very base of your neck, you leave the entire crown of your head flat for your hat. This is particularly effective for bucket hats. If you take the hat off, the buns provide a playful, symmetrical look that hides any flatness on top of the head.
4. Side Braid
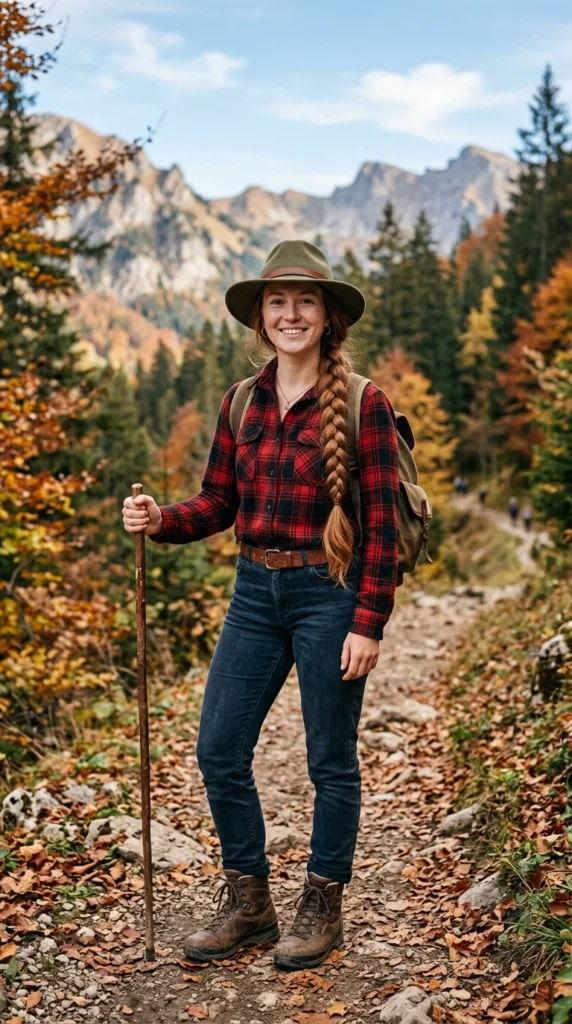
The side braid is the epitome of effortless “trail chic.” By sweeping all your hair to one side and braiding it loosely, you create a look that works perfectly with hats that have a chin strap or a wider brim. It’s a soft, romantic look that transitions perfectly from a strenuous uphill climb to a casual lunch. To keep it looking good post-hat, simply fluff the roots at the crown once the hat is removed to restore a bit of natural volume.
5. Fishtail Plait
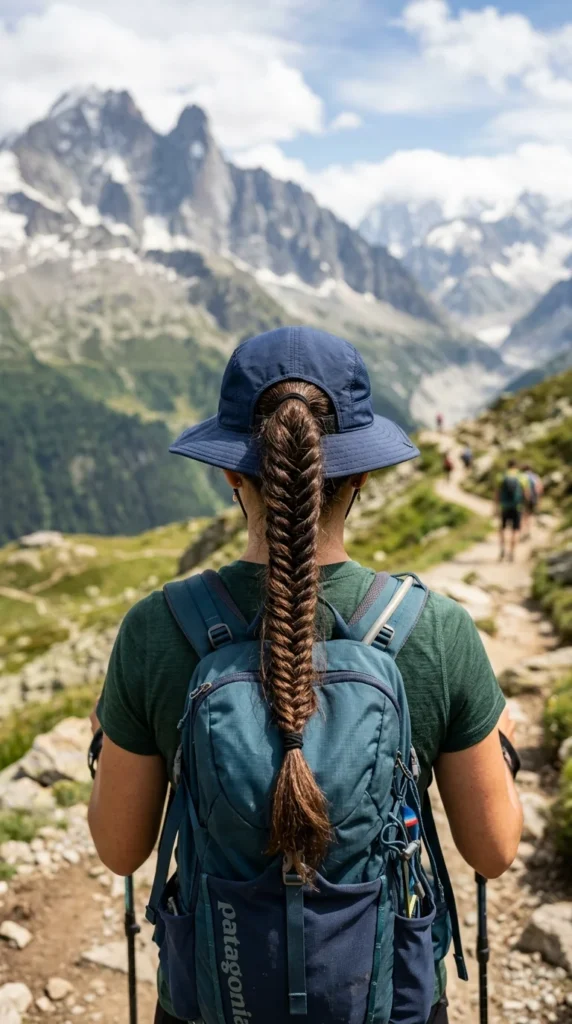
While it takes a bit longer to execute, a fishtail braid is much sturdier than a standard braid. The smaller sections of hair make it less likely for strands to fly away or get caught in the velcro of a hat strap. It creates a flat profile against the back of the neck, making it comfortable for long-distance treks. When you take the hat off, the intricate pattern of the fishtail draws the eye away from any “hat hair” at the roots.
6. Twisted Nape
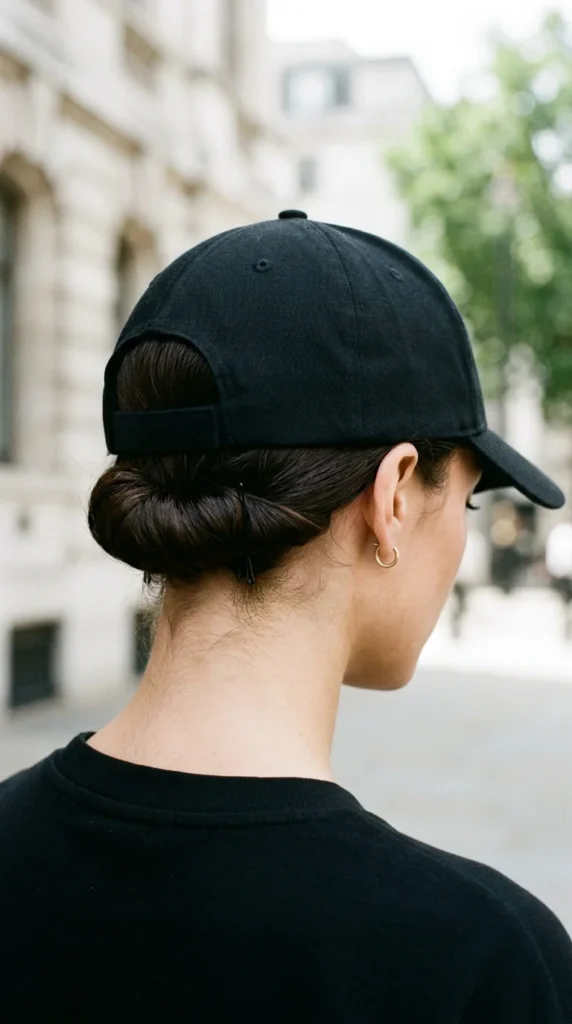
For those who prefer a more sophisticated look, the twisted nape is a great option. By dividing the hair into two sections at the back and twisting them inward toward each other before securing them with a low elastic or pins, you create a sleek silhouette. This style stays entirely below the “hat line.” Once the hat is removed, the twist remains intact, looking polished and intentional rather than “sweaty hiker.”
7. Rope Braid
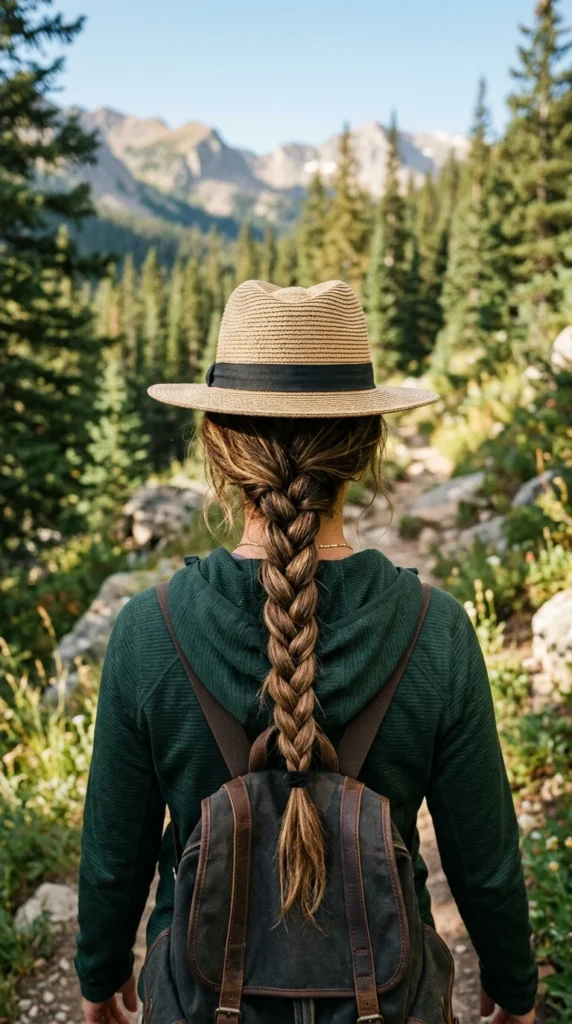
The rope braid is a two-strand twist that is surprisingly durable. It’s faster than a three-strand braid and provides a unique, rope-like texture that looks great in photos. Because it’s a denser style, it doesn’t flatten easily under the weight of a hat. When you reach the summit and pop the hat off, the rope braid maintains its structural integrity, needing only a quick finger-comb at the roots to look fresh.
8. Low Loop
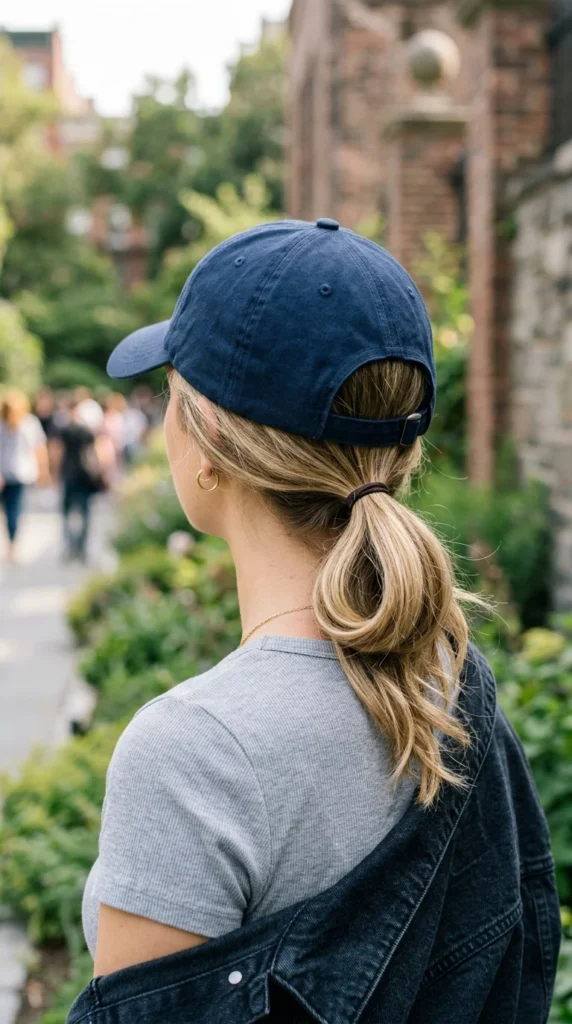
The “loop” is the busy hiker’s best friend. It’s halfway between a ponytail and a bun. By not pulling your hair all the way through the elastic on the last wrap, you create a looped shape that keeps your ends protected and off your neck. It’s low-profile enough to fit under any hat adjustment strap. Post-hike, you can either keep the loop or pull the ends through for a quick, wavy ponytail.
9. Pull-Through Braid
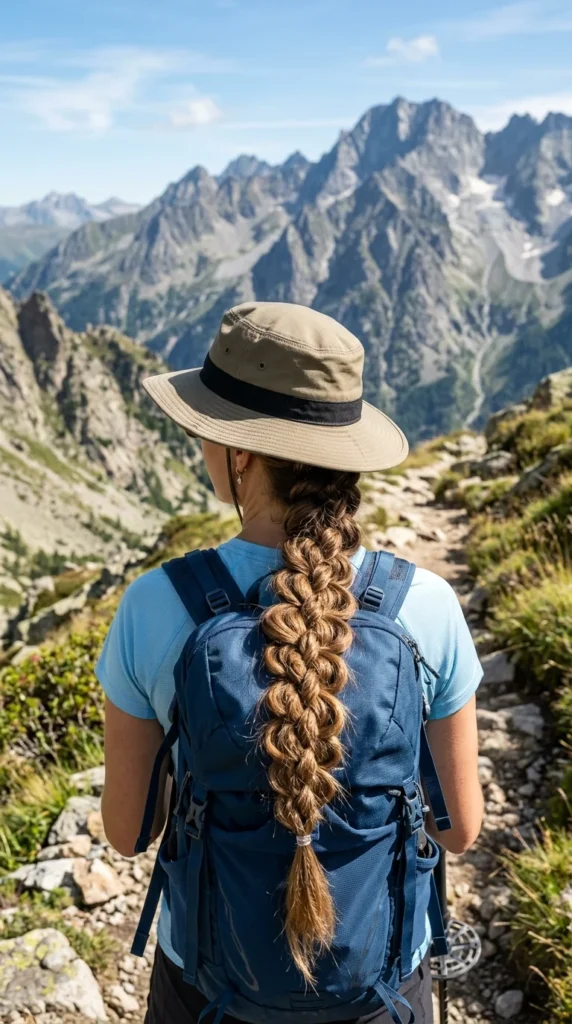
If you have fine hair and want to mimic the look of a thick, lush braid, the pull-through method is your secret weapon. It’s essentially a series of small, low ponytails looped through one another. This style is incredibly secure—it’s almost impossible for this “braid” to fall out during a scramble over rocks. It provides a lot of visual interest at the back, so no one will notice if your crown is a little flat after wearing a hat all day.
10. Scarf Wrap
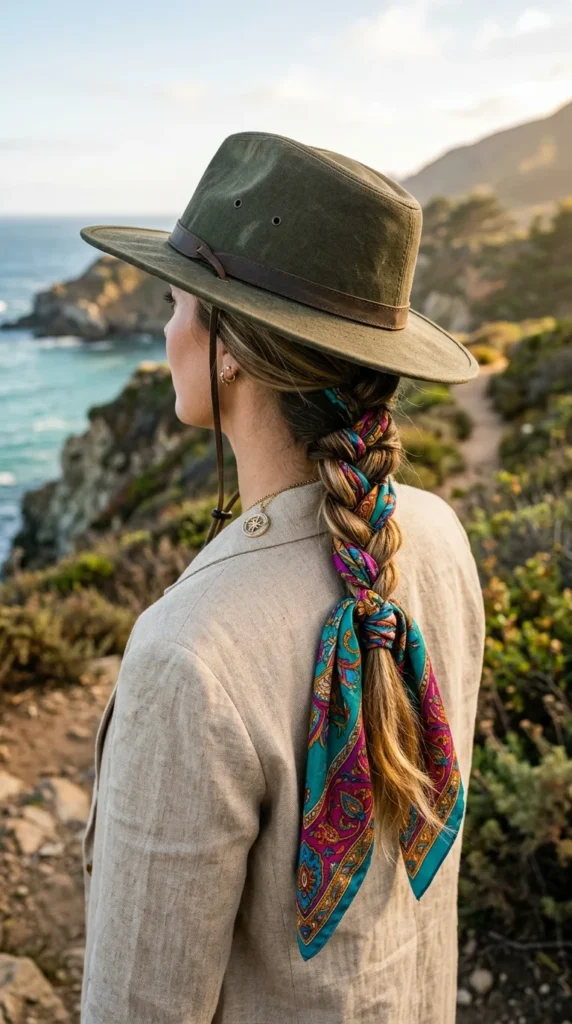
Adding a scarf to your hairstyle isn’t just for fashion; it’s a functional way to manage sweat and friction. By weaving a lightweight scarf into a low braid or wrapping it around a low bun, you create a barrier between your hair and the hat. This prevents the “crunchy” feeling that sweat can cause. When the hat comes off, the scarf remains a vibrant accessory that elevates the entire look.
11. French Twist
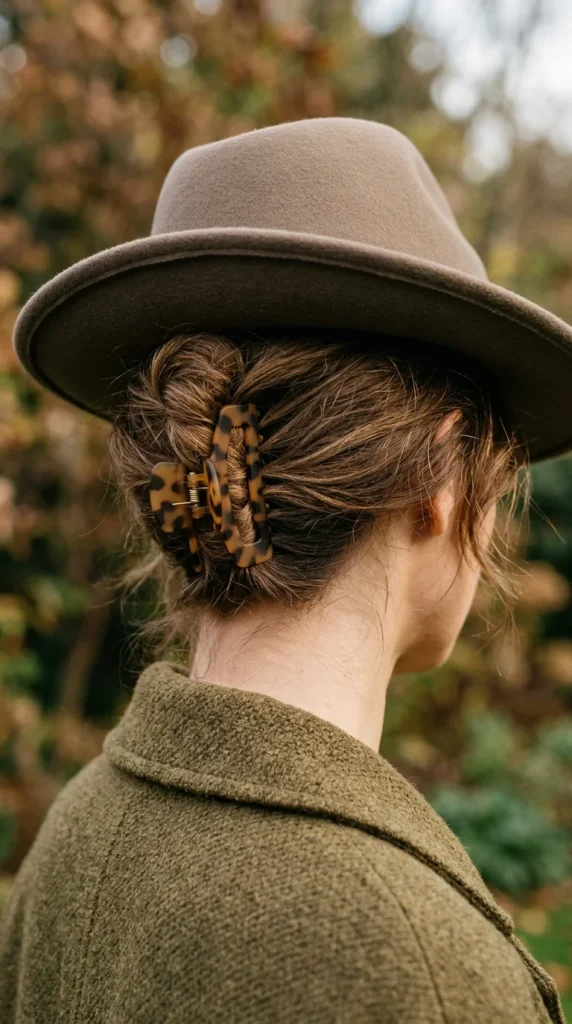
While traditionally a formal style, a “messy” low French twist works wonders for hiking. By securing the twist very low—almost touching the neck—you leave plenty of room for a hat. Use a flat clip or U-shaped pins to ensure there’s no discomfort under the hat’s pressure. Once you take the hat off, you can let a few tendrils fall around your face for a soft, “I just conquered a mountain” glow.
12. Segmented Braids
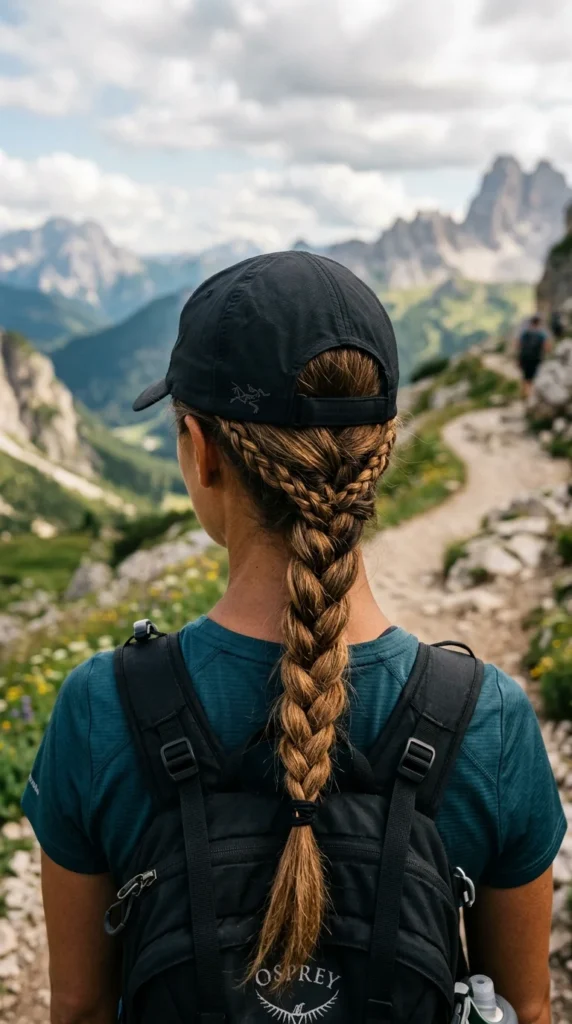
Instead of one large braid, try starting with three smaller ones at the nape of the neck and then braiding those three together. This creates a very flat, wide base that sits comfortably under the back of a cap or the brim of a bucket hat. It’s an architectural look that remains perfectly in place regardless of how many miles you cover.
13. Ribboned Pony
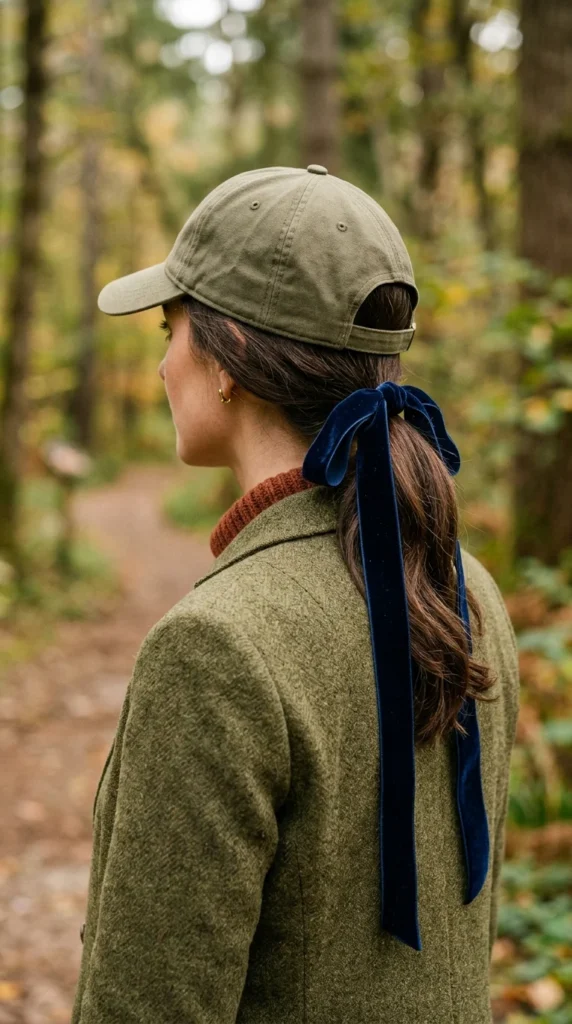
Sometimes simplicity is best. A low ponytail can be elevated by simply using a decorative ribbon or a “scrunchie” that matches your hiking gear. To avoid the flat-top look when the hat comes off, try teasing the hair just slightly at the nape before tying it. This gives the hair a bit of “memory” so it bounces back once the hat is removed.
14. Wrapped Braid
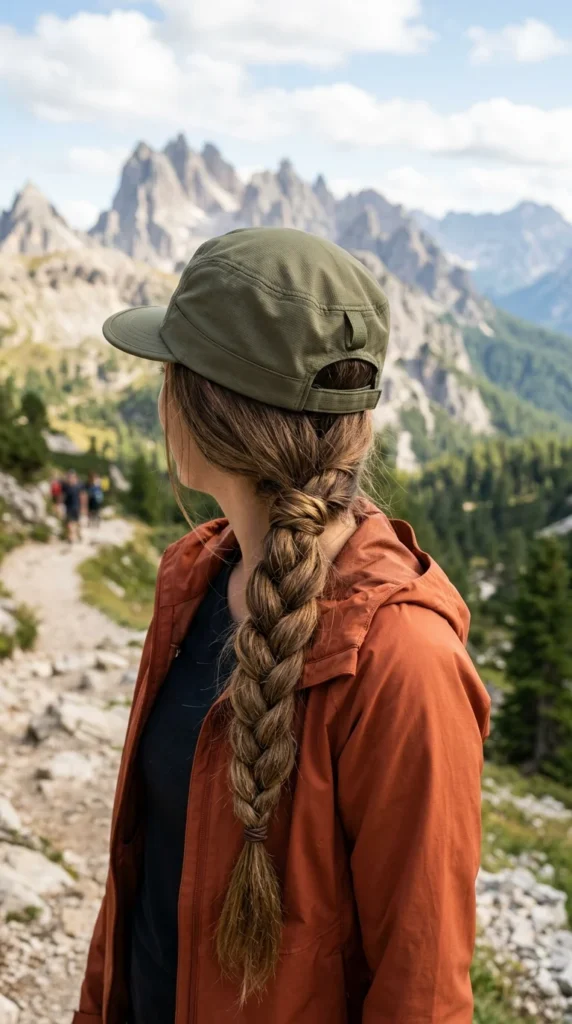
The wrapped braid is a subtle way to make a standard low braid look “salon-finished.” After securing your hair in a low ponytail and braiding it, take a small strand of hair and wrap it around the top elastic, pinning it underneath. This small detail makes the hairstyle look intentional. When you take your hat off, the polished nature of the braid makes any slight flatness at the crown look like a deliberate, sleek style.
Pro-Tips for Post-Hat Perfection
To ensure these styles look their best after hours on the trail, consider these quick maintenance tips:
- Dry Shampoo is Key: Carry a travel-sized bottle of dry shampoo. When you take the hat off, spray a bit at the roots and flip your head upside down to shake out the “flatness.”
- The “Fluff” Technique: Use your fingertips to gently massage your scalp once the hat is off. This stimulates the hair follicles and helps lift the hair away from the scalp.
- Texture Spray: If you have fine hair, a quick spritz of sea salt spray or texture spray before you put the hat on can give your hair the “grip” it needs to stay styled.
- Choose the Right Hat: Make sure your hat isn’t too tight. A hat that is overly snug will cause more significant indentations and trap more heat and moisture against your hair.
With these 14 styles in your repertoire, you can head into the wilderness knowing that you’ll look just as good at the finish line as you did at the trailhead. Happy hiking!